# How to Add or Link Parents
URL: https://whitepenguin.sonicar.tech/docs/setup-your-school/how-to-add-or-link-parents/
> Learn how parents are added and linked to children in WhitePenguin, how to view and manage parent profiles, and how to track their invitation status from the Parents section.
## Overview [#overview]
In WhitePenguin, **parents are not added directly** from the Parents section. Instead, a parent is created and linked to a child by filling in the **Parent tab** inside the **Add Child** form. Once a child profile is saved, the parent is automatically added to the system and receives an **email invitation** to access the parent portal.
The **Parents section** serves as a centralized place to **view, monitor, and manage** all parents linked to enrolled children. From here, you can check invitation status, resend invites, view parent profiles, and perform management actions.
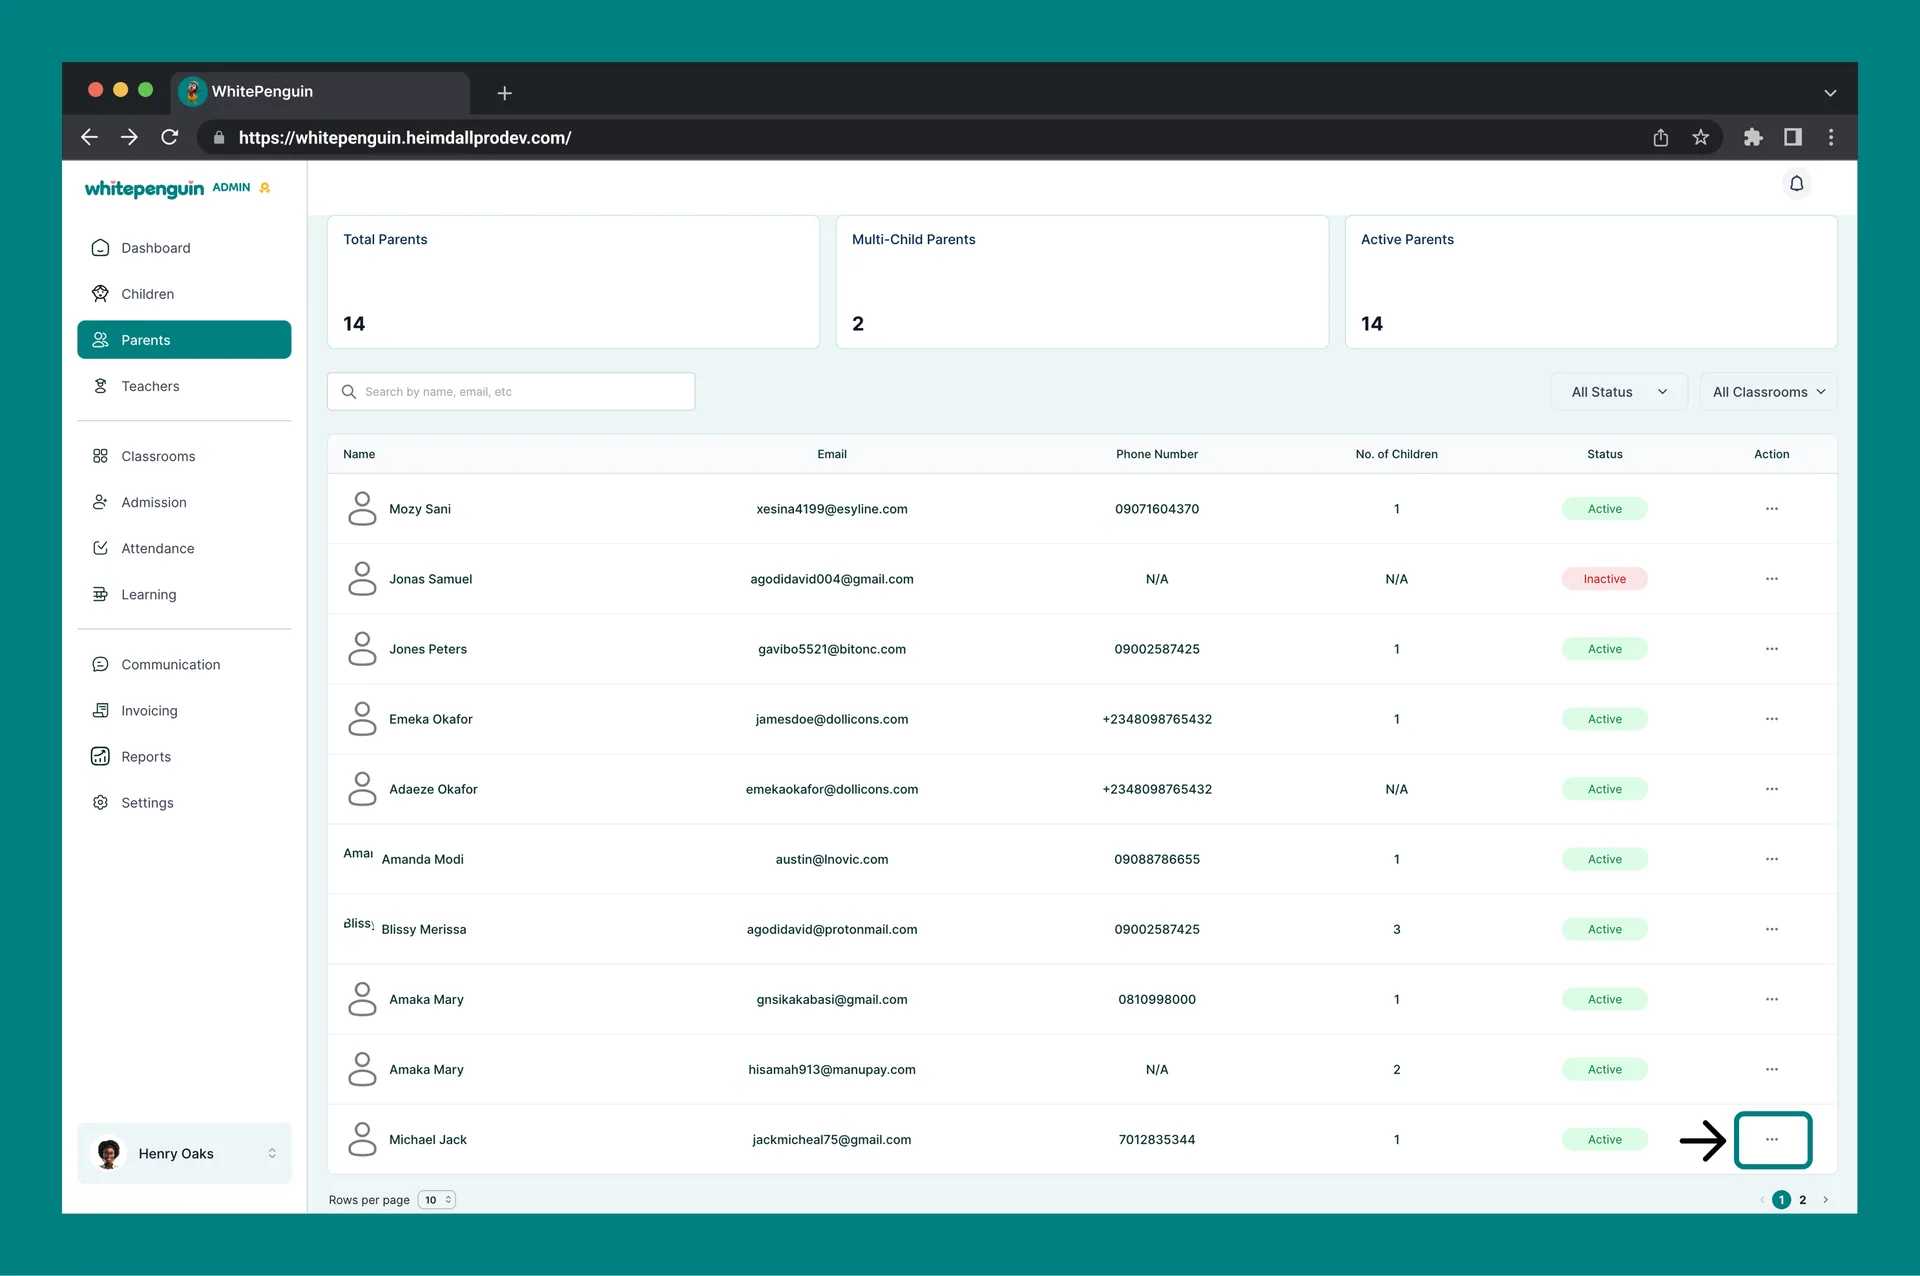
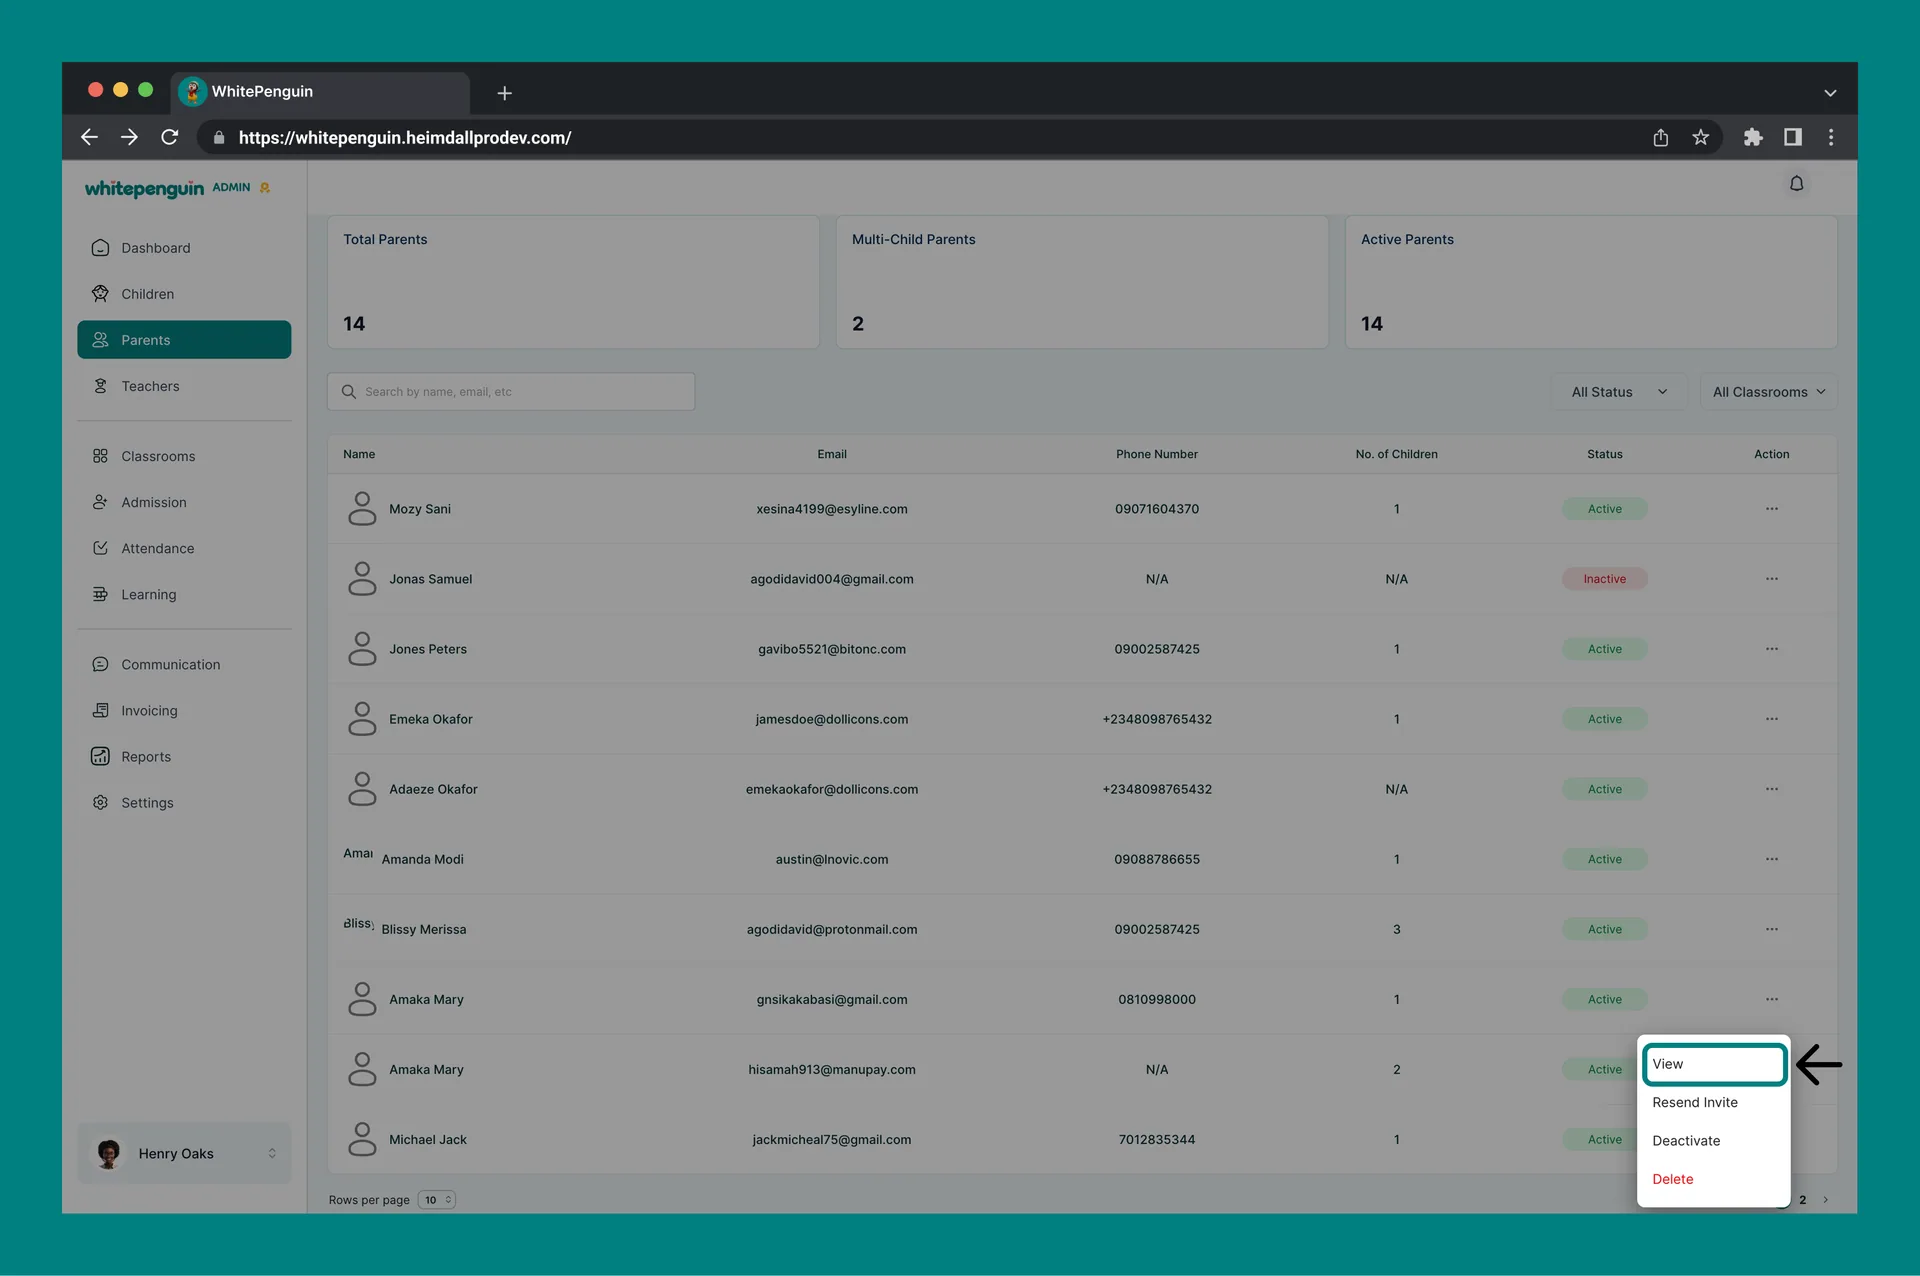
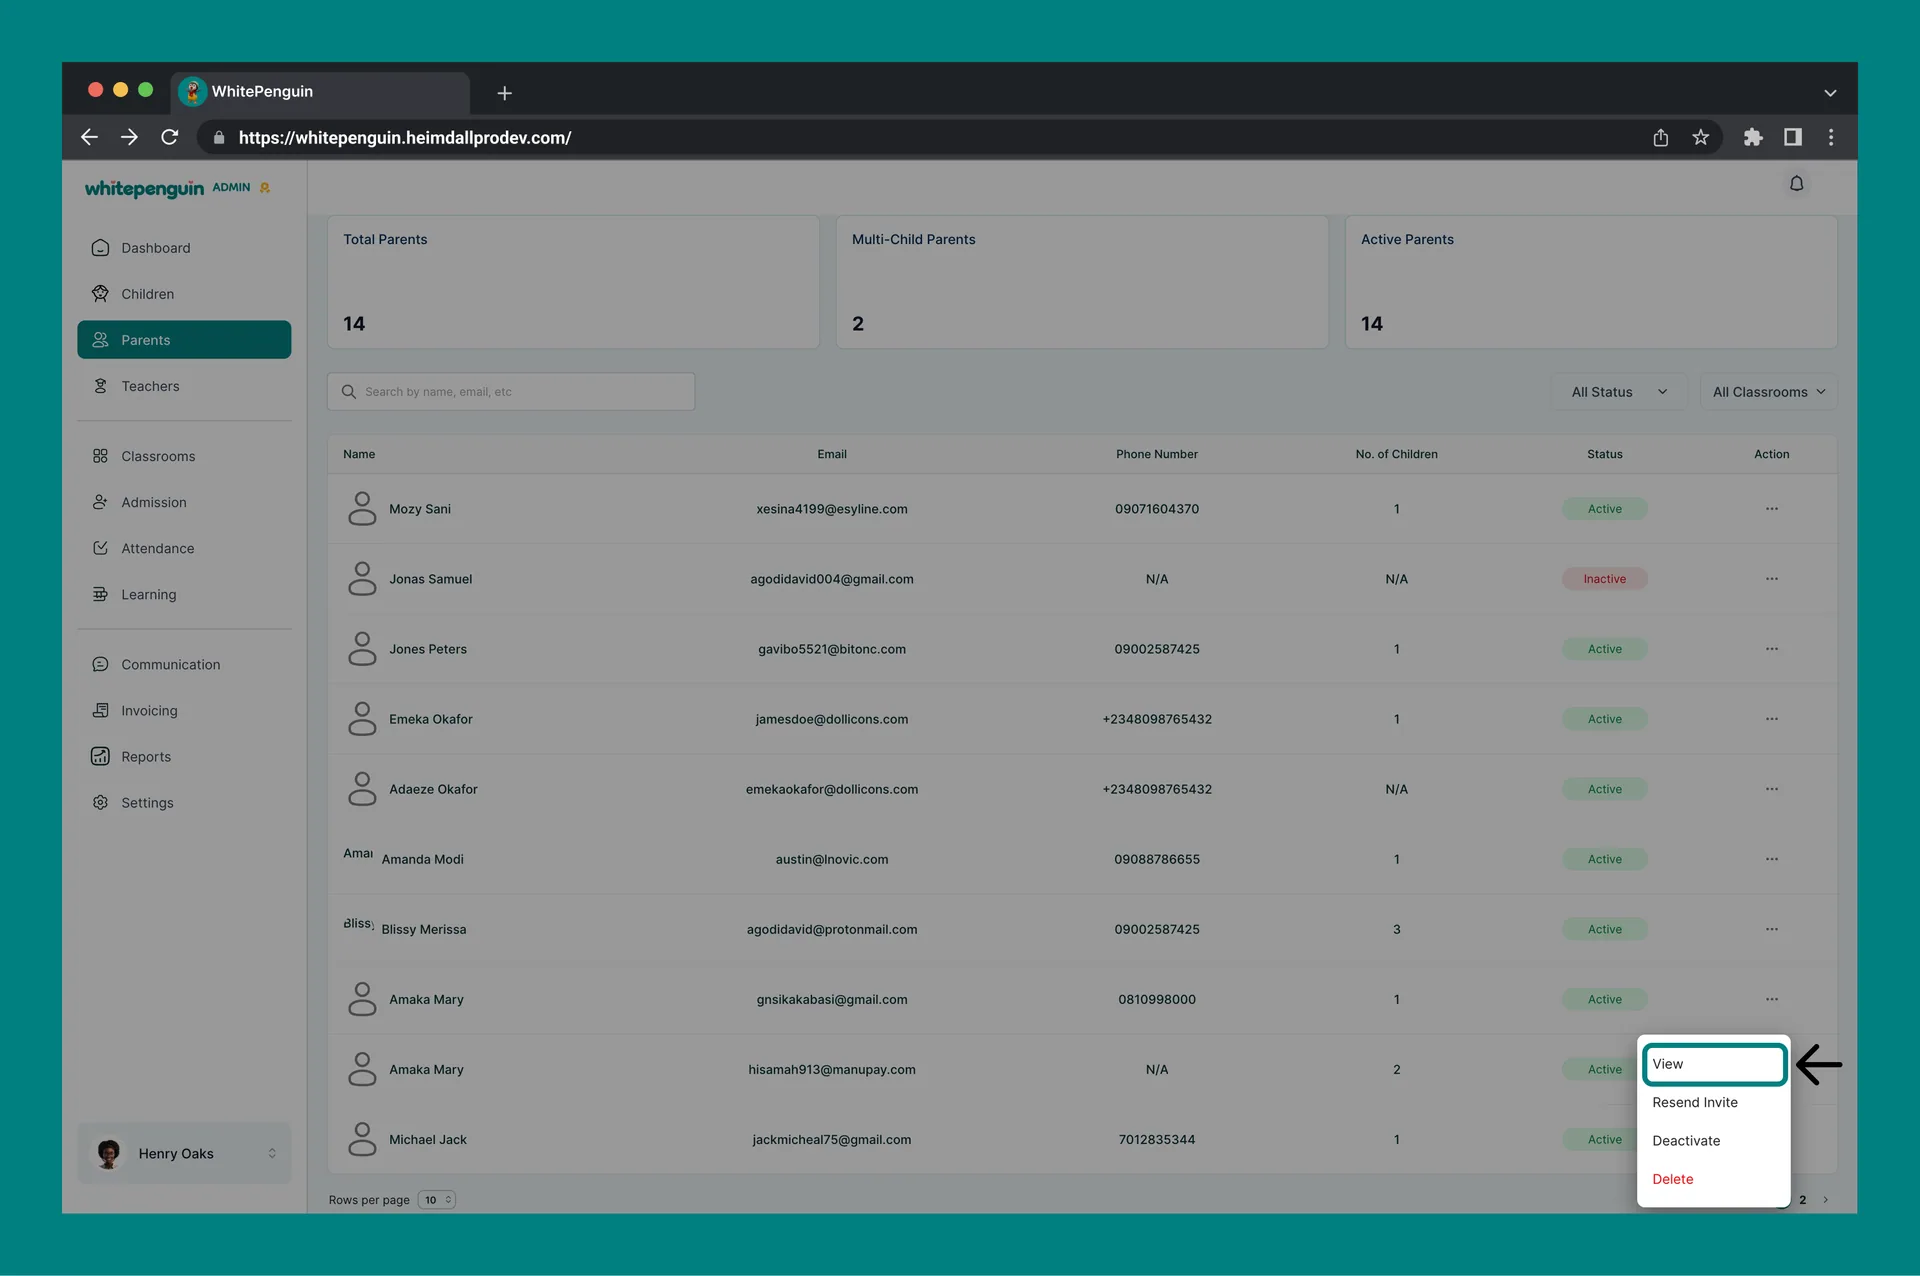
The Parents page shows three summary cards at the top:
| Card | What it shows |
| ----------------------- | --------------------------------------------------------------------- |
| **Total Parents** | Total number of parents linked to child profiles in the system |
| **Multi-Child Parents** | Parents who are linked to more than one child |
| **Active Parents** | Parents who have accepted their invitation and have an active account |
## How Parents Are Added & Linked [#how-parents-are-added--linked]
Parents **cannot be added directly** from the Parents section. A parent must always be created through the **Parent tab** when adding a child profile.
To add and link a parent to a child:
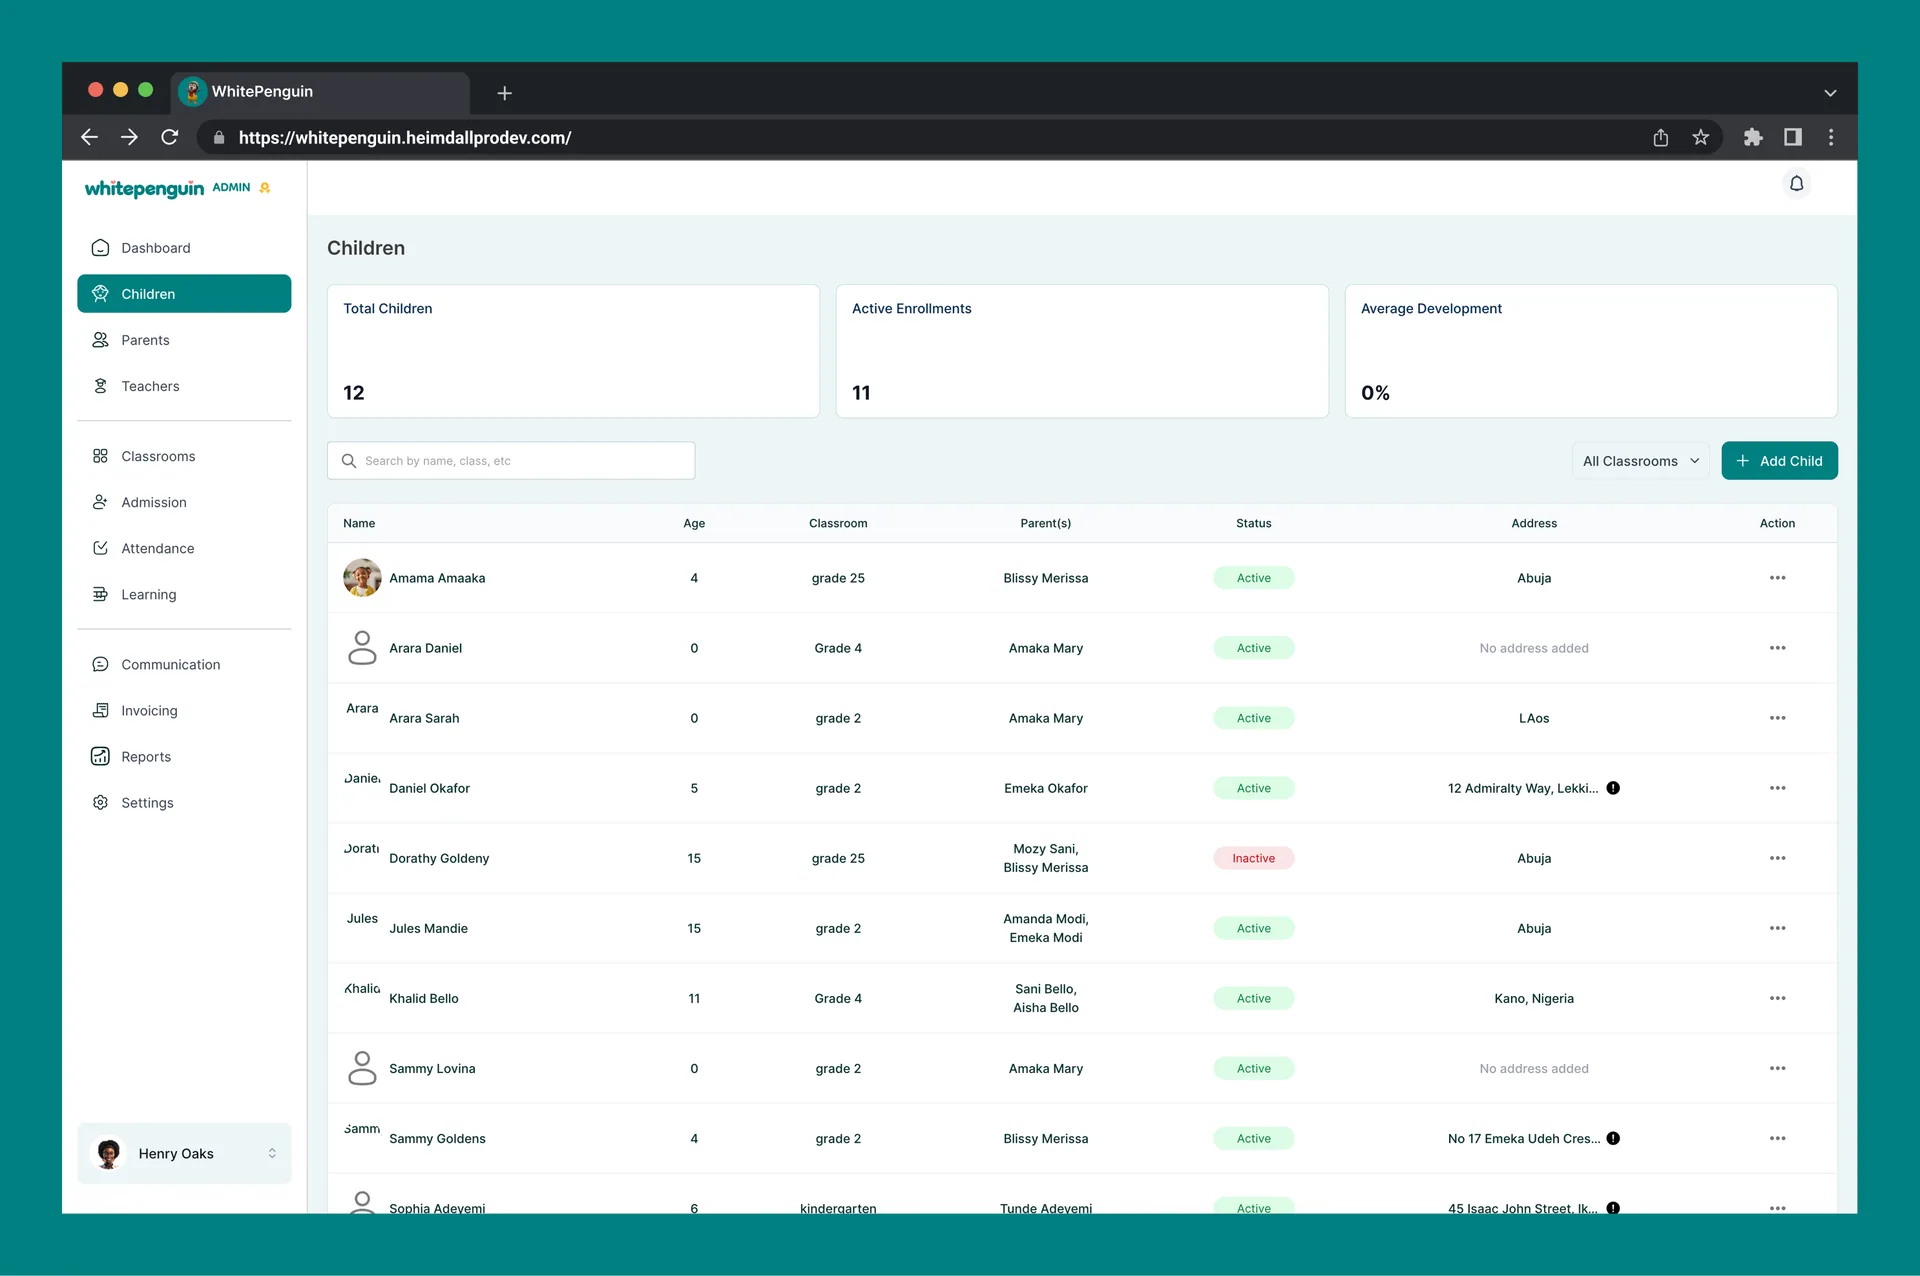
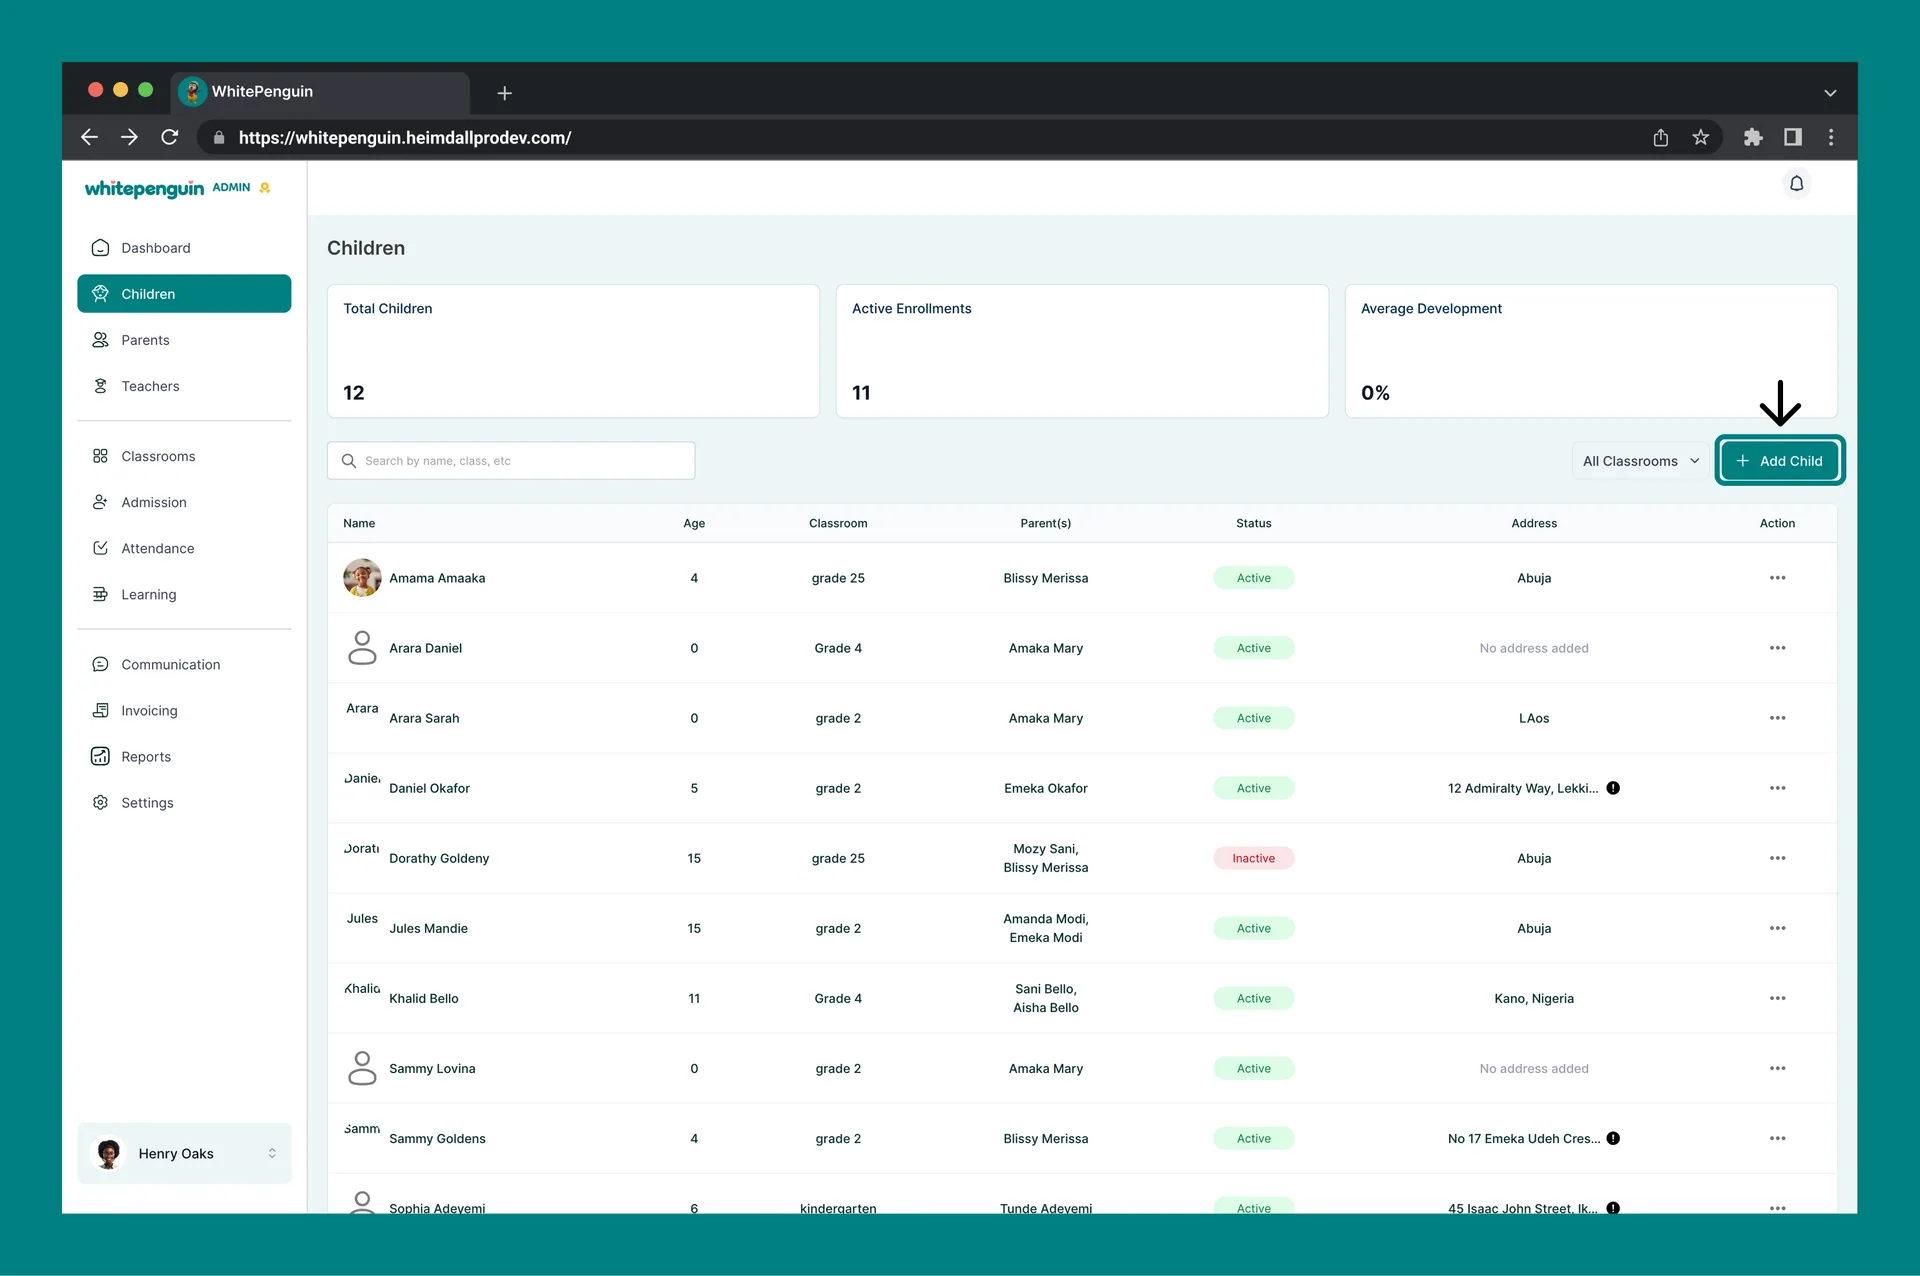
1. Go to **Children** in the left sidebar and click [**+ Add Child**](https://whitepenguin.sonicar.tech/docs/setup-your-school/how-to-add-a-children-profile/).
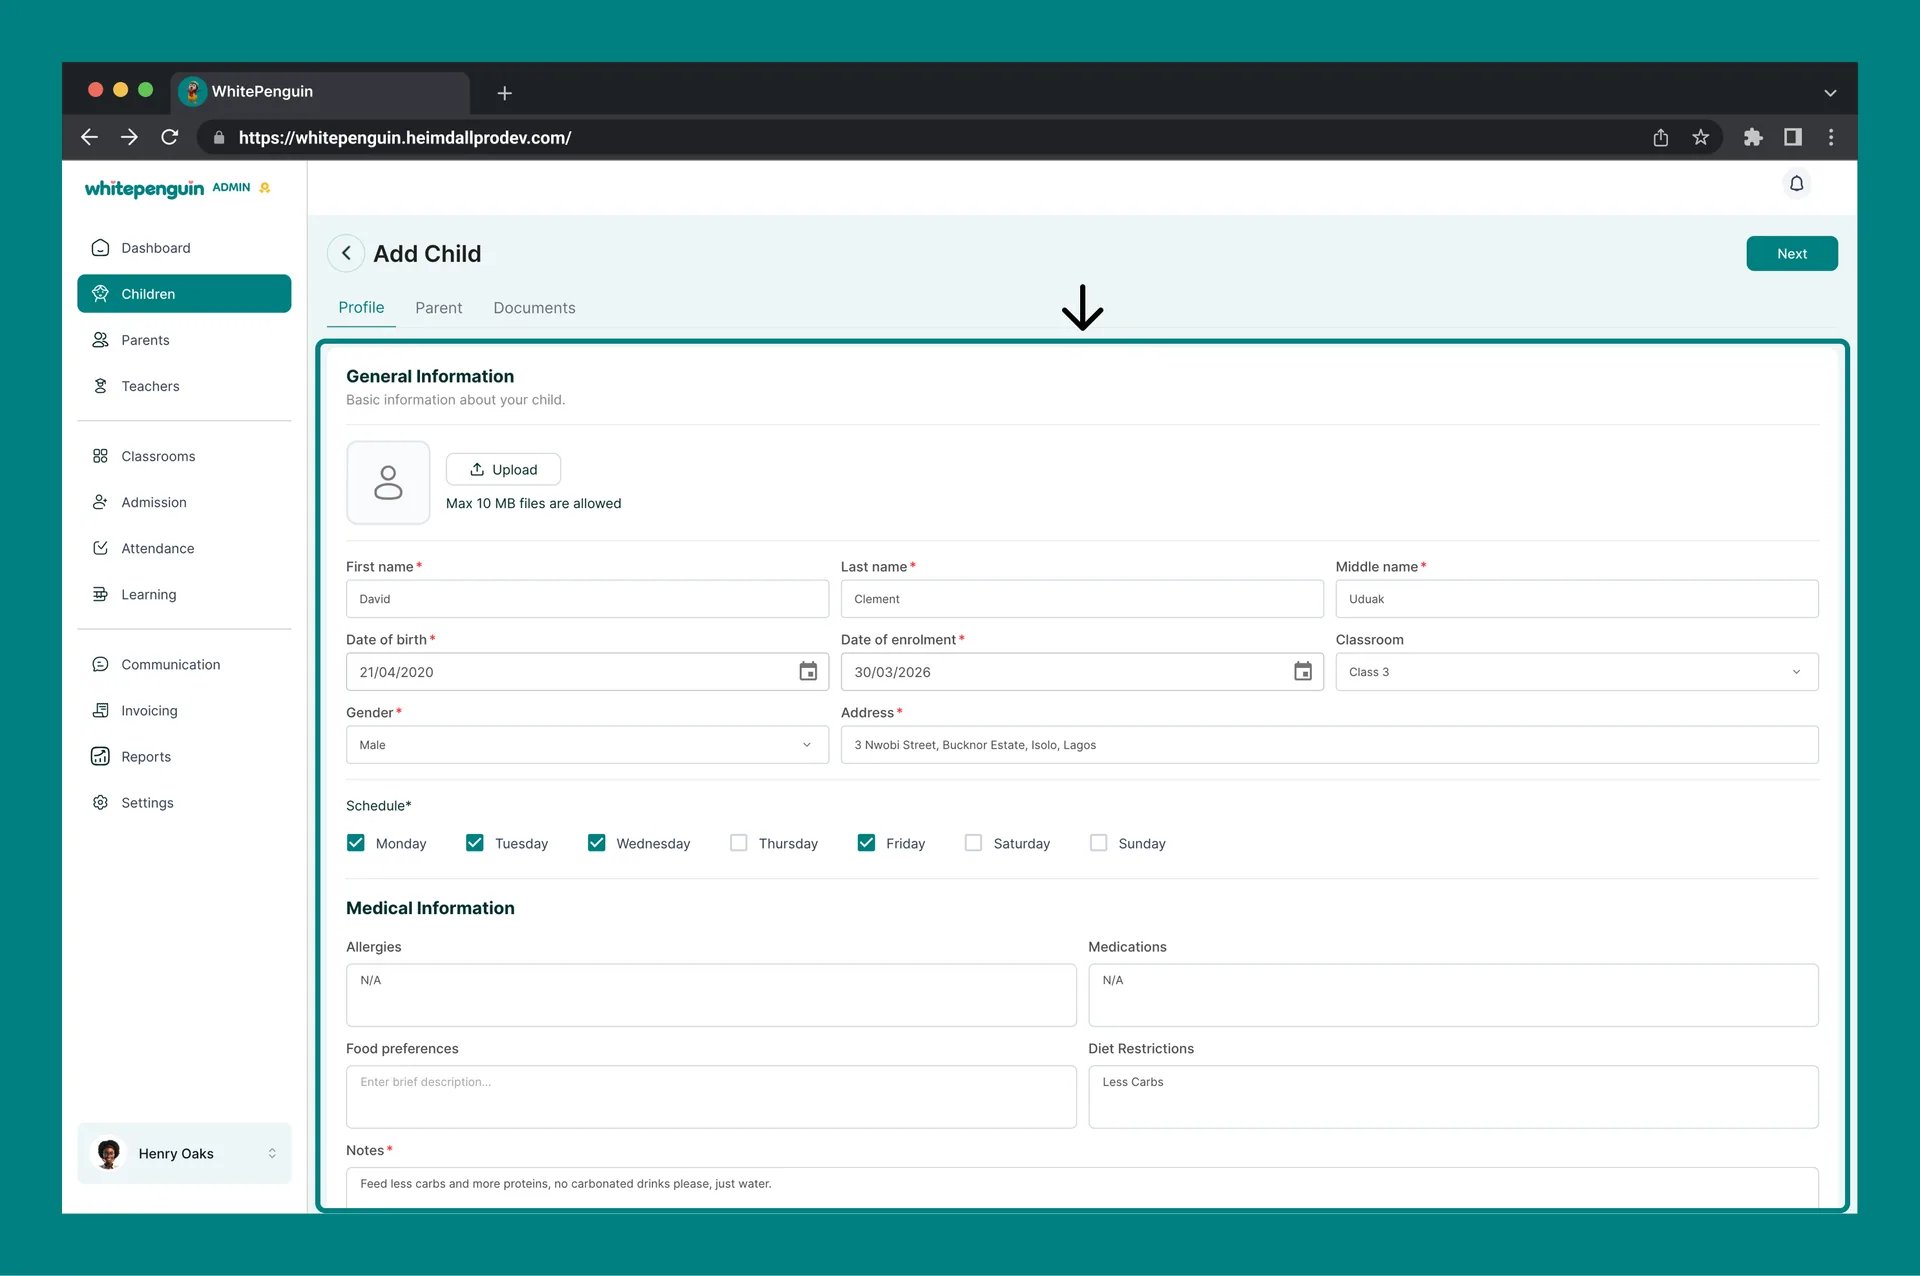
2. Complete the **Profile tab** with the child's details.
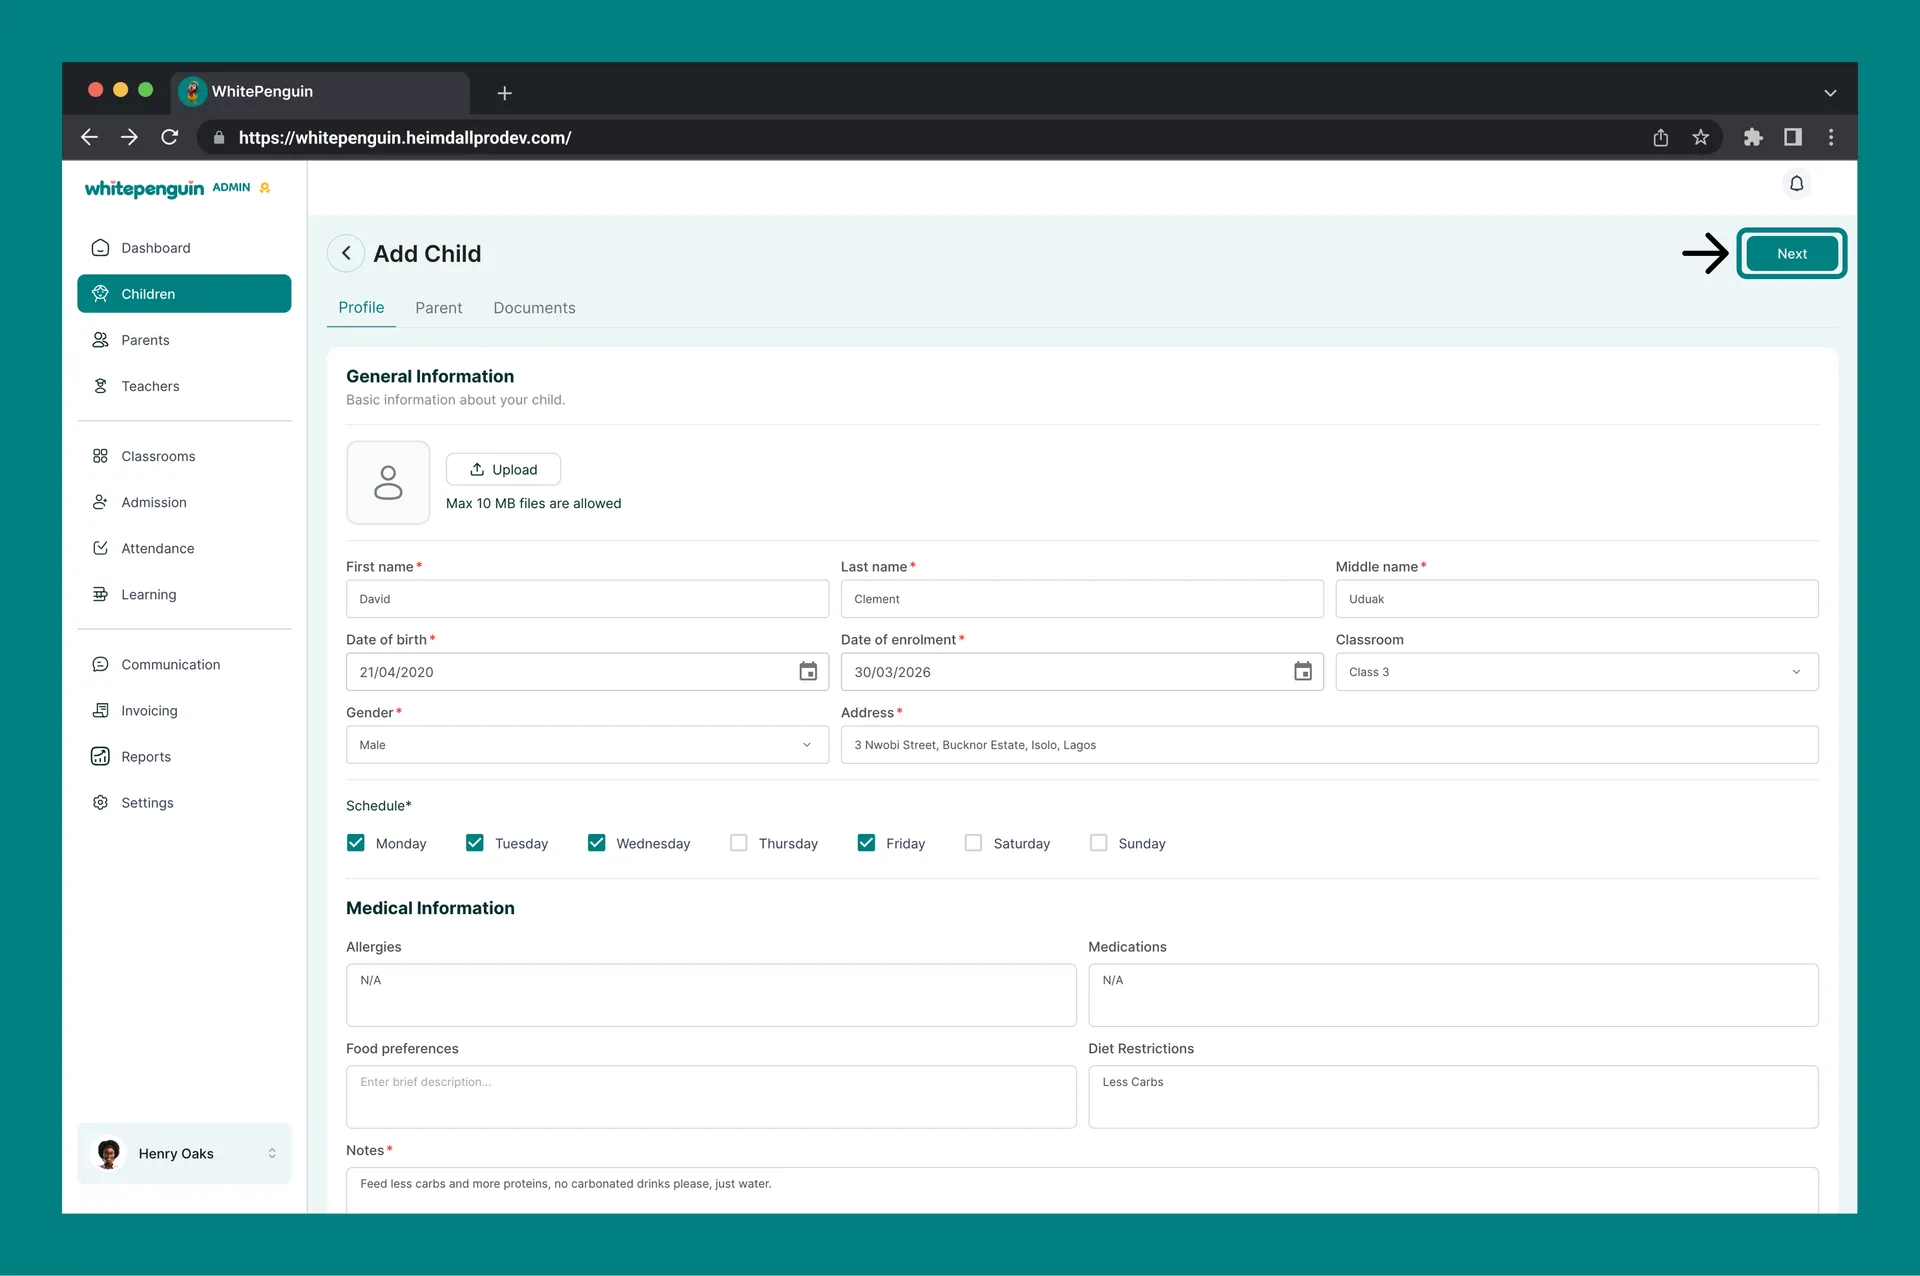
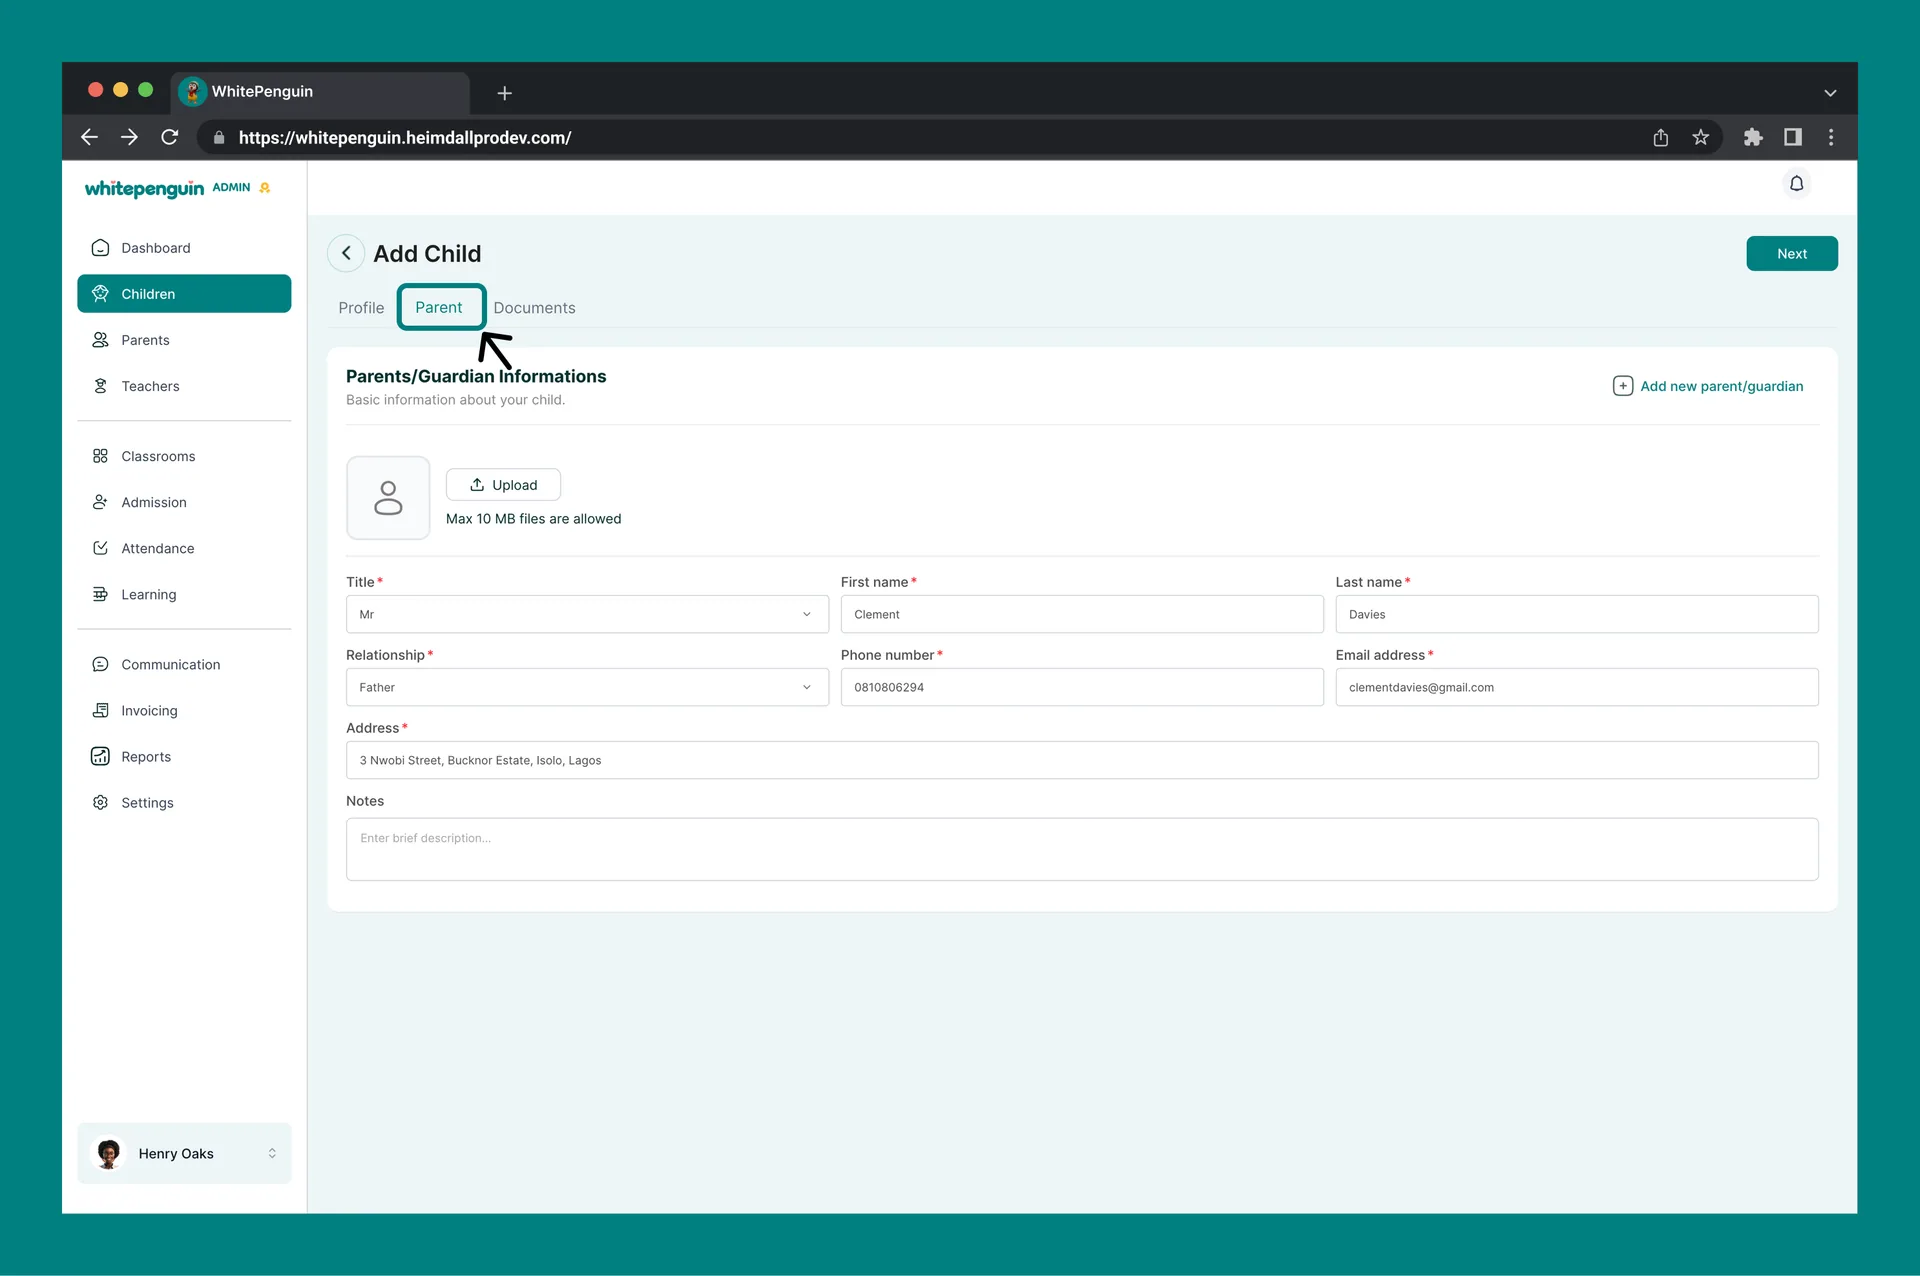
3. Click **Next** to go to the **Parent tab**.
4. Fill in the parent's information: Title, First Name, Last Name, Relationship, Phone Number, **Email Address**, Address, and any Notes.
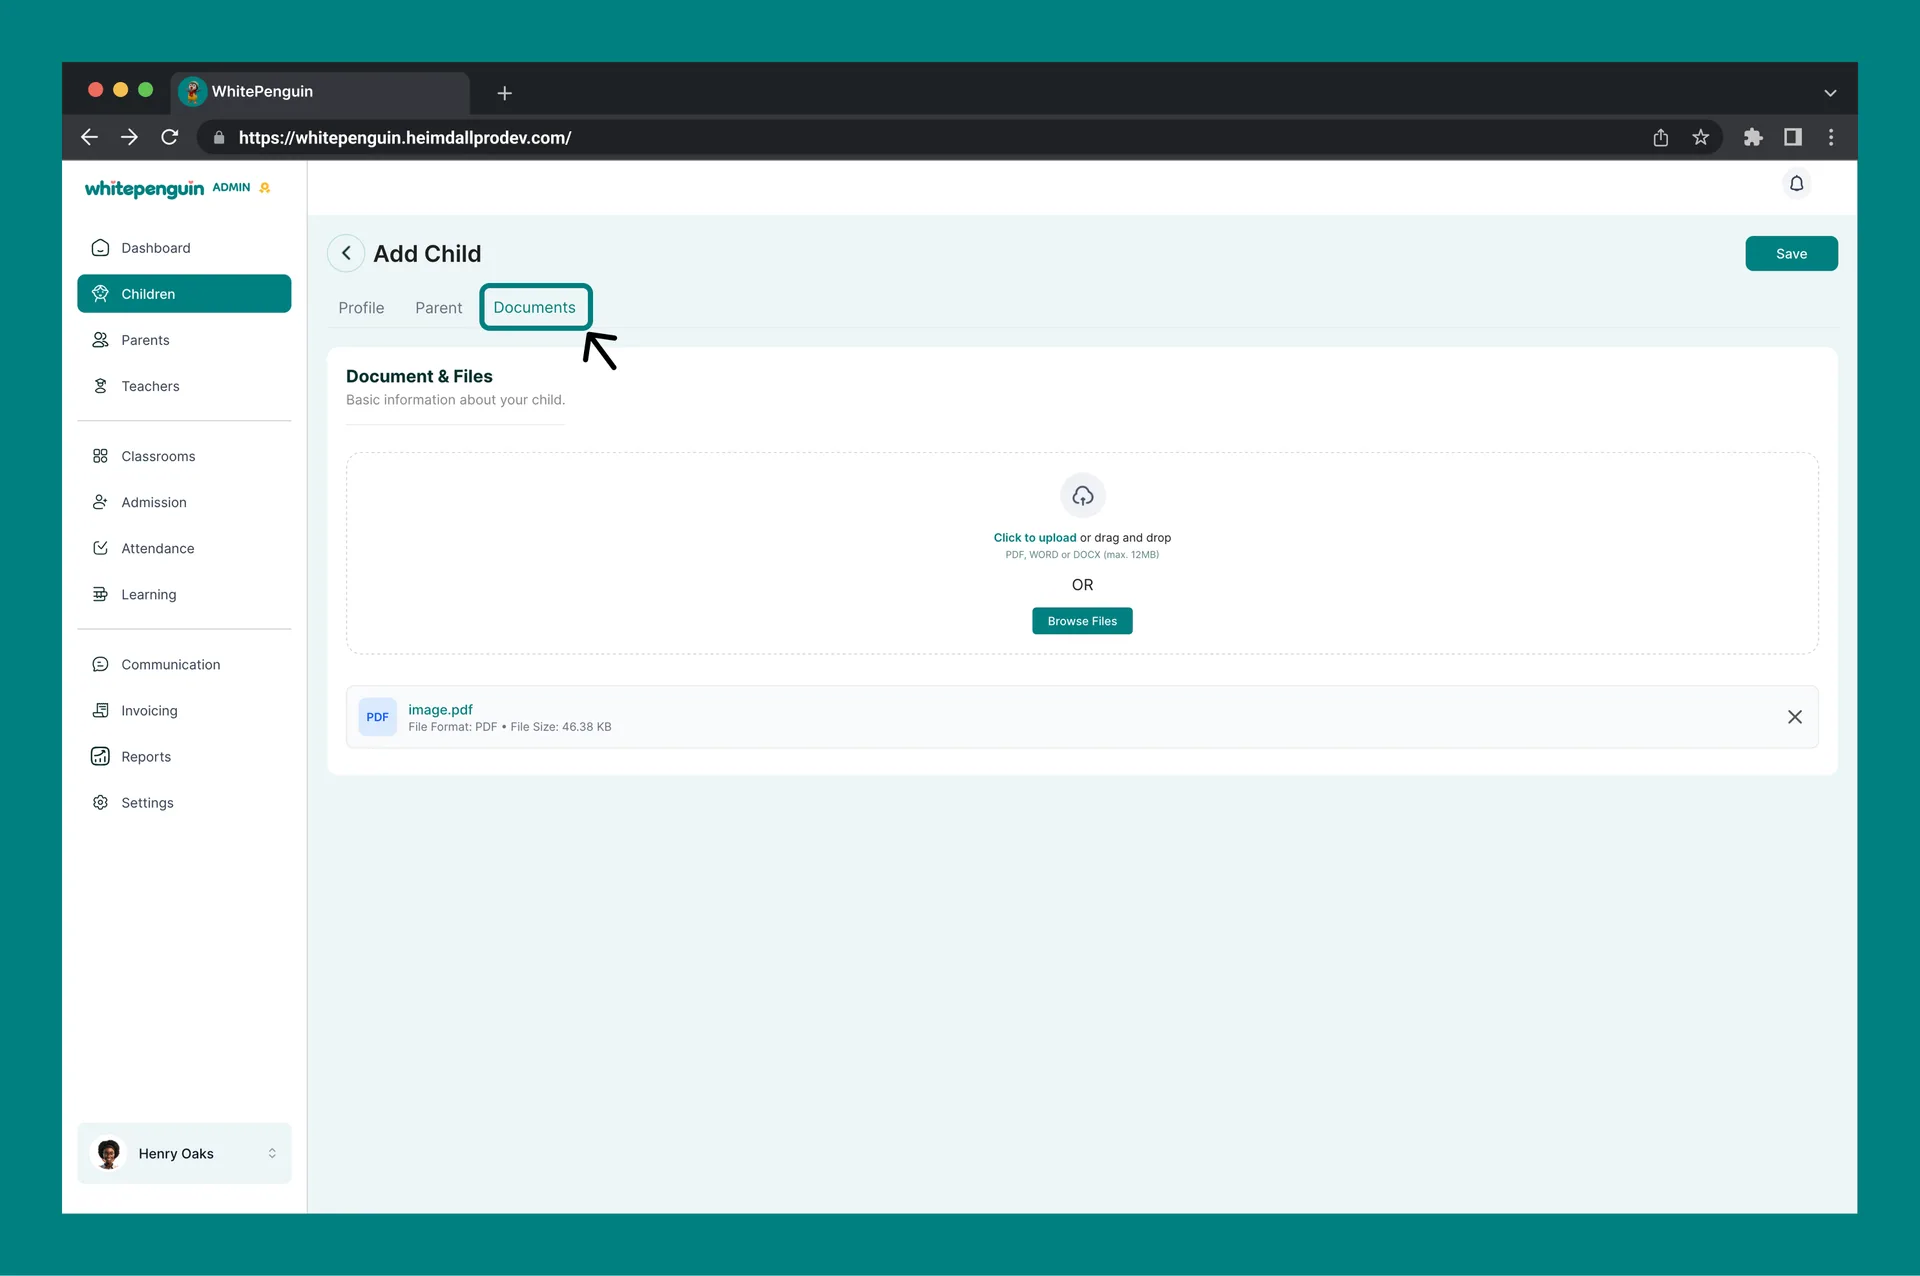
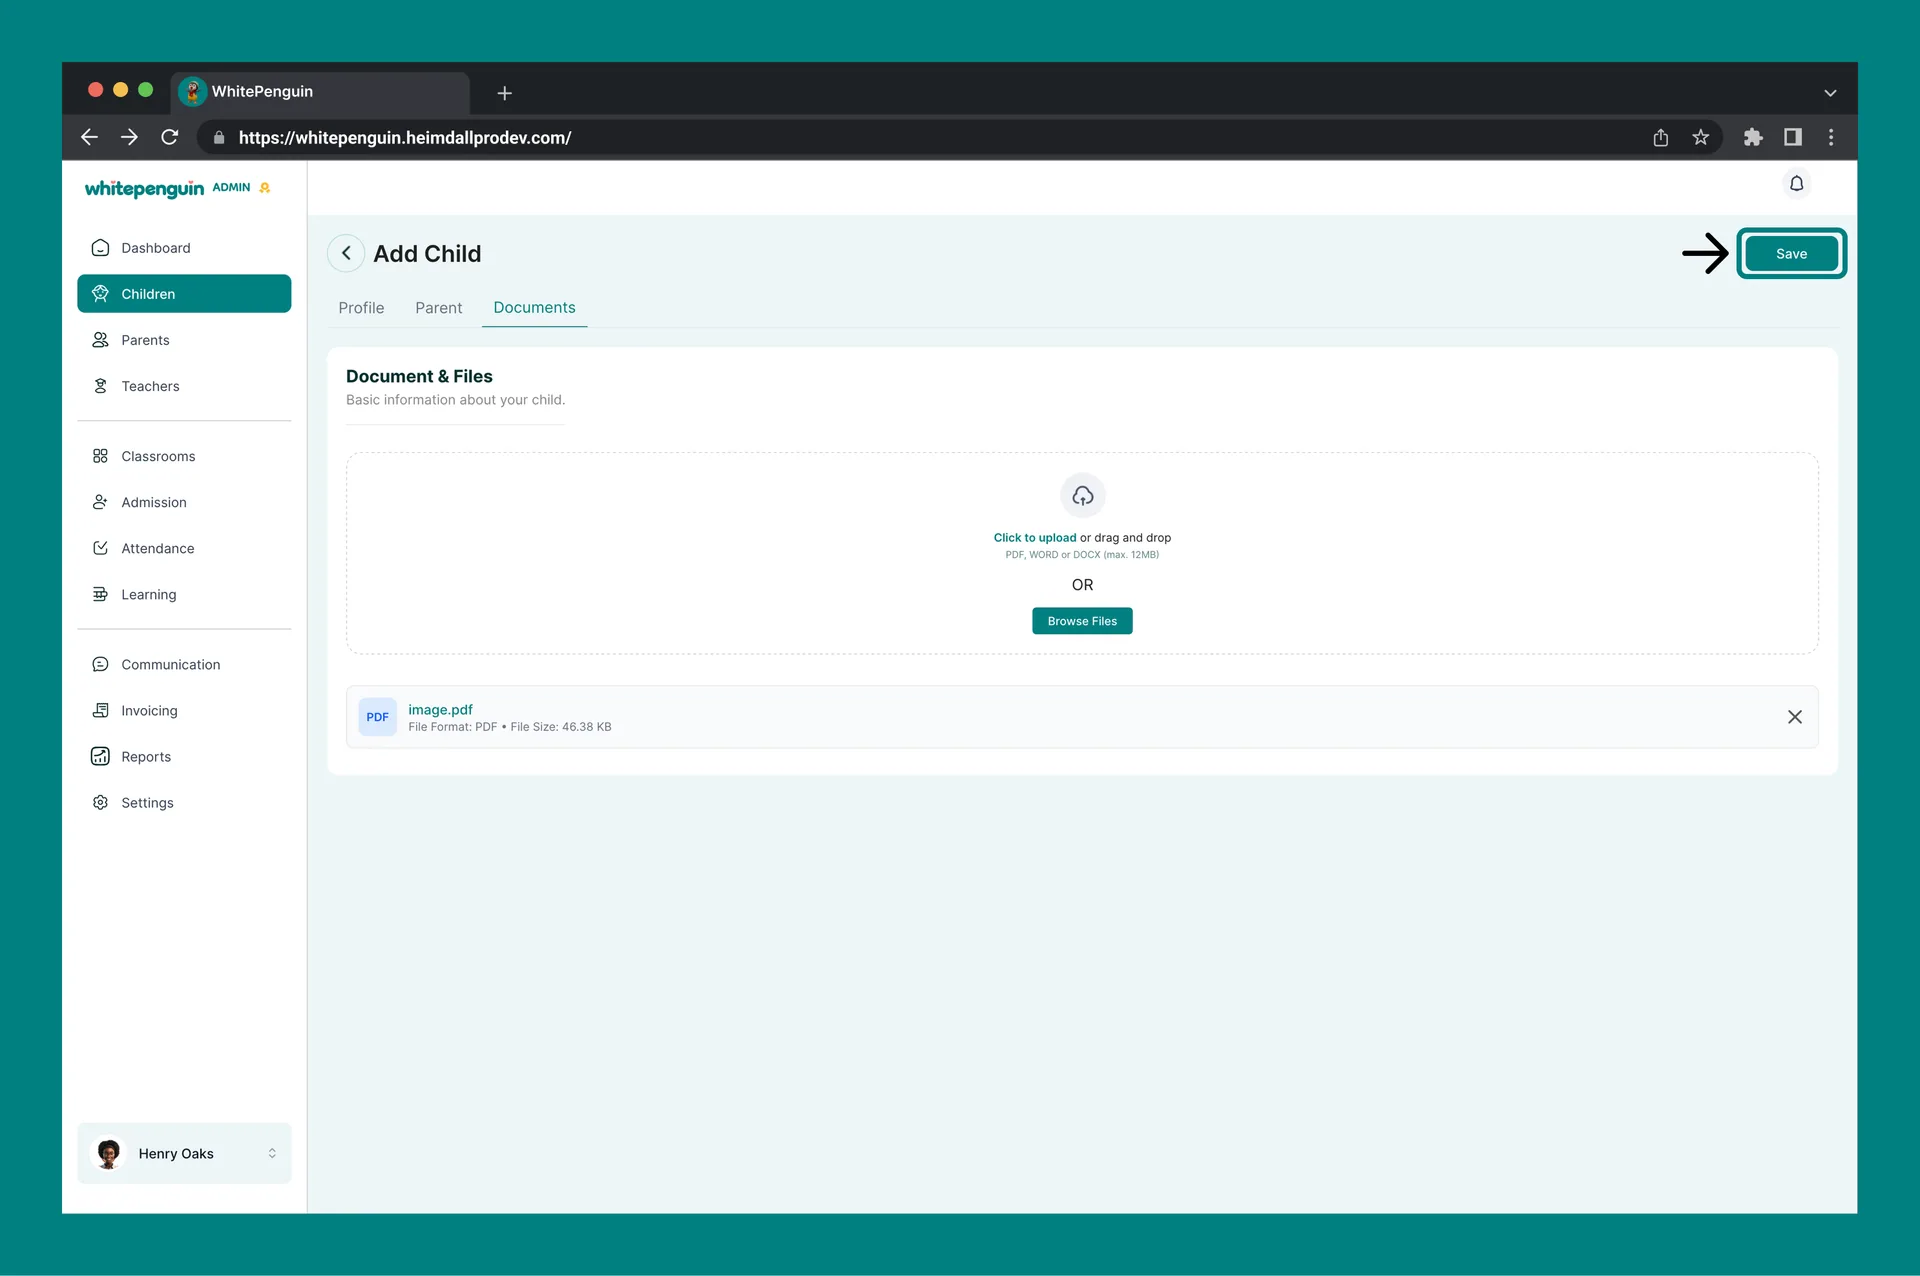
5. Click **Next** to go to the **Documents tab**, upload at least one document, and click **Save**.
6. The parent is now linked to the child and will receive an **automatic email invitation** to the parent portal.
To link **more than one parent or guardian** to a child, click **+ Add new parent/guardian** in the Parent tab before saving. Each parent added will receive their own invitation email.
## How to Access the Parents Section [#how-to-access-the-parents-section]
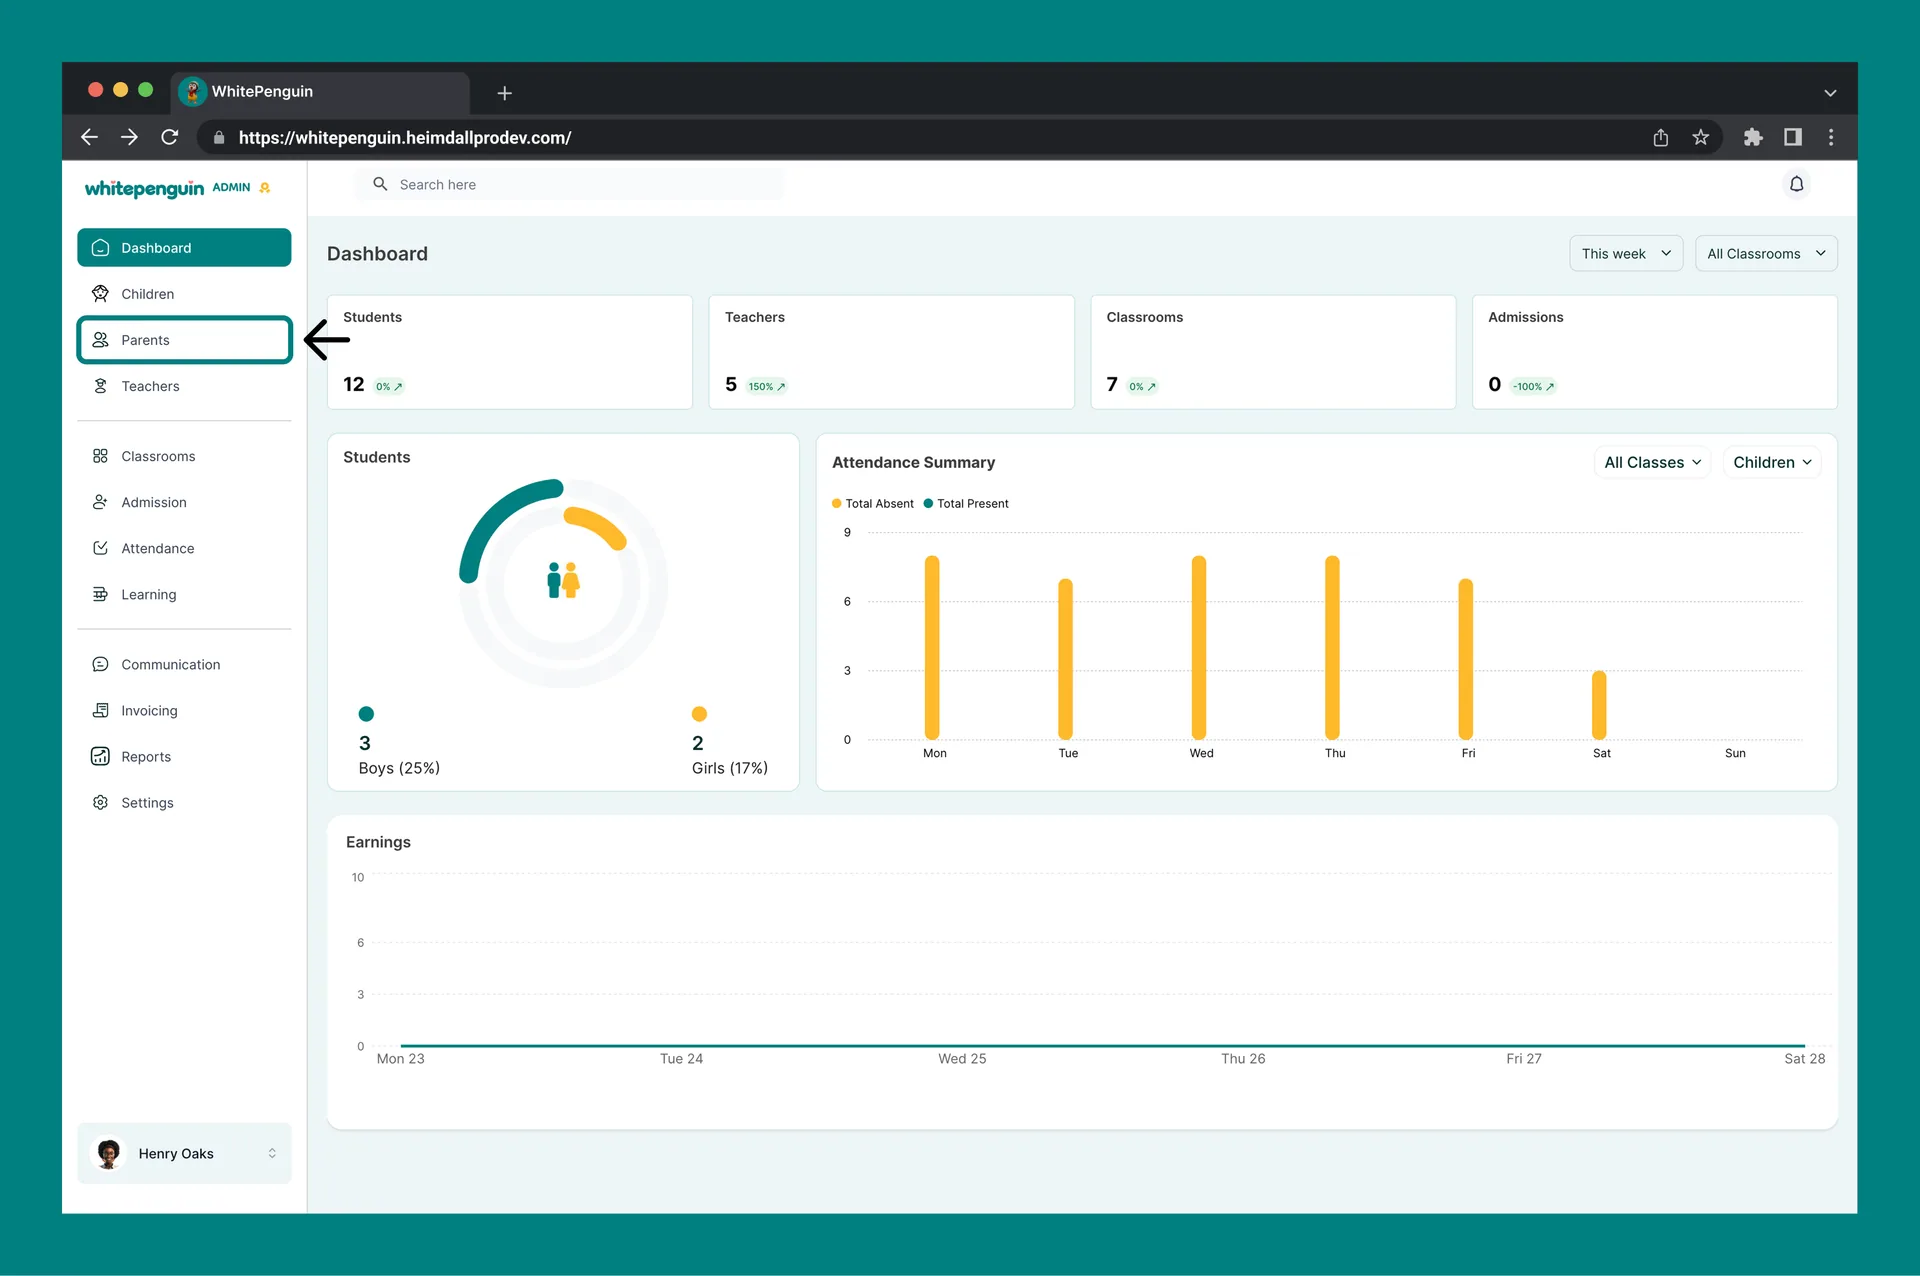
1. Click **Parents** in the **left sidebar**.
2. The Parents page displays all parents currently linked to children in the system.
3. The table shows each parent's **Name**, **Email**, **Phone Number**, **No. of Children**, and **Status** (Active or Inactive).
4. Use the **Search bar** to quickly find a parent by name or email.
5. Use the **All Classrooms** filter at the top right to filter parents by classroom.
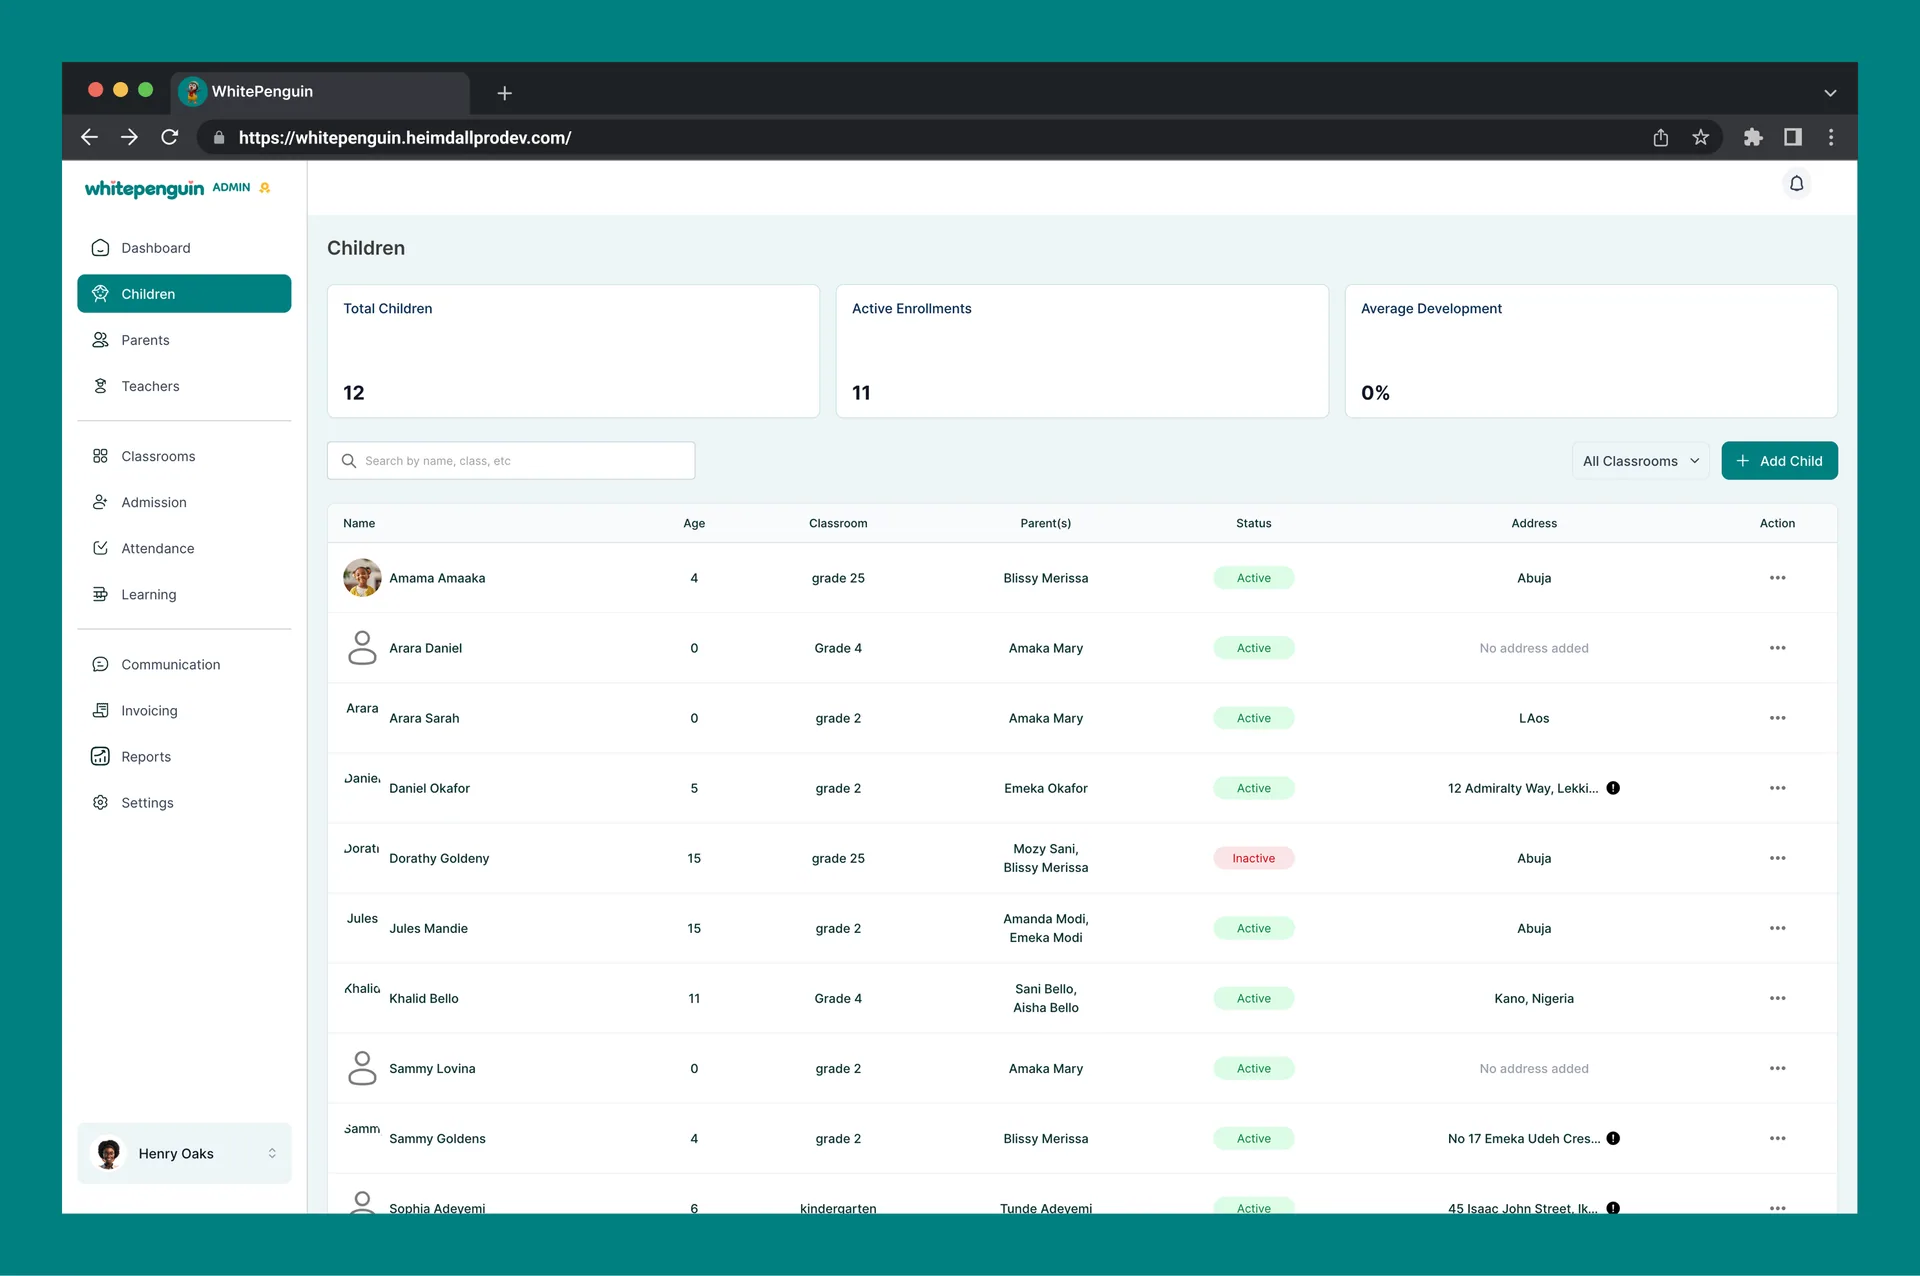
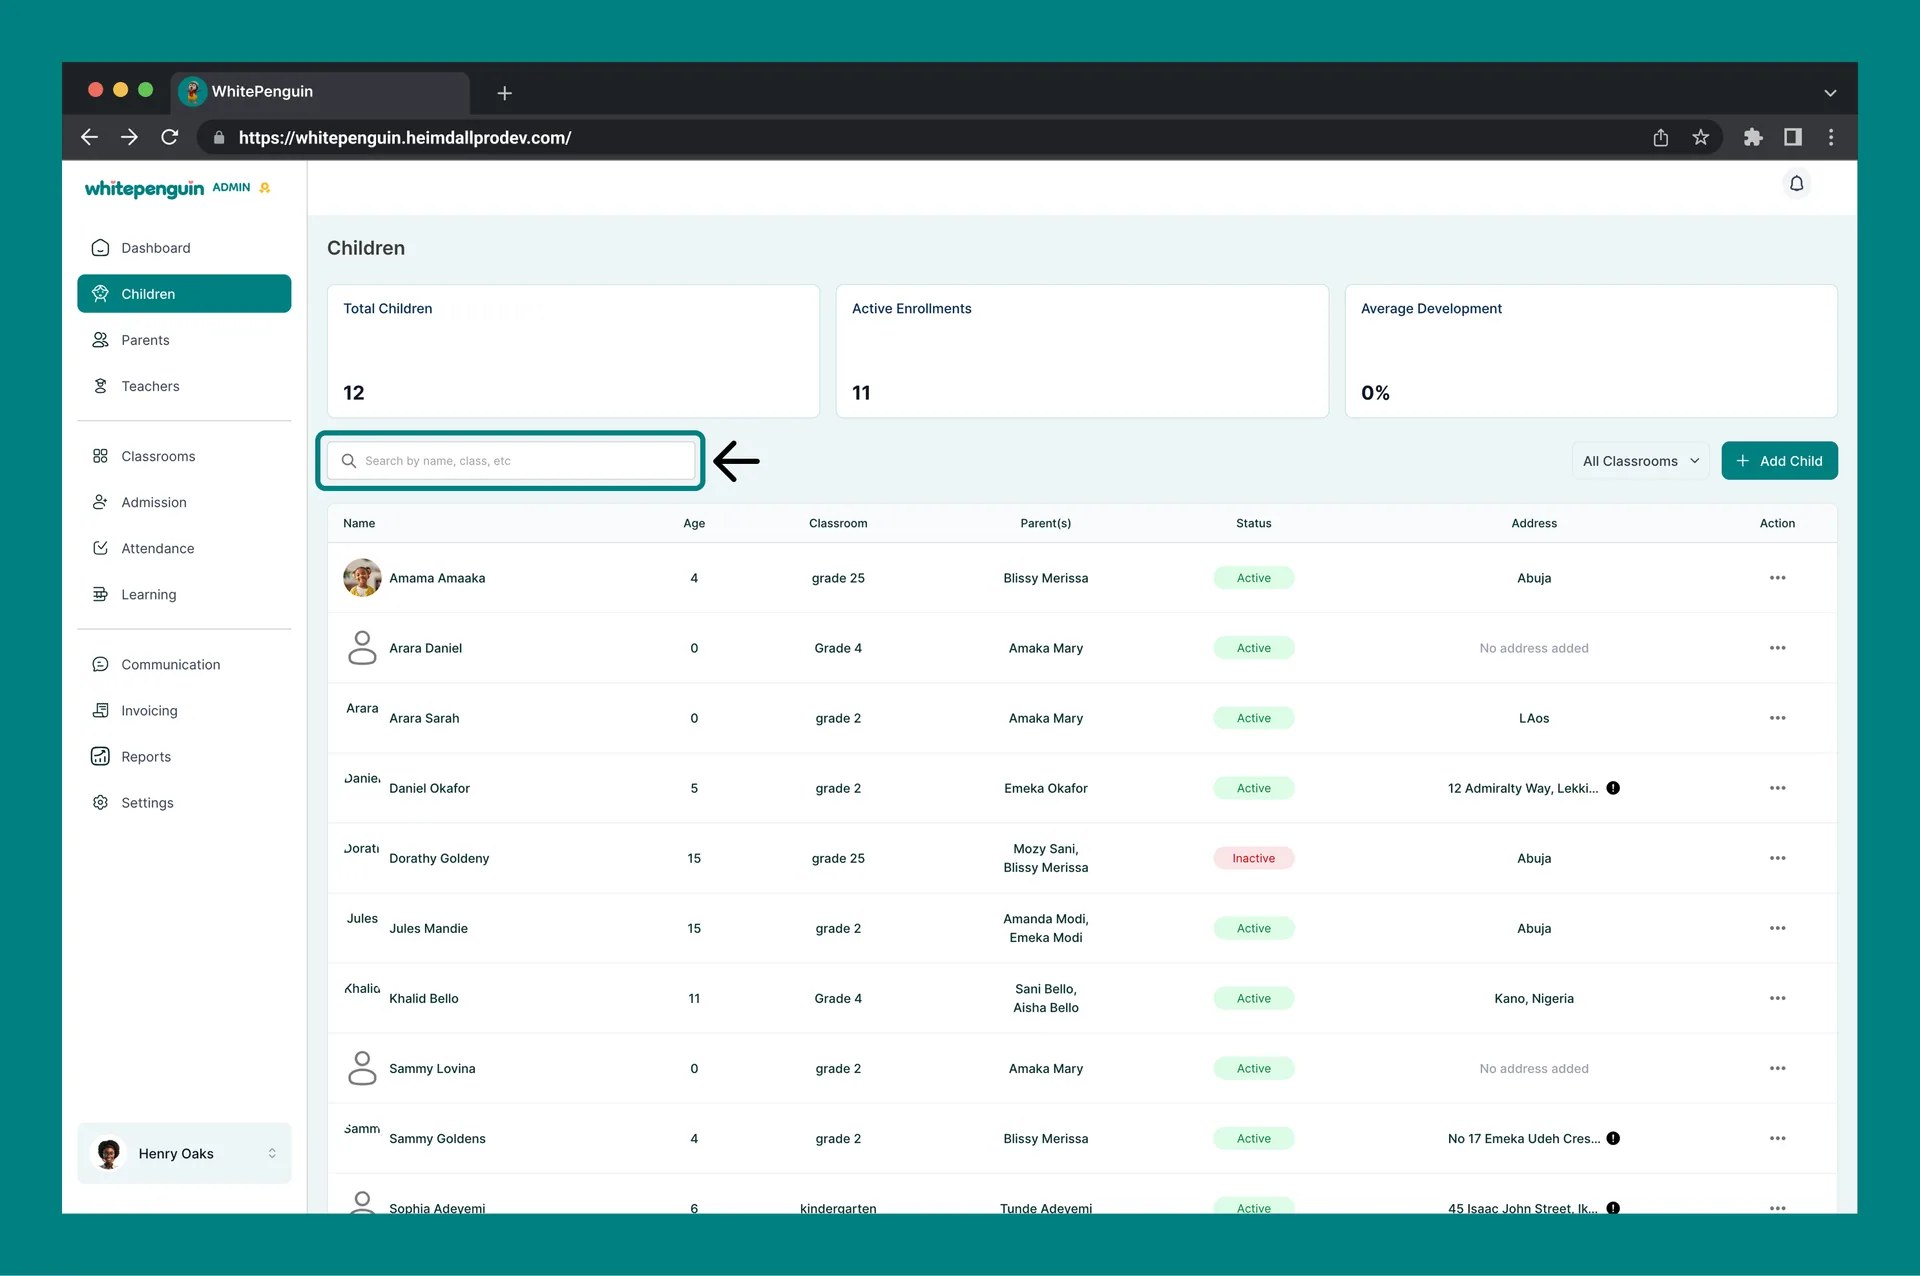
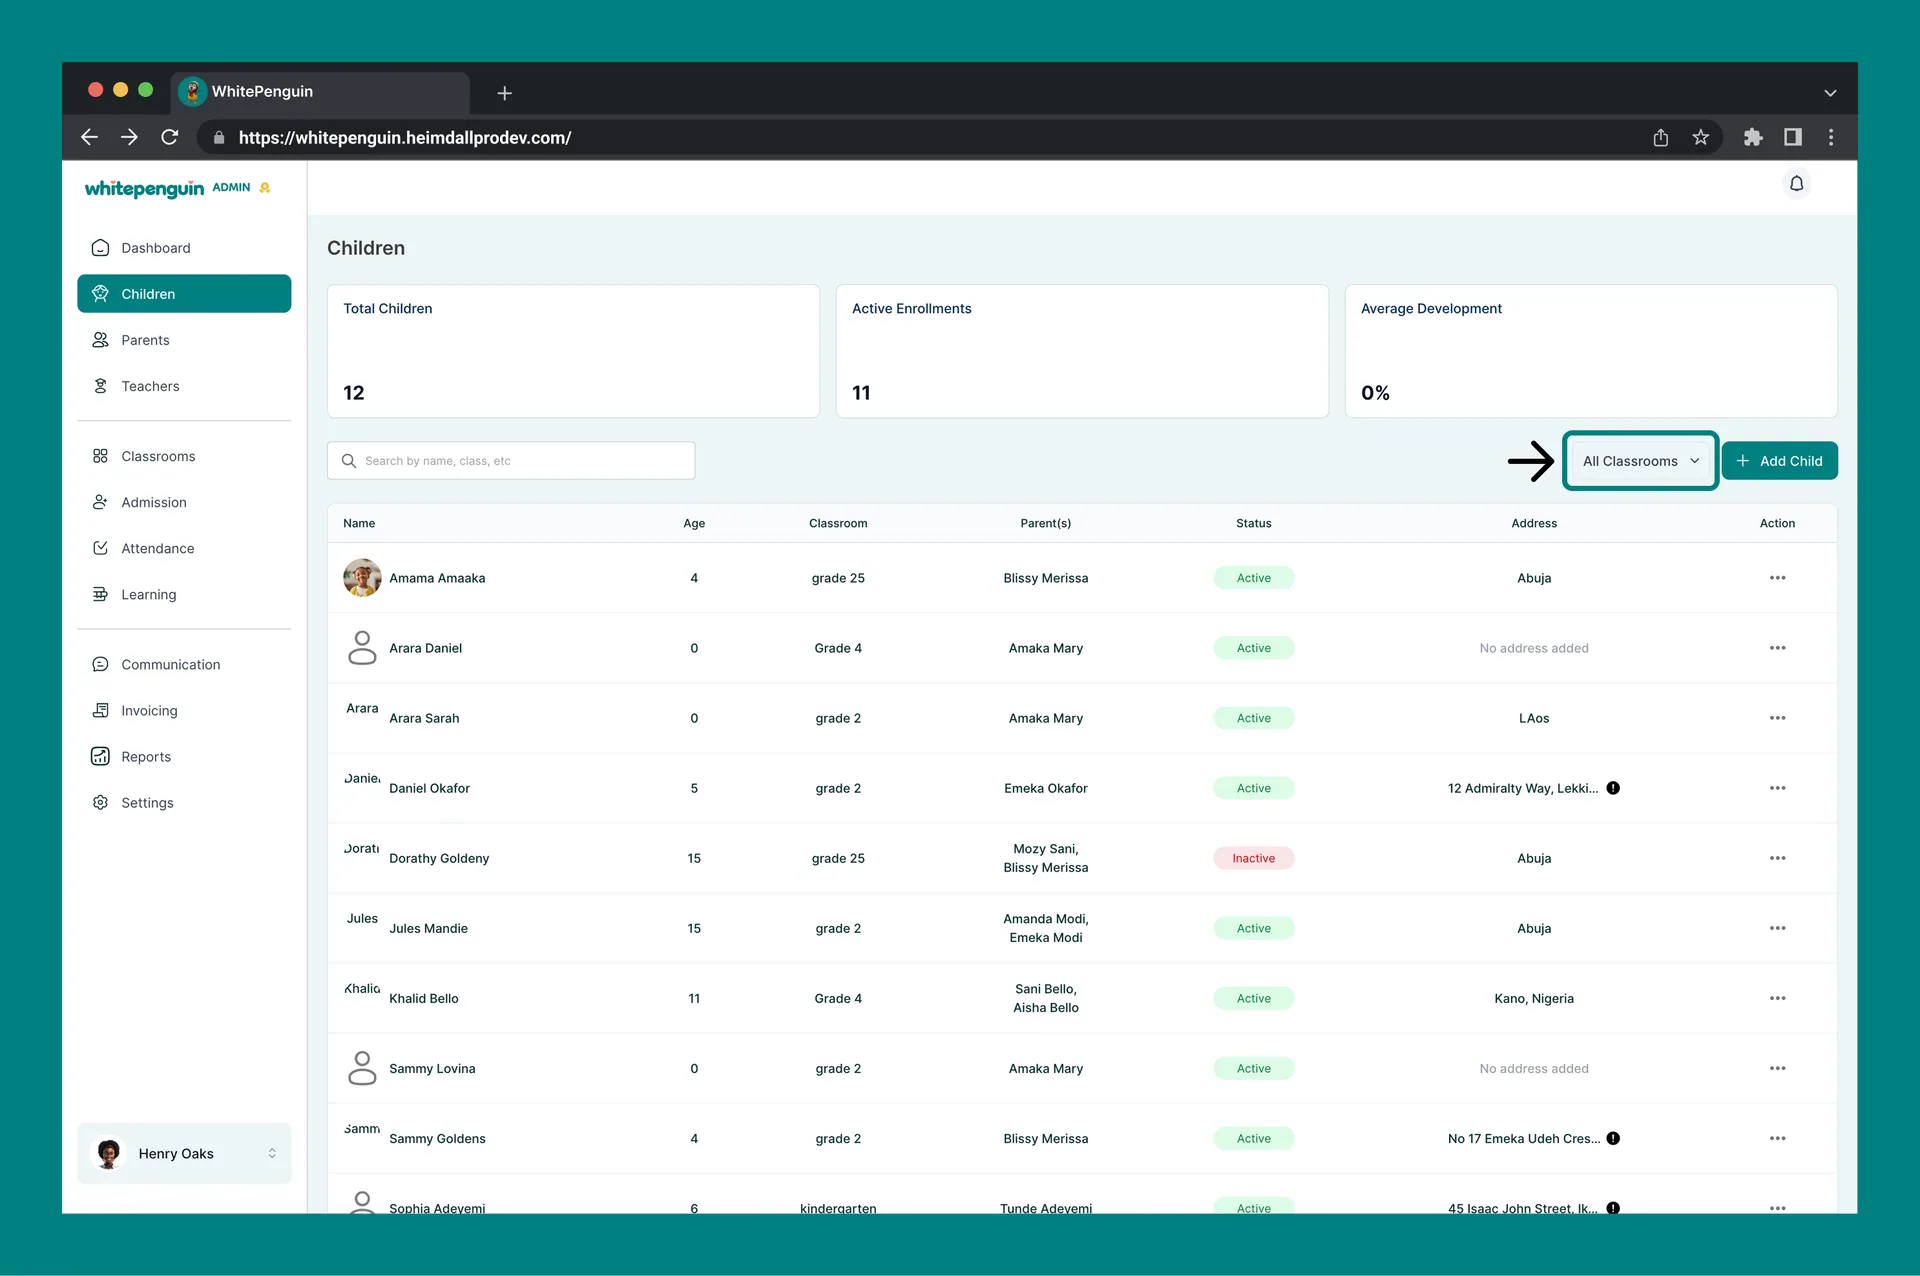
## Viewing a Parent Profile [#viewing-a-parent-profile]
To open a parent's full profile:
1. Click the **Actions (⋯)** button on the parent's row.
2. Select **View** from the dropdown menu.
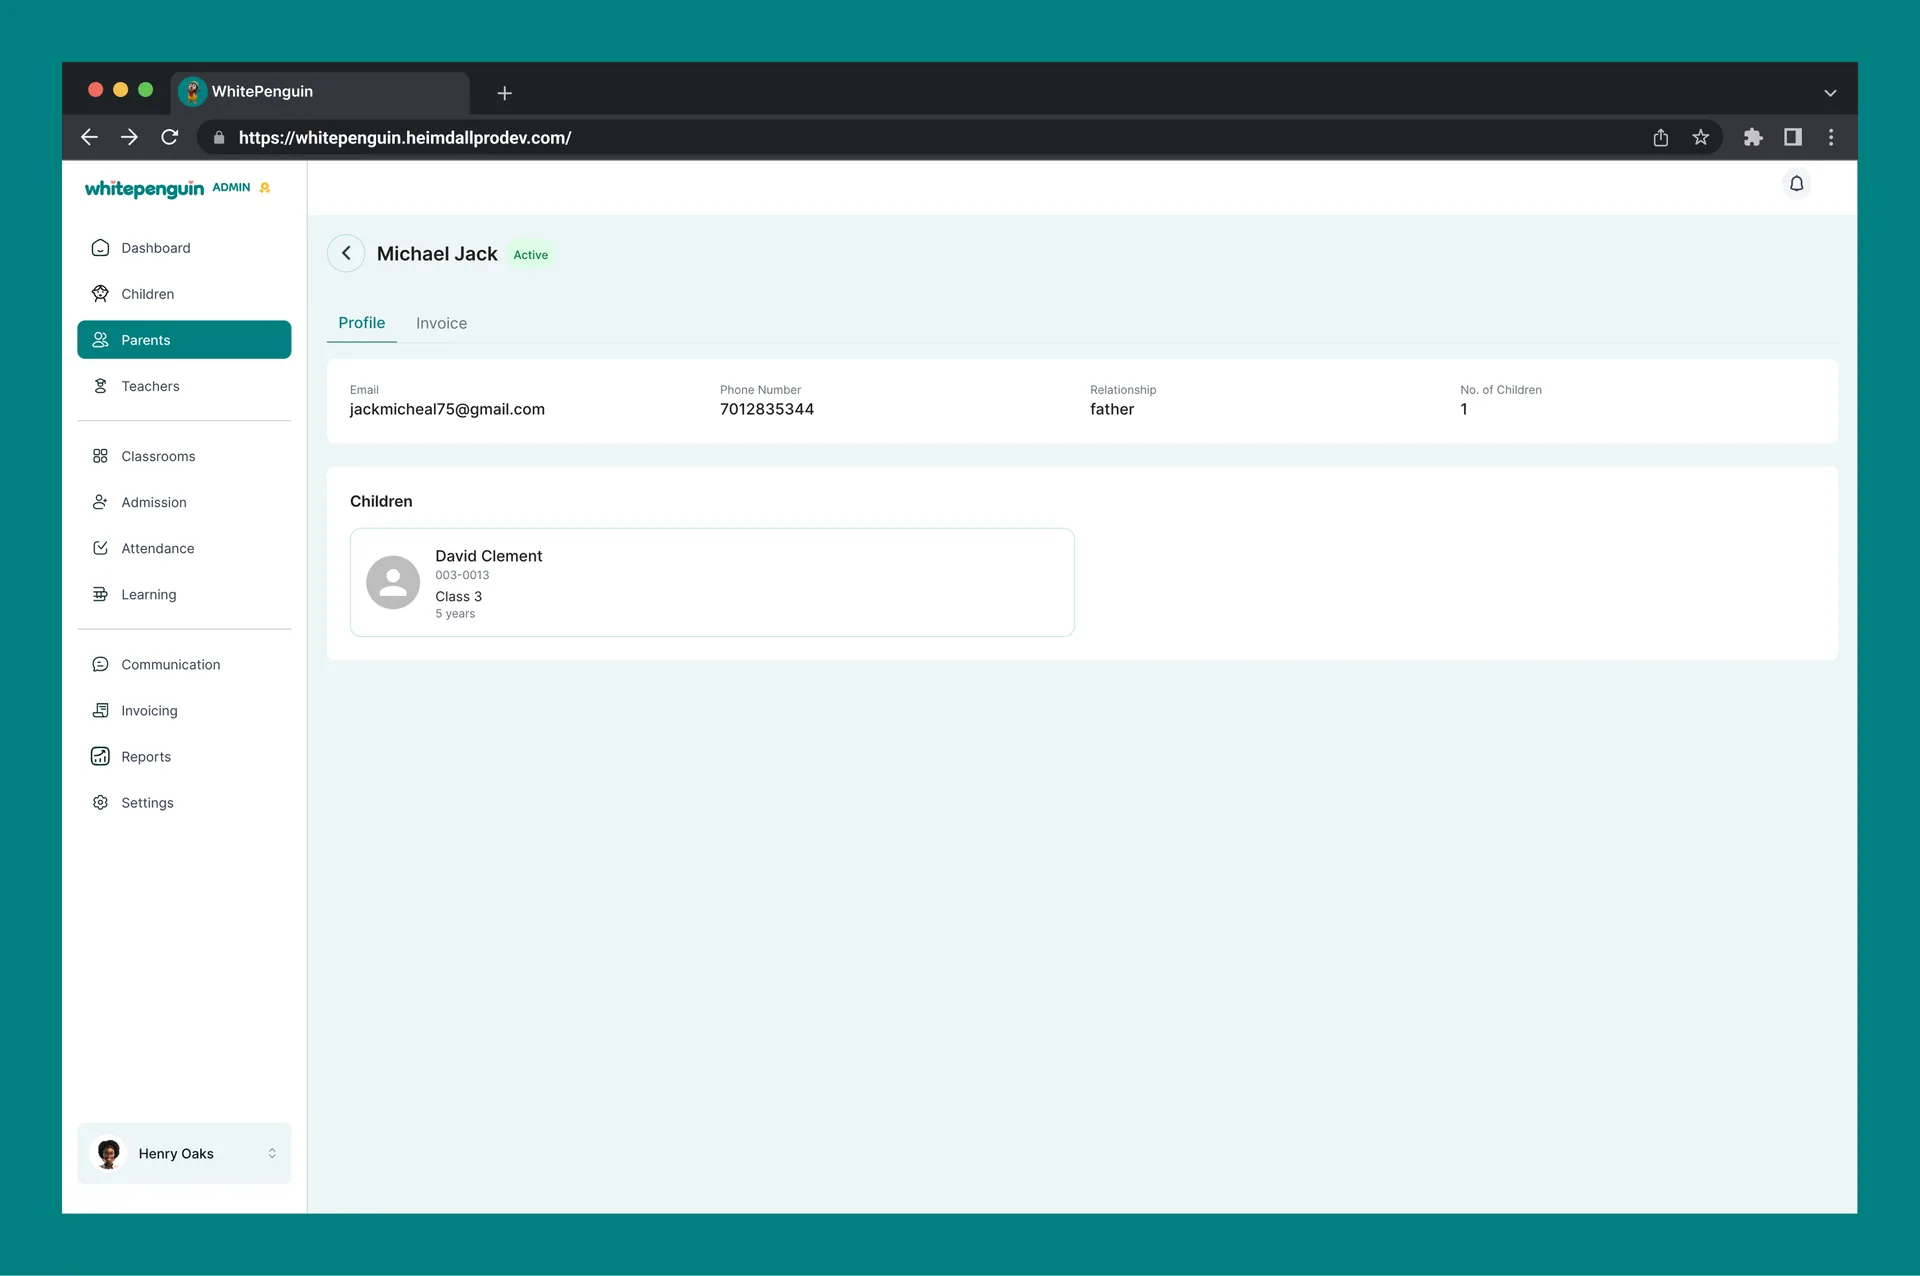
3. The parent's profile page will open with two tabs: **Profile** and **Invoice**.
***
### Profile Tab [#profile-tab]
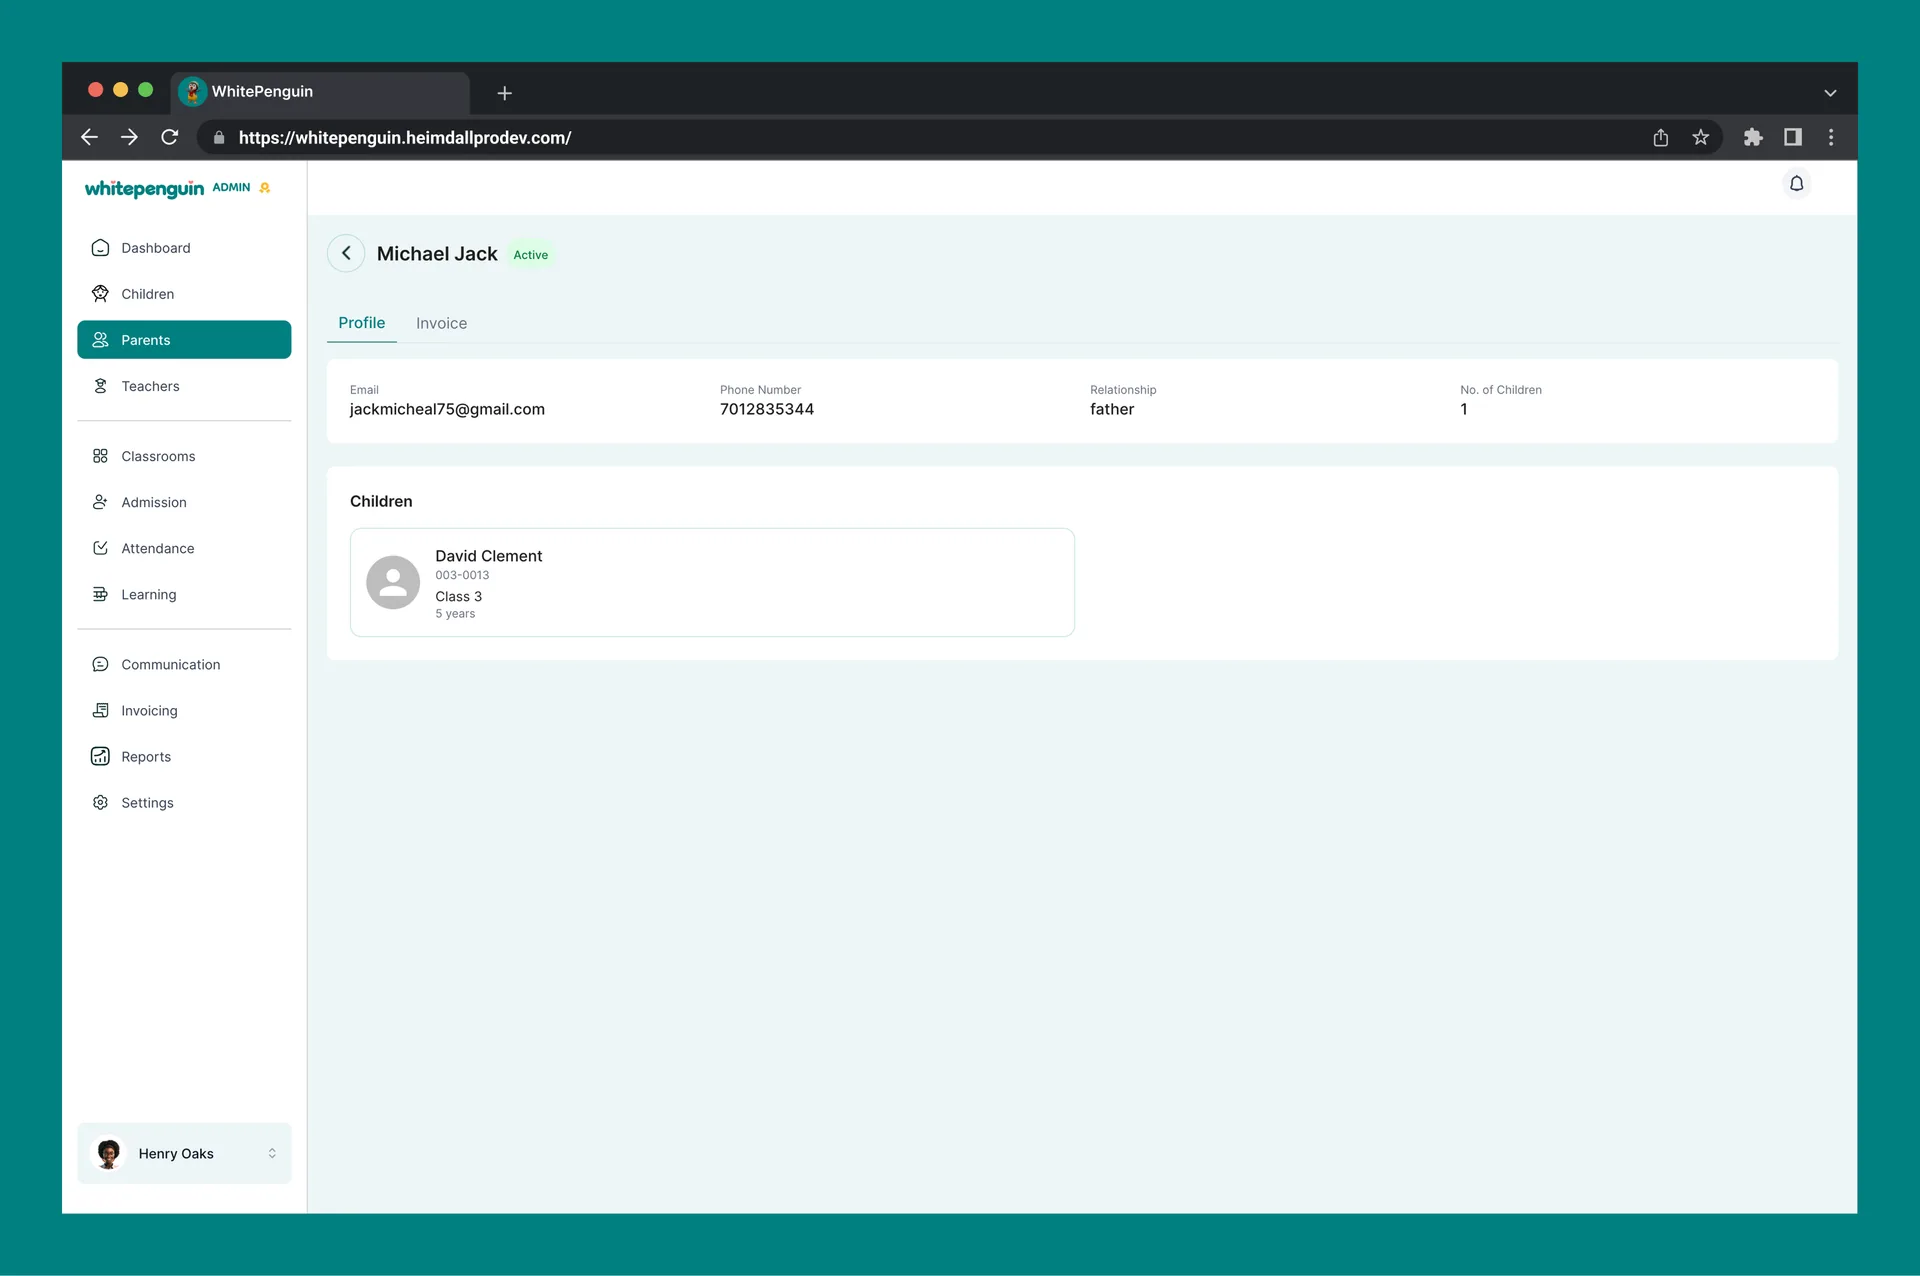
The Profile tab shows a summary of the parent's information and their linked children.
| Field | Description |
| -------------------- | ----------------------------------------------------------------------------------------------- |
| **Status badge** | Displayed next to the parent's name — shows **Active** or **Inactive** |
| **Email** | The parent's email address |
| **Phone Number** | The parent's contact phone number |
| **Relationship** | The parent's relationship to the child (e.g., Mother, Father, Other) |
| **No. of Children** | How many children are linked to this parent |
| **Children section** | A list of all children linked to this parent, showing each child's name, ID, classroom, and age |
### Invoice Tab [#invoice-tab]
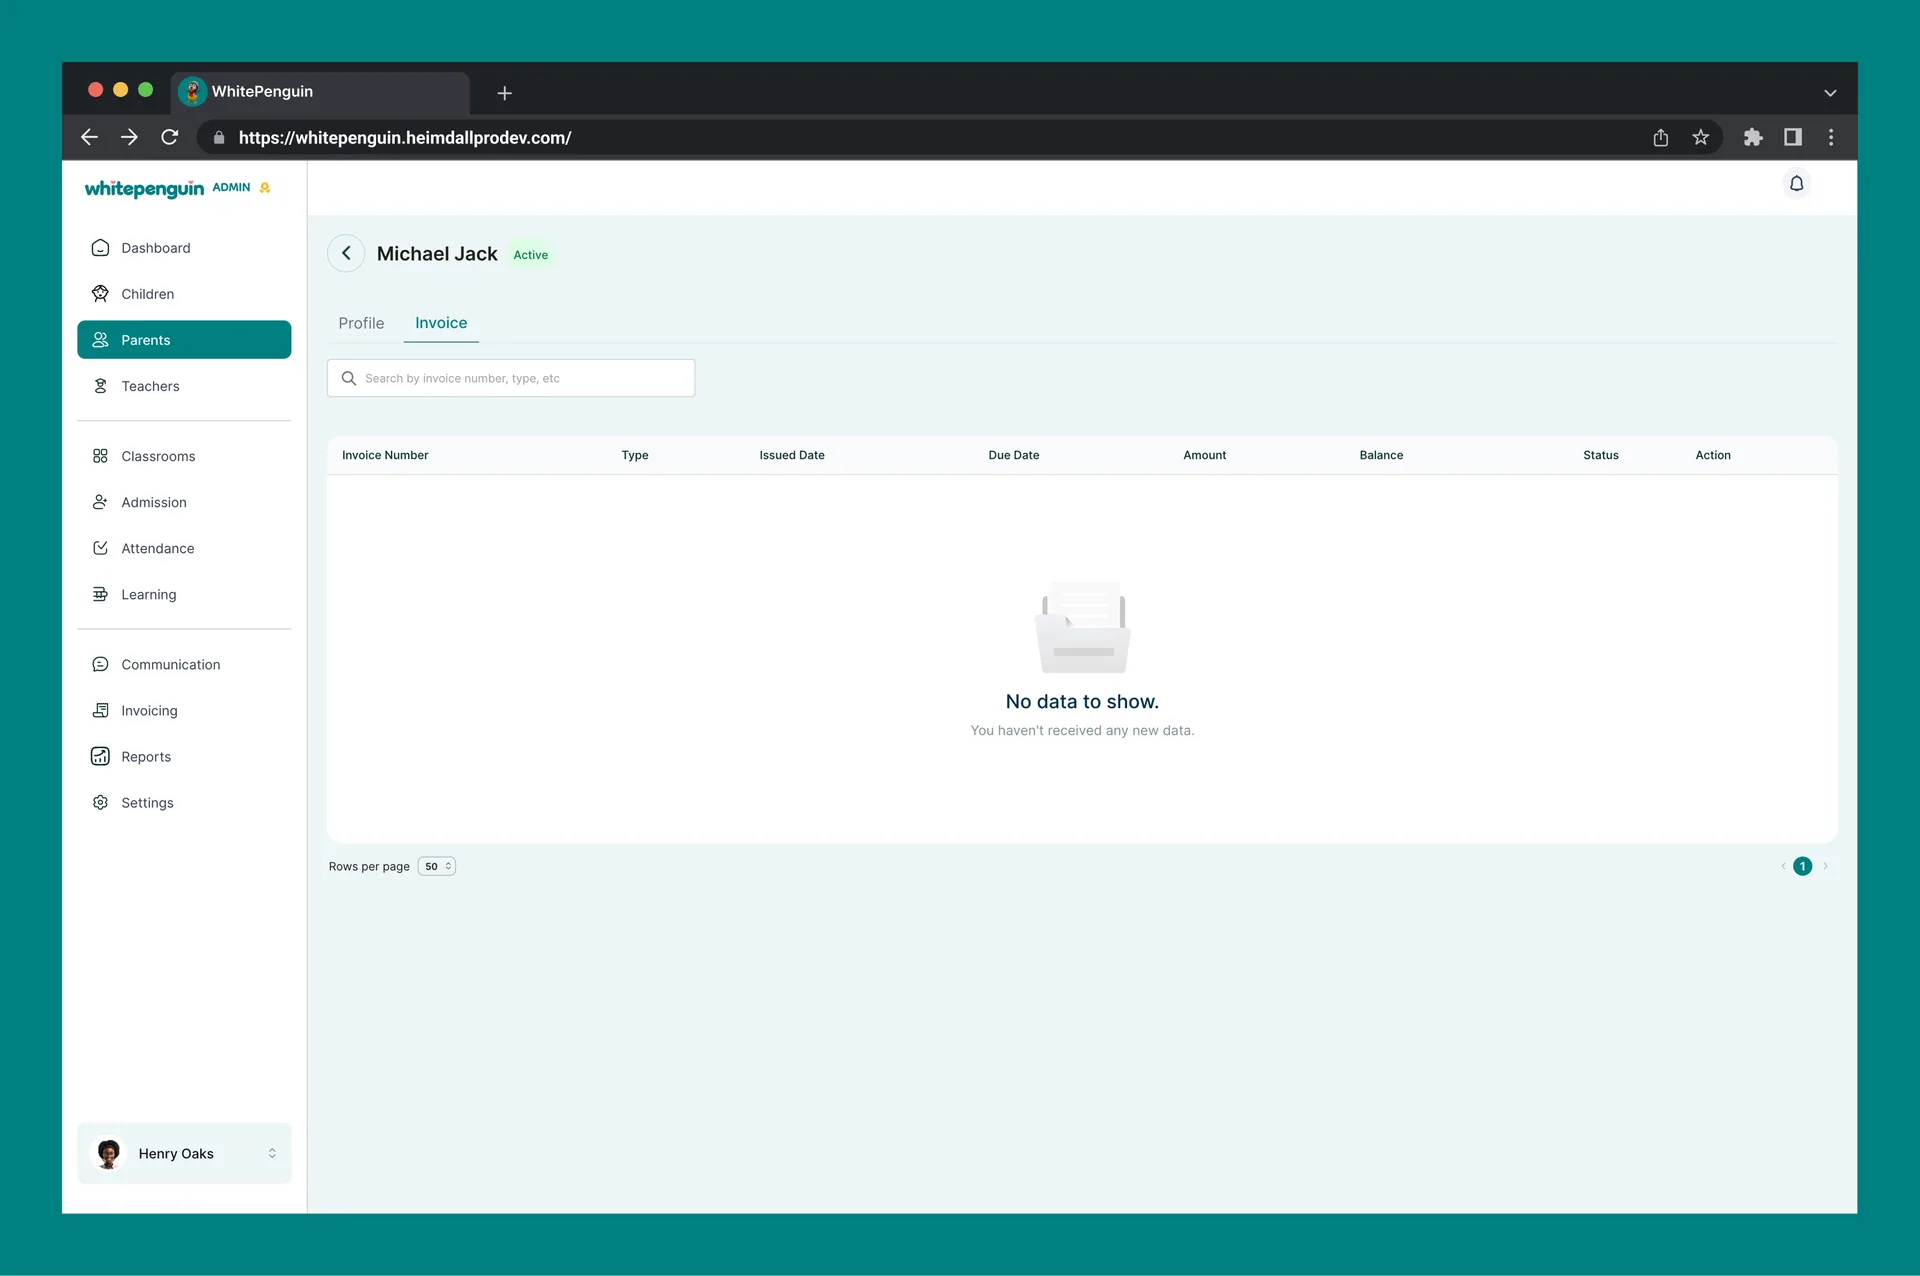
The Invoice tab displays all invoices associated with this parent's children. Admins can use this tab to track billing and payment history linked to the parent's account.
## Parent Actions [#parent-actions]
From the **Actions (⋯)** menu on any parent row in the Parents list, the following actions are available:
| Action | Description |
| ------------------------- | --------------------------------------------------------------------------------------------------------------------------------------------------------------------- |
| **View** | Opens the parent's full profile page with the Profile and Invoice tabs. |
| **Resend Invite** | Sends a fresh invitation email to the parent. Use this if the parent hasn't accepted their original invite or can't find it. |
| **Activate / Deactivate** | Toggle the parent's account status. Deactivating a parent prevents them from accessing the parent portal without removing their data. Activate restores their access. |
| **Archive** | Archives the parent's profile. Archived parents are hidden from the main list but their data is preserved in the system. |
| **Delete** | Permanently removes the parent from the system. This action cannot be undone. |
**Delete is permanent.** Before deleting a parent, consider using **Deactivate** or **Archive** instead to preserve their data while revoking access.
## Parent Invitation Flow [#parent-invitation-flow]
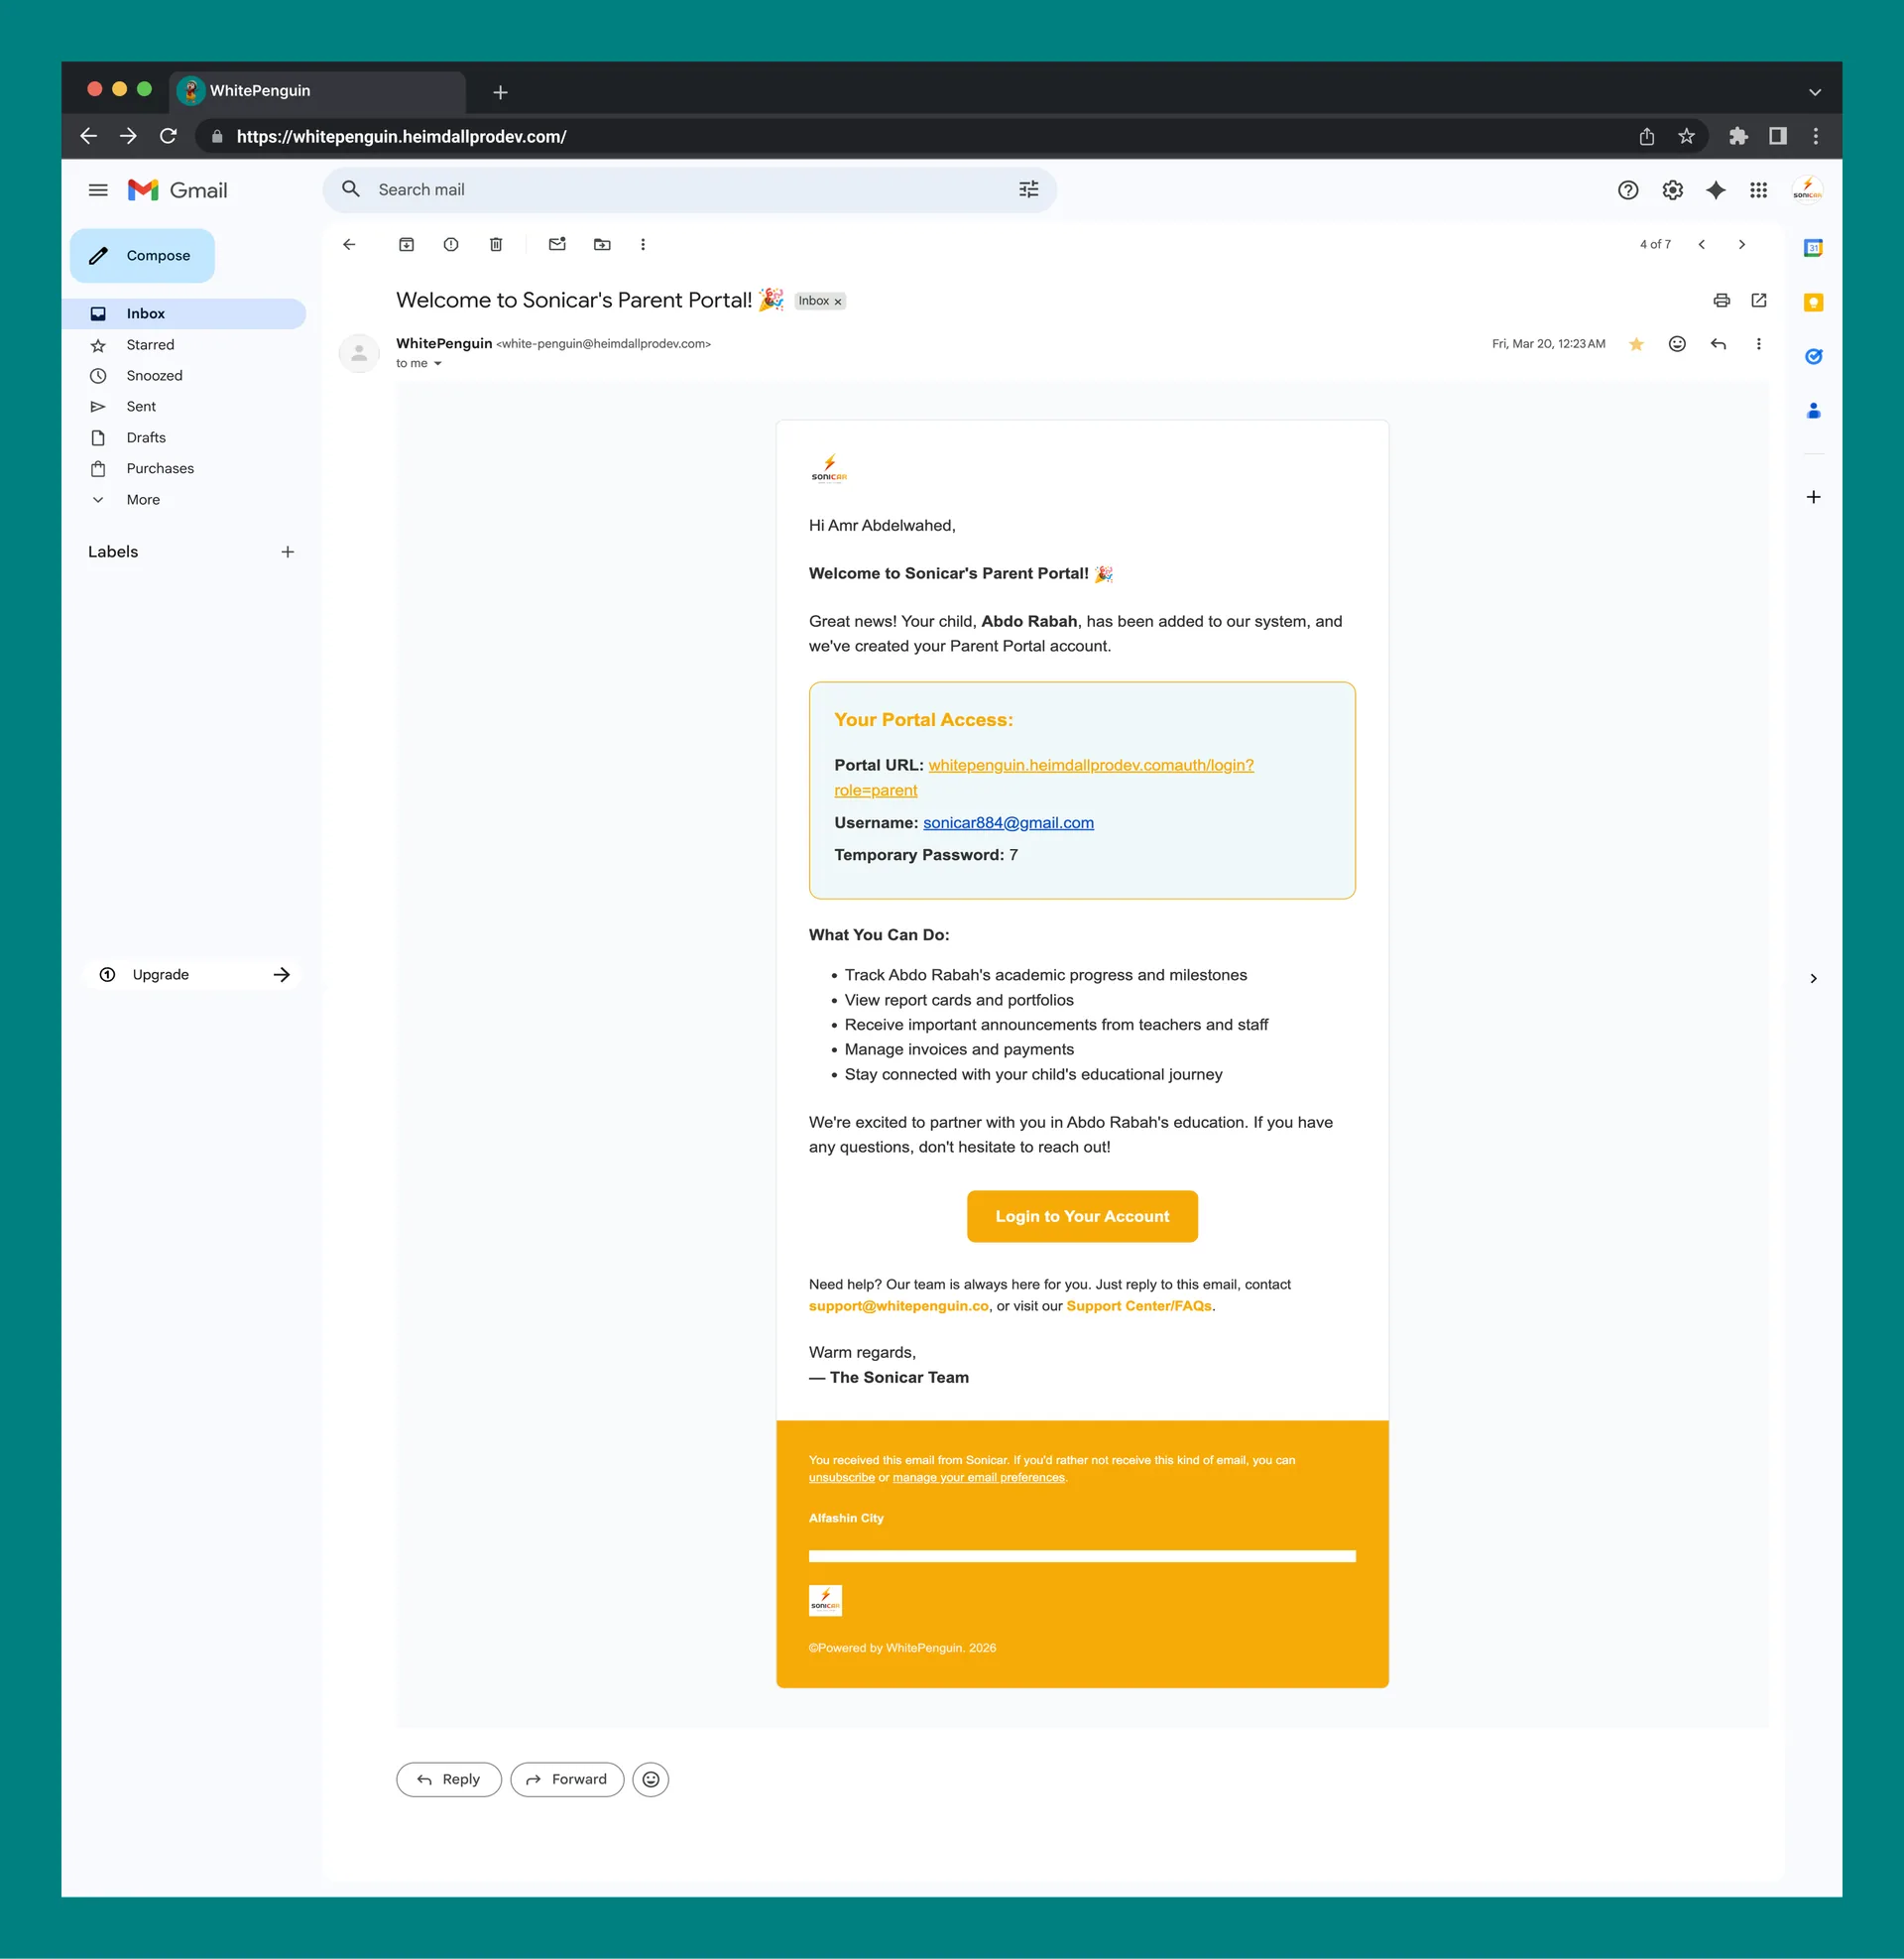
Here is a summary of how the parent invitation works from start to finish:
1. **Admin adds a child profile** and fills in the parent's email in the Parent tab.
2. After saving, the system **automatically sends an invitation email** to the parent.
3. The parent clicks the link in the email, sets up a password, and gains access to the **parent portal**.
4. Once accepted, the parent's status in the Parents section changes to **Active**.
5. If the parent hasn't accepted yet, their status shows as **Inactive** — the admin can use **Resend Invite** to send a new email.
## Tips [#tips]
* **Parents are created through child profiles.** Always go to Children → Add Child → Parent tab to add a new parent. You cannot create a standalone parent account from the Parents section.
* **Check invitation status regularly.** If a parent's status shows Inactive for more than a day or two, use Resend Invite to prompt them again and ask them to check their spam folder.
* **Multi-child parents:** If a parent has more than one child enrolled, link the same parent to each child's profile. The **Multi-Child Parents** summary card will reflect this.
* **Use Deactivate instead of Delete** when a parent temporarily should not have access but you may need their record later (e.g., if they are on leave or their child is temporarily unenrolled).
* **Use Archive** to keep historical records clean without permanently losing data.
* **Filter by classroom** using the All Classrooms dropdown at the top right of the Parents page to quickly find parents from a specific room.
## FAQs [#faqs]
Parents are added through the [**Add Child form**](https://whitepenguin.sonicar.tech/docs/setup-your-school/how-to-add-a-children-profile/). Go to **Children → + Add Child**, complete the Profile tab, then fill in the parent's details in the **Parent tab**. After saving the child's profile, the parent is automatically created and sent an invitation email.
No. Parents must always be linked to a child profile. There is no standalone option to add a parent from the Parents section. A parent record is created automatically when you save a child's profile with parent information filled in.
The invitation is sent automatically when the child's profile is saved. The email is sent to the address entered in the Parent tab of the [Add Child form](https://whitepenguin.sonicar.tech/docs/setup-your-school/how-to-add-a-children-profile/).
First, ask the parent to check their **spam or junk folder**. If the email isn't there, go to the **Parents** section, click the **Actions (⋯)** menu on the parent's row, and select **Resend Invite** to send a new invitation.
Yes. When adding each child, enter the same parent's email and details in the Parent tab. The system will link that parent to all their children. Parents with more than one child will be reflected in the **Multi-Child Parents** summary card.
* **Deactivate** — Suspends the parent's access to the portal without removing their data. Can be reversed with Activate.
* **Archive** — Hides the parent from the main list while keeping their record in the system.
* **Delete** — Permanently removes the parent from the system. This cannot be undone.
An **Inactive** status means the parent has not yet accepted their invitation email and has not set up their account. Use **Resend Invite** from the Actions menu to send them a new invitation link.
The **Invoice tab** shows all billing and invoice records associated with the parent's children. Admins can use this to track payment history and outstanding invoices for that family.