

Manage Admissions
View and manage all admissions for your school in one place.
Overview
The Admissions tab is where every offered admission lives. Once you click Send Offer on a lead, that family moves out of Leads & Requests and into this tab, where the admin tracks the rest of the journey — from offer sent, to payment, to active child profile.
Use this tab to:
- See every family that has received an admission offer in one place.
- View the Admission Acceptance Letter and Invoice that were sent to the parent.
- Resend the offer email if needed.
- Withdraw an offer that should no longer be honored.
No rows are added here manually — they appear automatically when the admin sends an offer from Leads & Requests → Send Offer.
How to Access Admissions
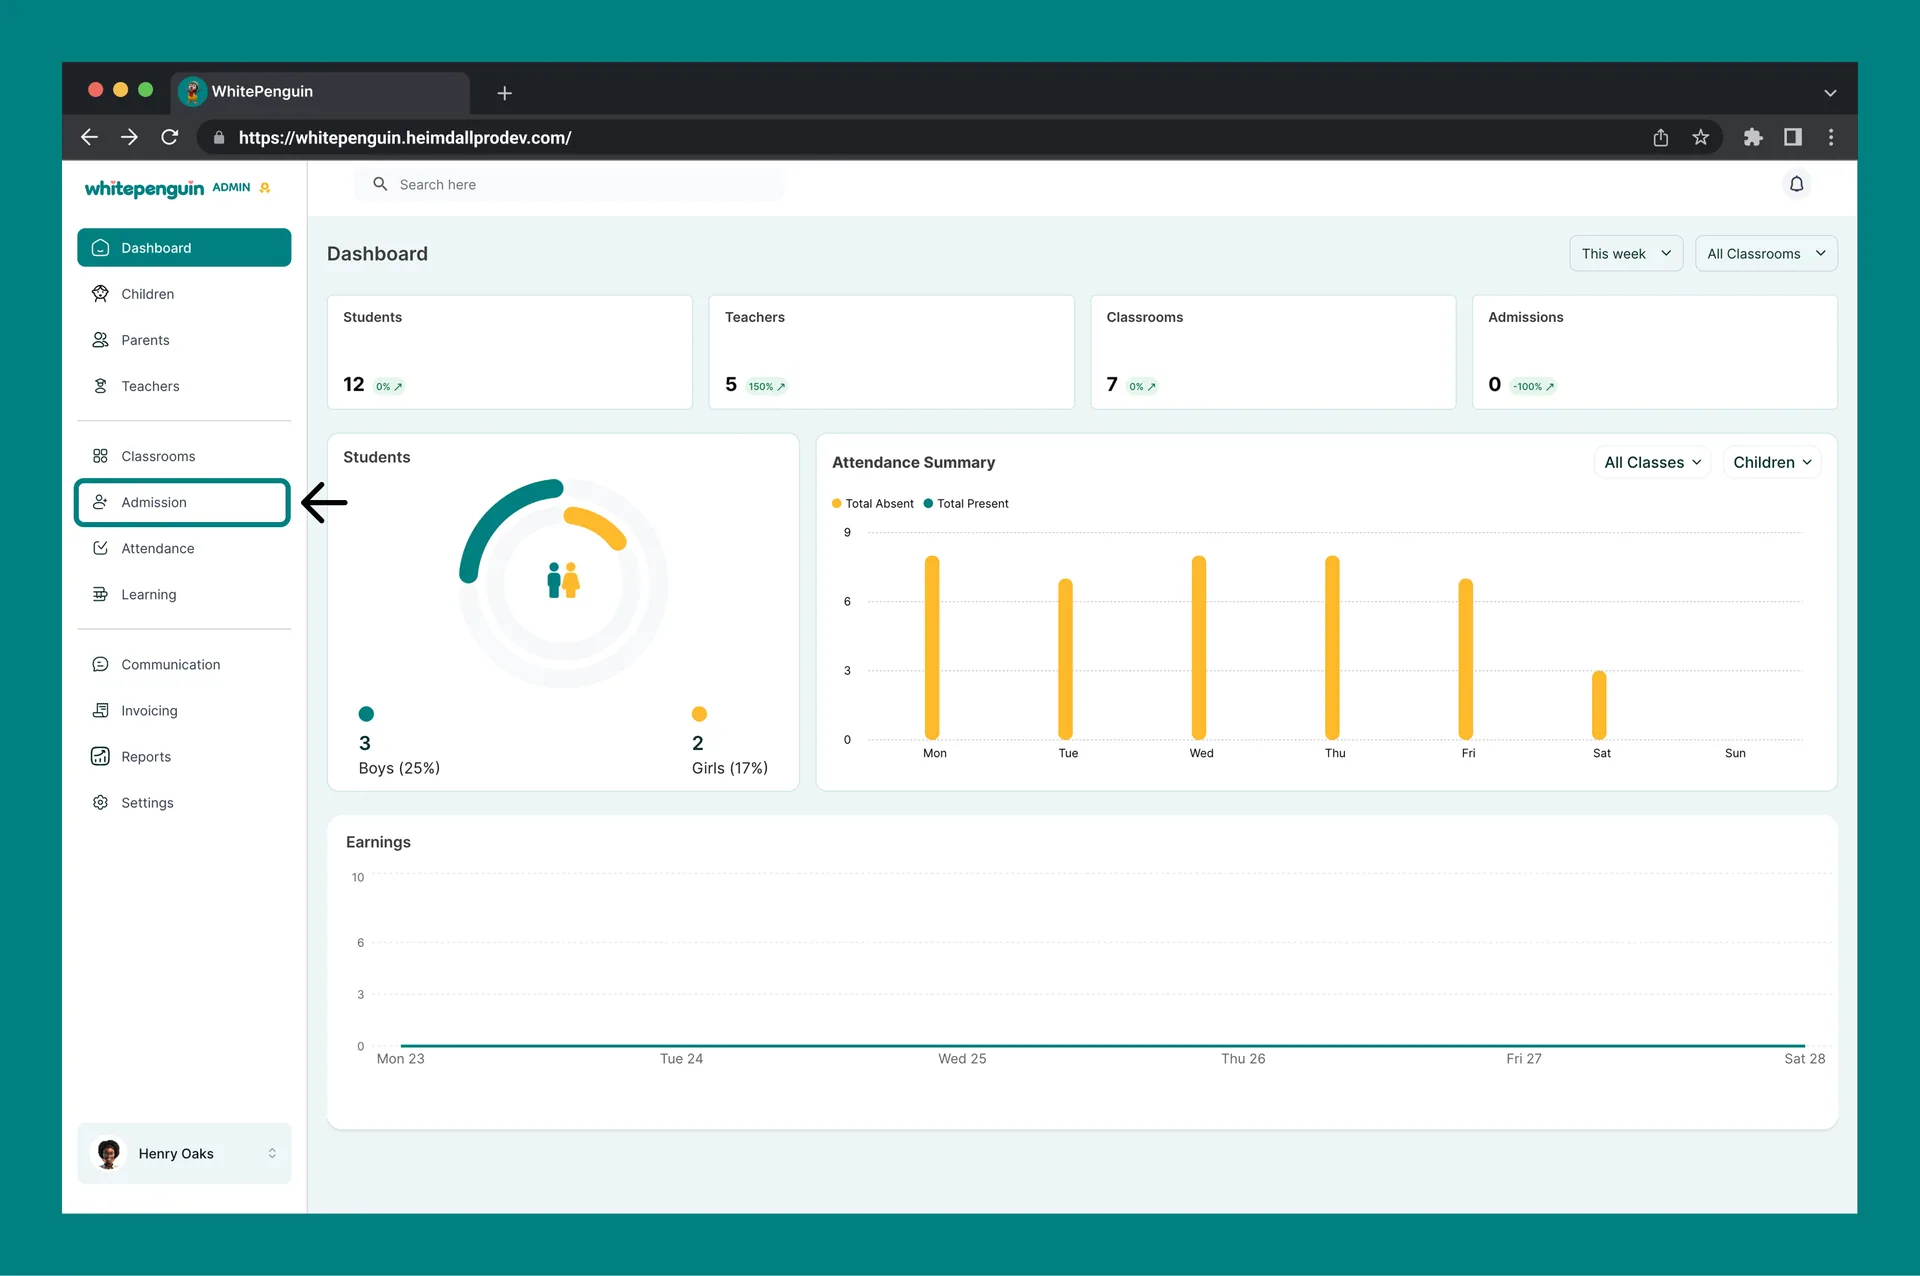
- Click Admission in the left sidebar.
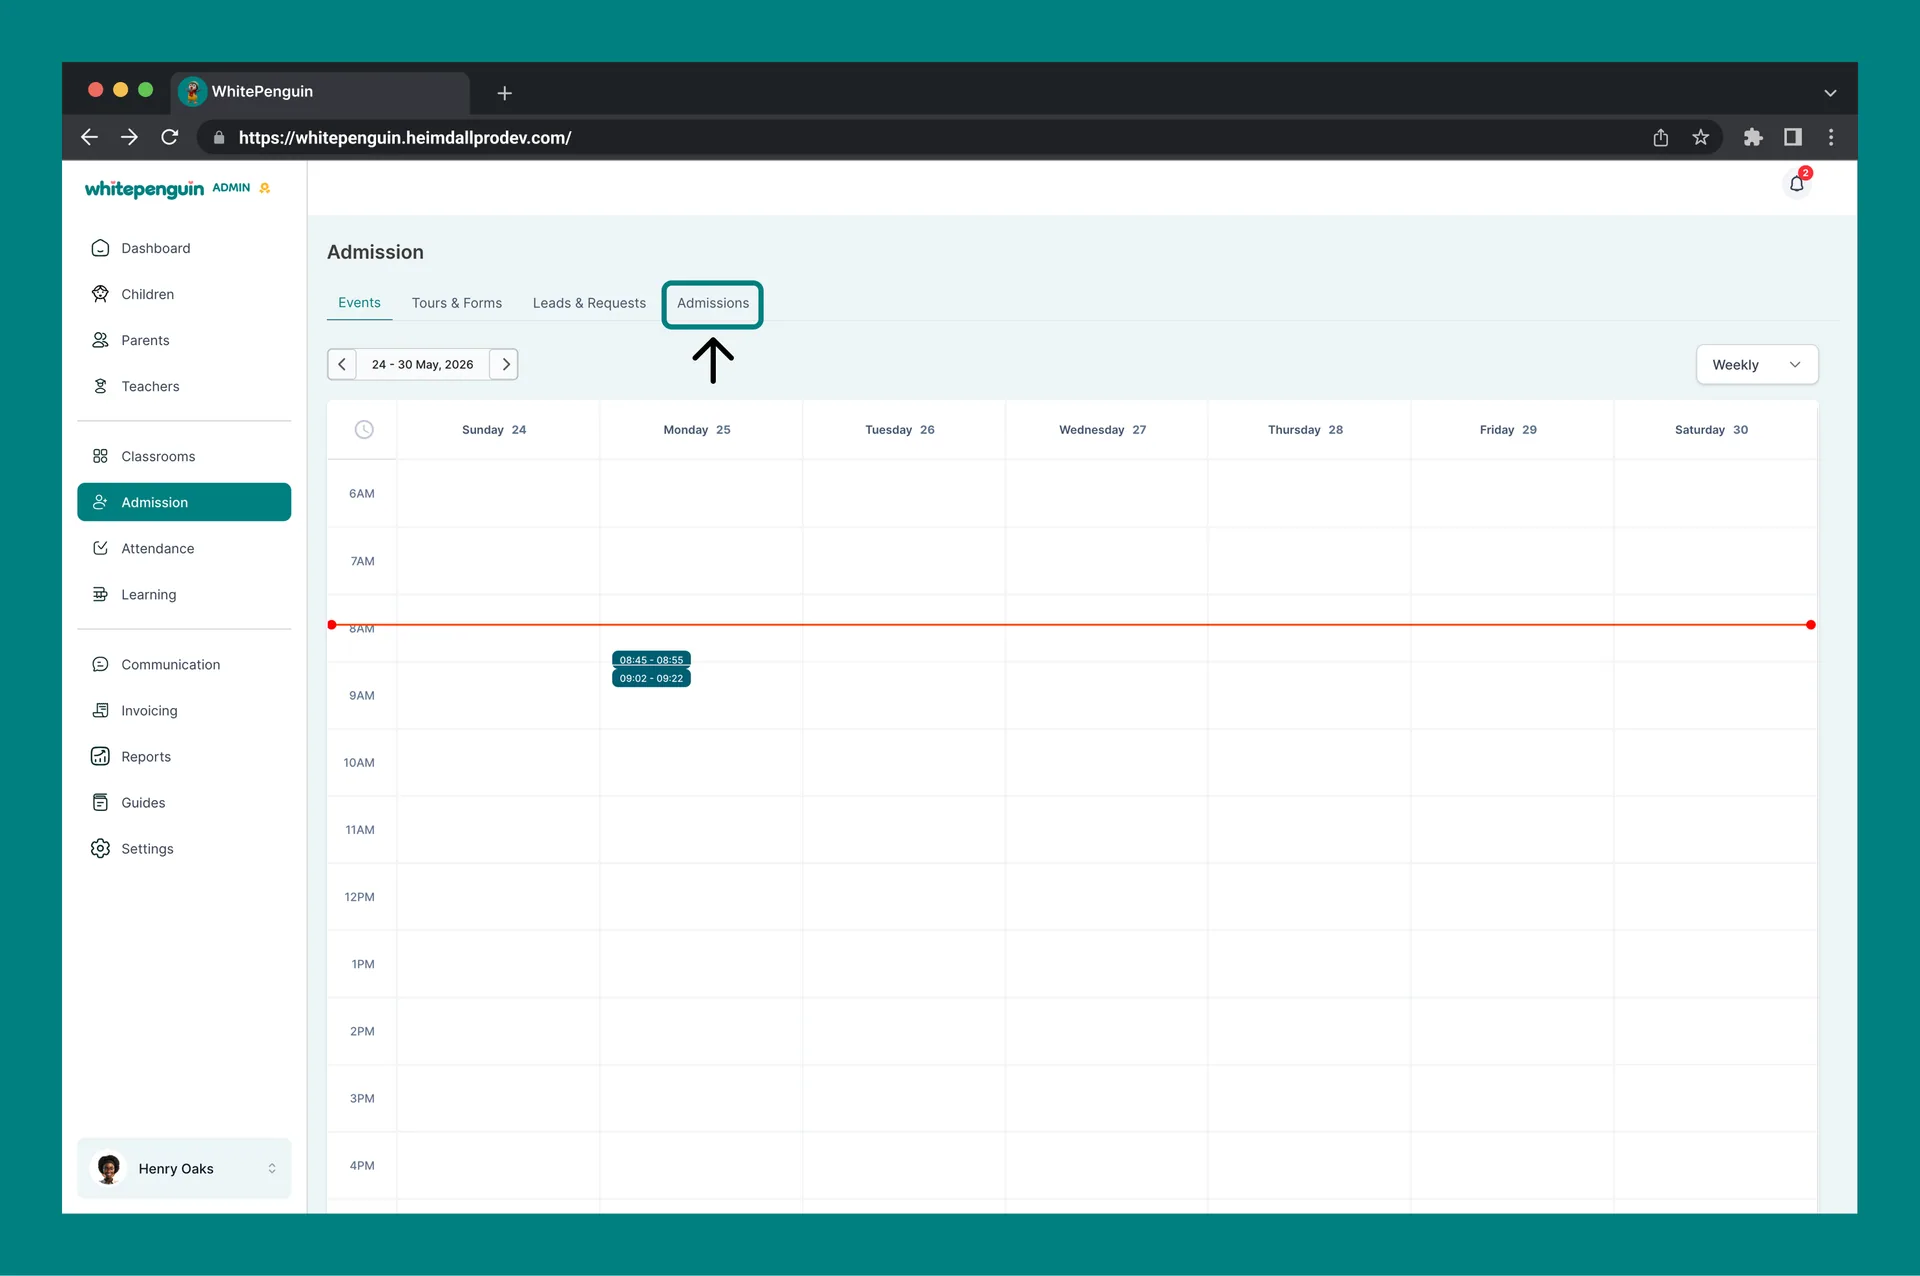
- Select the Admissions tab at the top of the Admission page.
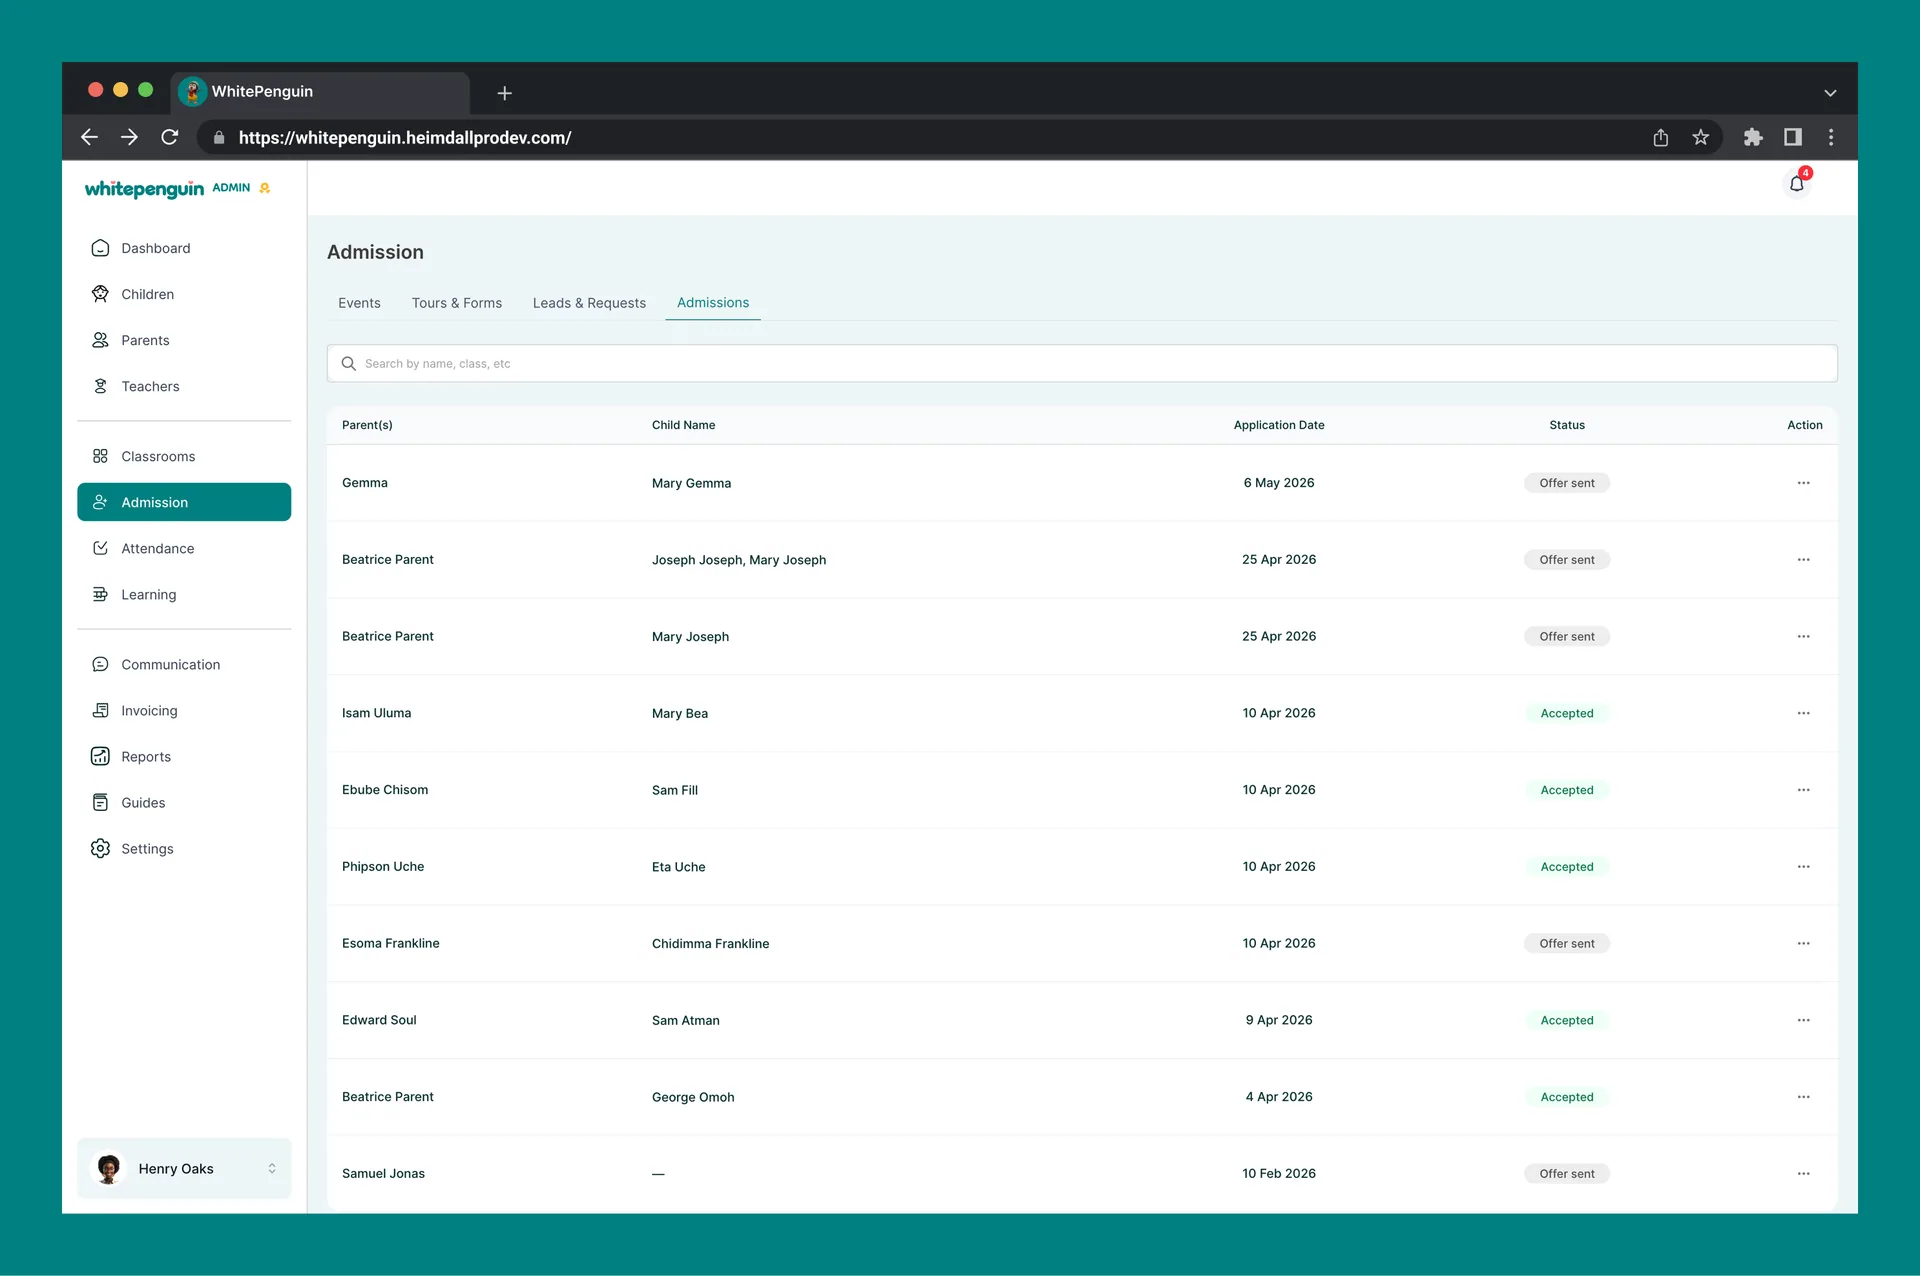
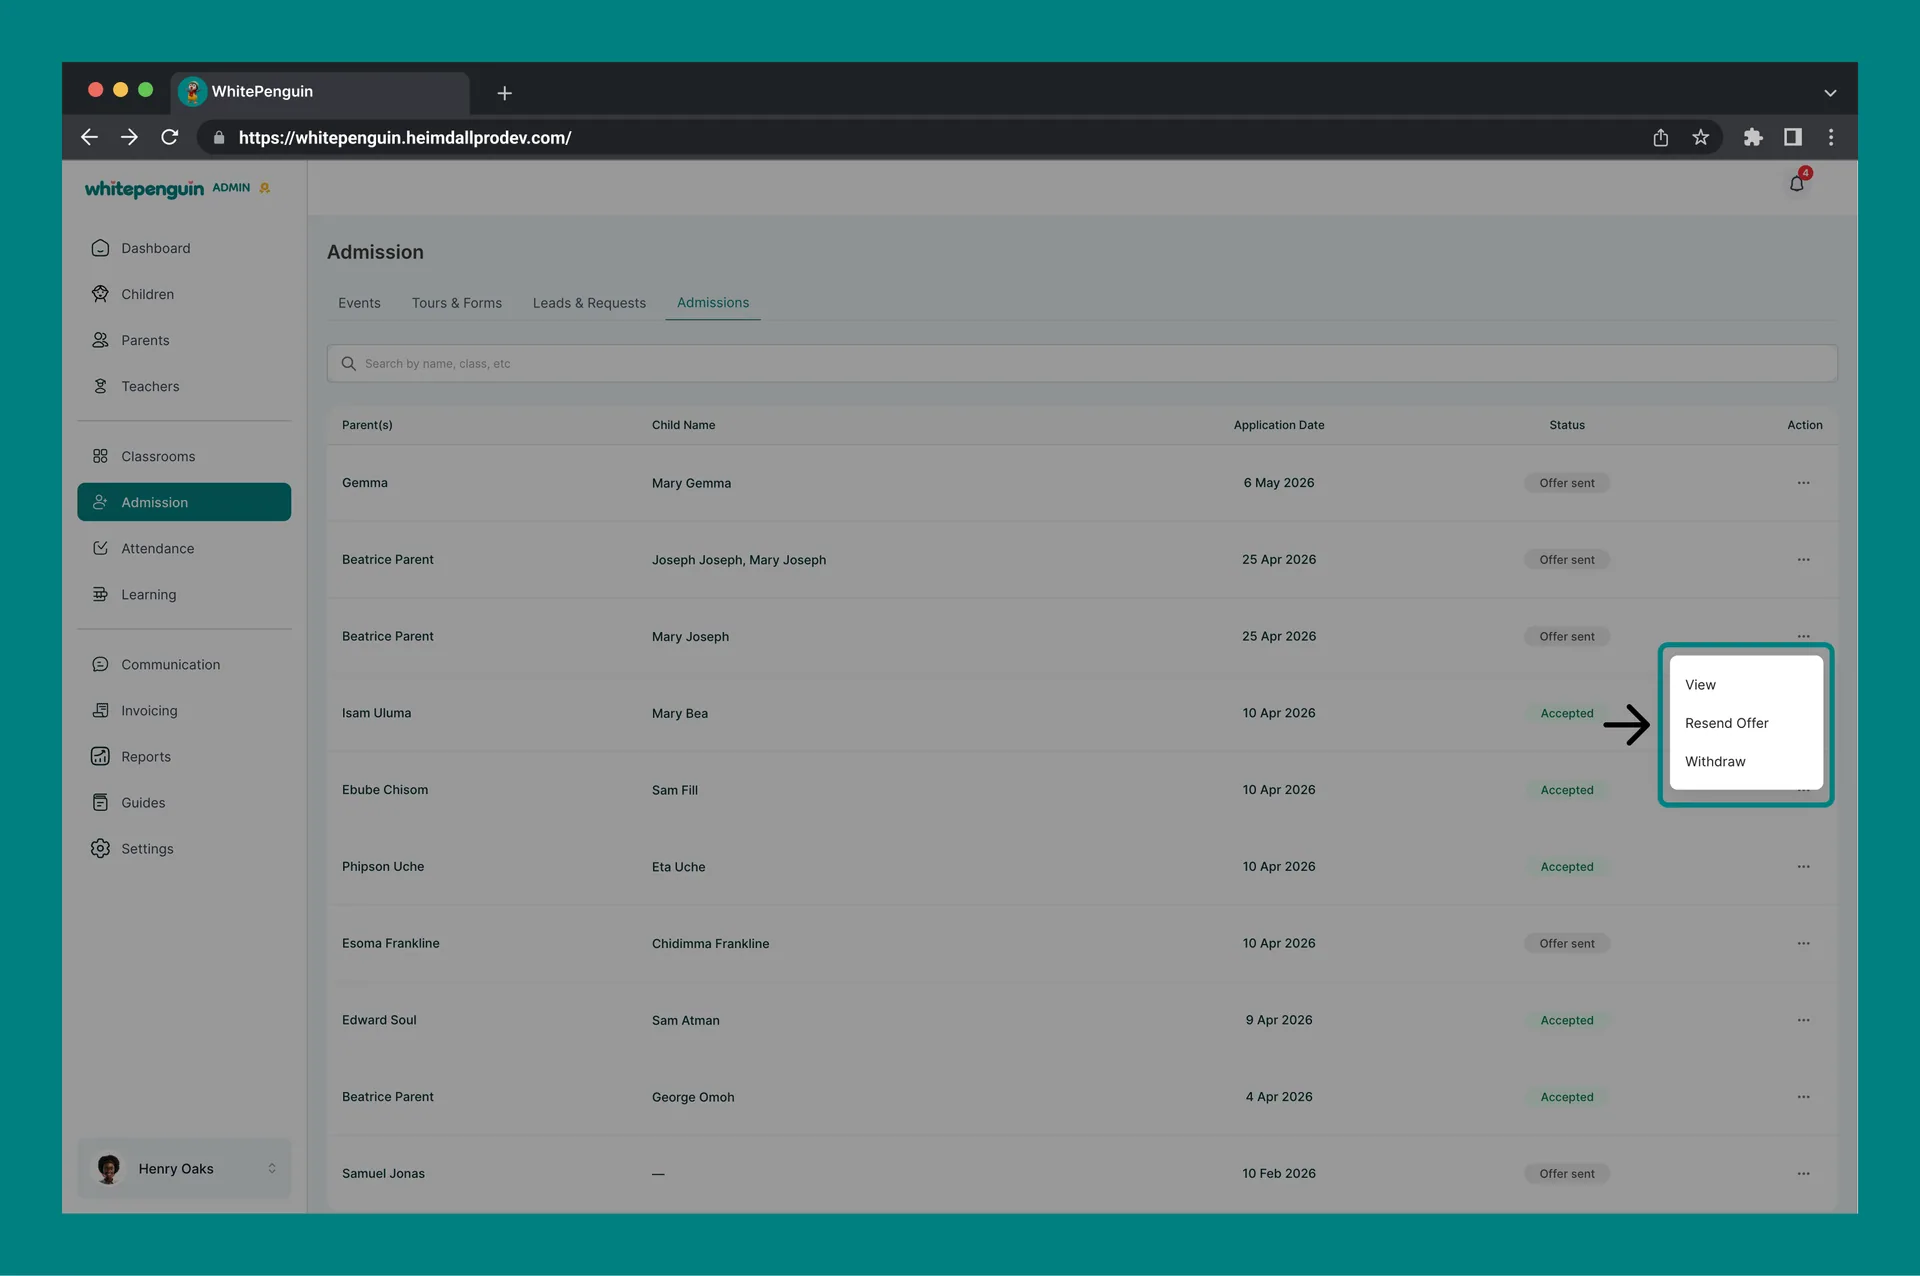
- You will see a table with every offered admission and its current status.
- Use the search bar at the top to filter by name, class, or other keywords.
Admissions Table — What You See
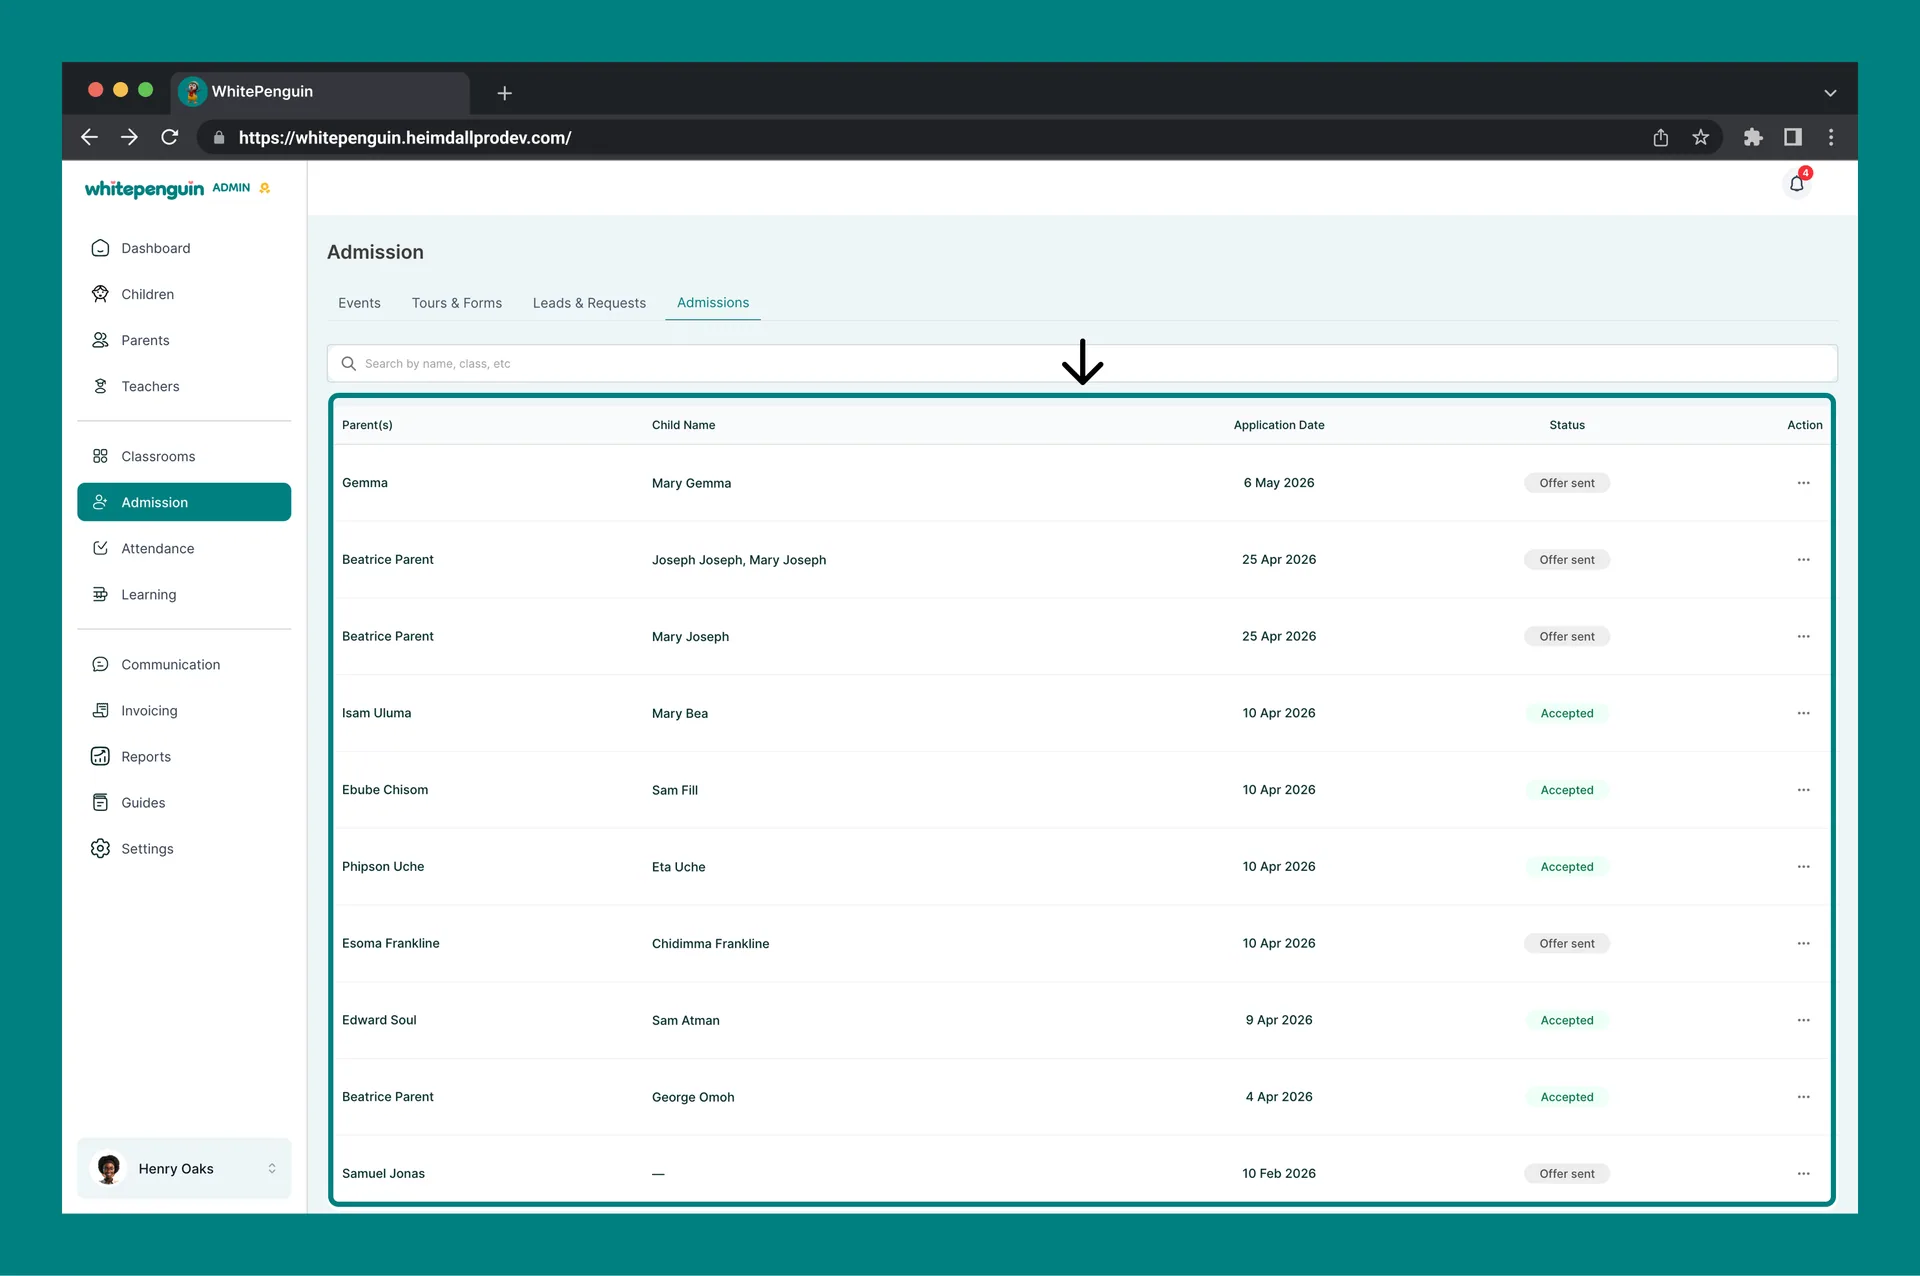
Each row represents one admission offer and includes the following columns:
| Column | What It Shows |
|---|---|
| Parent(s) | The parent's name on the offer. |
| Child Name | The child being admitted (multiple children appear as separate rows or grouped under the parent). |
| Application Date | The date the offer was sent. |
| Status | The current stage of the admission (e.g. Offer sent, Paid, Withdrawn). |
| Action | A three-dot menu with status-specific actions. |
Use Rows per page (bottom left) and the pagination control (bottom right) to navigate when you have many admissions.
Admission Statuses
The status reflects where the family is between the offer and a fully active enrolment:
| Status | What It Means |
|---|---|
| Offer sent | The admission offer and invoice were sent to the parent. Awaiting payment. |
| Paid | The admission invoice has been paid. The child profile is automatically activated. |
| Withdrawn | The offer was withdrawn by the admin and is no longer valid. |
Actions on an Admission
Click the three-dot Action menu on any row to open the actions available for that admission.
- View — open the admission details, including the parent and child information, the Admission Acceptance Letter, and the linked invoice.
- Resend Offer — re-send the offer email to the parent (useful if they didn't receive or lost the original email).
- Withdraw — withdraw the admission offer; the offer becomes invalid and the parent is notified.
Withdraw is a serious action. The offer cannot be honored after withdrawal, and the parent will receive a notification. Use it only when the admission should genuinely be cancelled.
The Admission Acceptance Letter
When an offer is sent, WhitePenguin automatically generates a Provisional Offer of Admission PDF for the parent. It includes:
-
The school logo and name.
-
The date the offer was issued.
-
The parent's name and the child's name.
-
The classroom the child has been offered (e.g. Classroom 1).
-
The next steps the parent should take to secure placement:
- Review the attached fee structure and initial invoice.
- Ensure payment of the registration and tuition fees on or before the due date.
- Submit any outstanding enrolment documentation via the parent portal.
-
A school stamp / APPROVED mark and the school's contact details.
The content of the letter is generated from your School Profile (logo, name, address, contact details) and the offer you sent. Keep your School Profile up to date so letters always reflect the right information.
The Admission Invoice
Alongside the acceptance letter, a matching Invoice PDF is generated and sent to the parent. It includes:
- An Invoice number (e.g. INV-000577) and the ADMISSION label.
- The school's billing information and the parent's billing info.
- Date and Due date for payment.
- Child(ren) the invoice covers.
- A line-item breakdown using the items you entered in Send Offer → Items (Description, Qty, Rate, Total).
- Subtotal and Total.
- Notes (the free-text notes you added during Send Offer).
- The selected Payment Method and any payment instructions.
The invoice is also accessible from the Invoicing section and the parent's profile under the Parents tab.
What the Parent Receives by Email
When the offer is sent, the parent receives an email titled "Admission offer – [Child Name]" with:
- A short message thanking them and explaining the admission offer.
- A highlighted note pointing to the attached Admission Acceptance Letter and Invoice PDFs.
- A platform invite link / instructions to access the parent portal.
- Both PDFs as attachments.
If the parent reports they didn't receive the email, use Resend Offer from the row's Action menu to send it again.
Confirming Payment & Activating the Child
There are two ways to mark the admission invoice as paid:
-
Online (Paystack) — if your school has Paystack enabled under Settings → Setup Payment Methods, the parent can pay the invoice directly from the link in their email. Payment confirmation is automatic.
-
Manual — the admin records the payment manually:
- From the Invoicing section, open the admission invoice and mark it as Paid, or
- From the Parents tab, open the parent's profile, find the admission invoice, and mark it as Paid.
Once payment is confirmed (either path):
- The admission status updates to Paid.
- The Parent profile status changes to Active.
- The Child profile status changes to Active.
- The child becomes visible in their assigned classroom and on attendance, learning, and reporting screens.
Until payment is recorded, both profiles stay Inactive — they won't appear in attendance, classroom rosters, or other operational views.
Tips & Related Info
- Keep School Profile up to date — the school name, logo, and address on the acceptance letter come from Settings → Manage School Profile.
- Use Resend Offer as the first response when a parent says they didn't receive the offer email, before sending a new offer.
- Withdraw sparingly — it cannot be undone from this tab. If the family later wants to re-apply, you'll need to start fresh from Leads & Requests or by creating a new offer.
- Match invoice items to your fee structure — the items you enter in Send Offer → Items appear verbatim on the parent's PDF invoice, so use clear names like Admission Fee, Registration, or Term 1 Tuition.
- Notes go on the invoice — anything you typed in the Notes field during Send Offer is shown to the parent on the PDF invoice. Keep it short and clear.
- Track payment from Invoicing — for a wider view of all outstanding fees (not just admissions), use the Invoicing section in the sidebar.
FAQs
They arrive automatically when you click Send Offer on a Completed lead in the Leads & Requests tab. You don't add rows here manually.
Use the Search by name, class, etc. bar at the top of the table. It filters in real time as you type the parent or child's name, or the classroom.
It re-sends the same admission offer email — including the Admission Acceptance Letter and Invoice PDFs — to the parent's email address on file. Use it when the parent says they didn't receive or have lost the original.
The admission status changes to Withdrawn, the offer becomes invalid, and the parent is notified. The related invoice should be voided from the Invoicing section if it was not paid. Active child profiles will need to be deactivated separately if relevant.
The admission is fully confirmed once the admission invoice is paid — either automatically via Paystack, or manually marked Paid by the admin from the Invoicing section or the parent's profile. Once payment is recorded, the child and parent profiles become Active.
An email titled “Admission offer – [Child Name]” with a short message and two PDF attachments: the Admission Acceptance Letter and the Invoice. The email also includes a platform invite so the parent can access the portal.
The letter template uses your School Profile content (logo, name, address, contact) and the offer details. Keep Settings → School Profile up to date so letters always reflect your school's latest information.
From the Items section of the Send Offer modal in Leads & Requests. Each row (Description, Qty, Rate, VAT) becomes a line on the parent's PDF invoice, and the Subtotal/Total are computed automatically.
The child profile stays Inactive until the admission invoice is paid. Once the invoice is marked Paid (online or manually), the child becomes Active and appears across classrooms, attendance, learning, and reports.
It's accessible from three places: this Admissions tab (via View), the parent's profile under the Parents tab, and the Invoicing section, which lists every invoice across the school.
Last updated on