

Manage Leads & Requests
Learn how to view all new leads and admission requests in one place and take action by accepting or rejecting them.
Overview
The Leads & Requests tab is your central pipeline for every new family reaching out to the school. Every tour booking and form submission flows here automatically, so the admin can review, follow up, and decide who moves forward to admission.
Use this tab to:
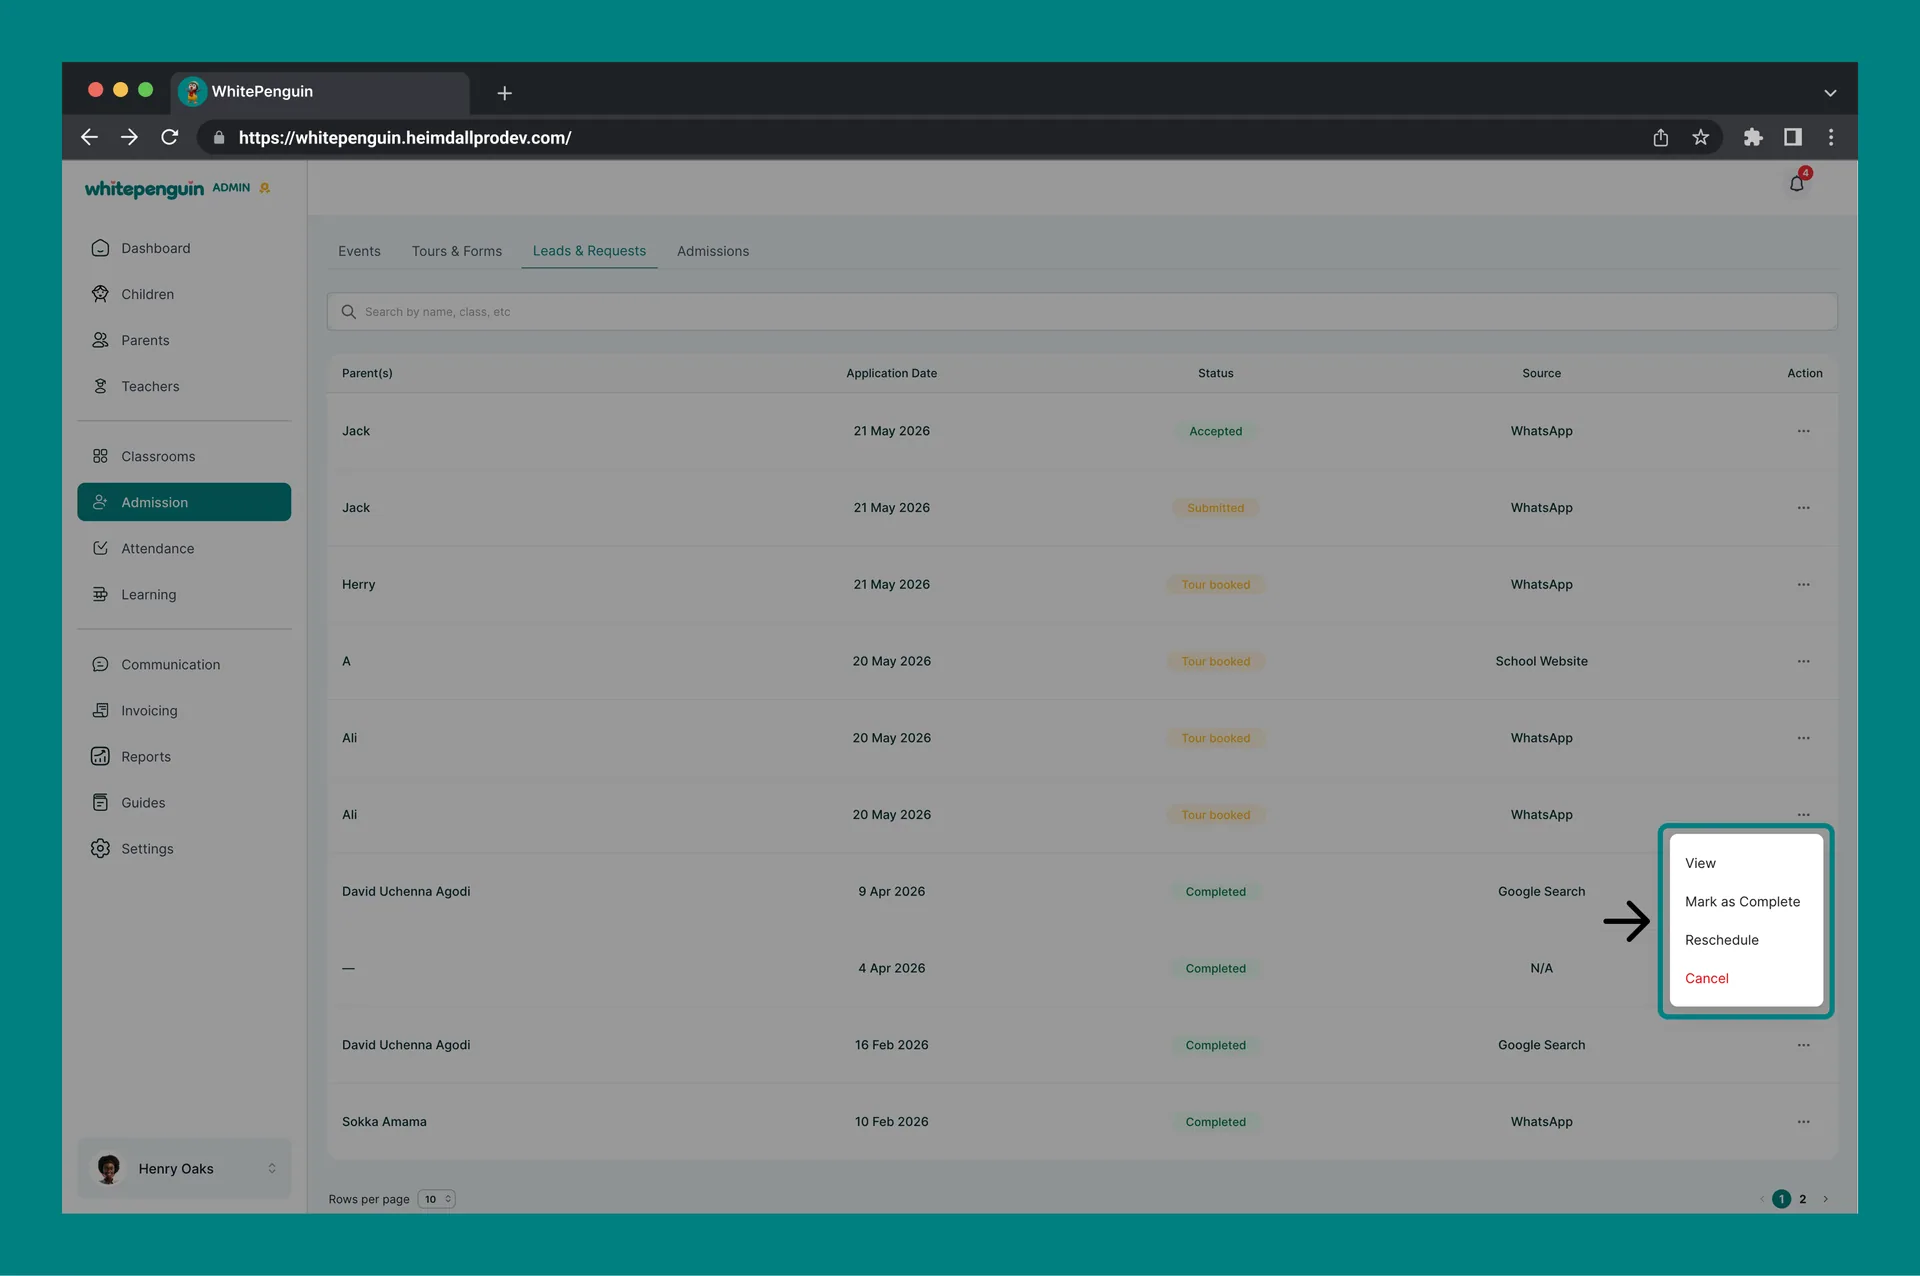
- See all incoming leads in one list with their Parent(s), Application Date, Status, and Source.
- Take action on each lead: View, Mark as Complete, Reschedule, Cancel, or Send Offer.
- Send admission offers (with invoice) directly from a lead — the parent and child profiles are created automatically.
Nothing is added here manually. Every row is generated automatically by the public tour or form link you shared with parents.
How to Access Leads & Requests
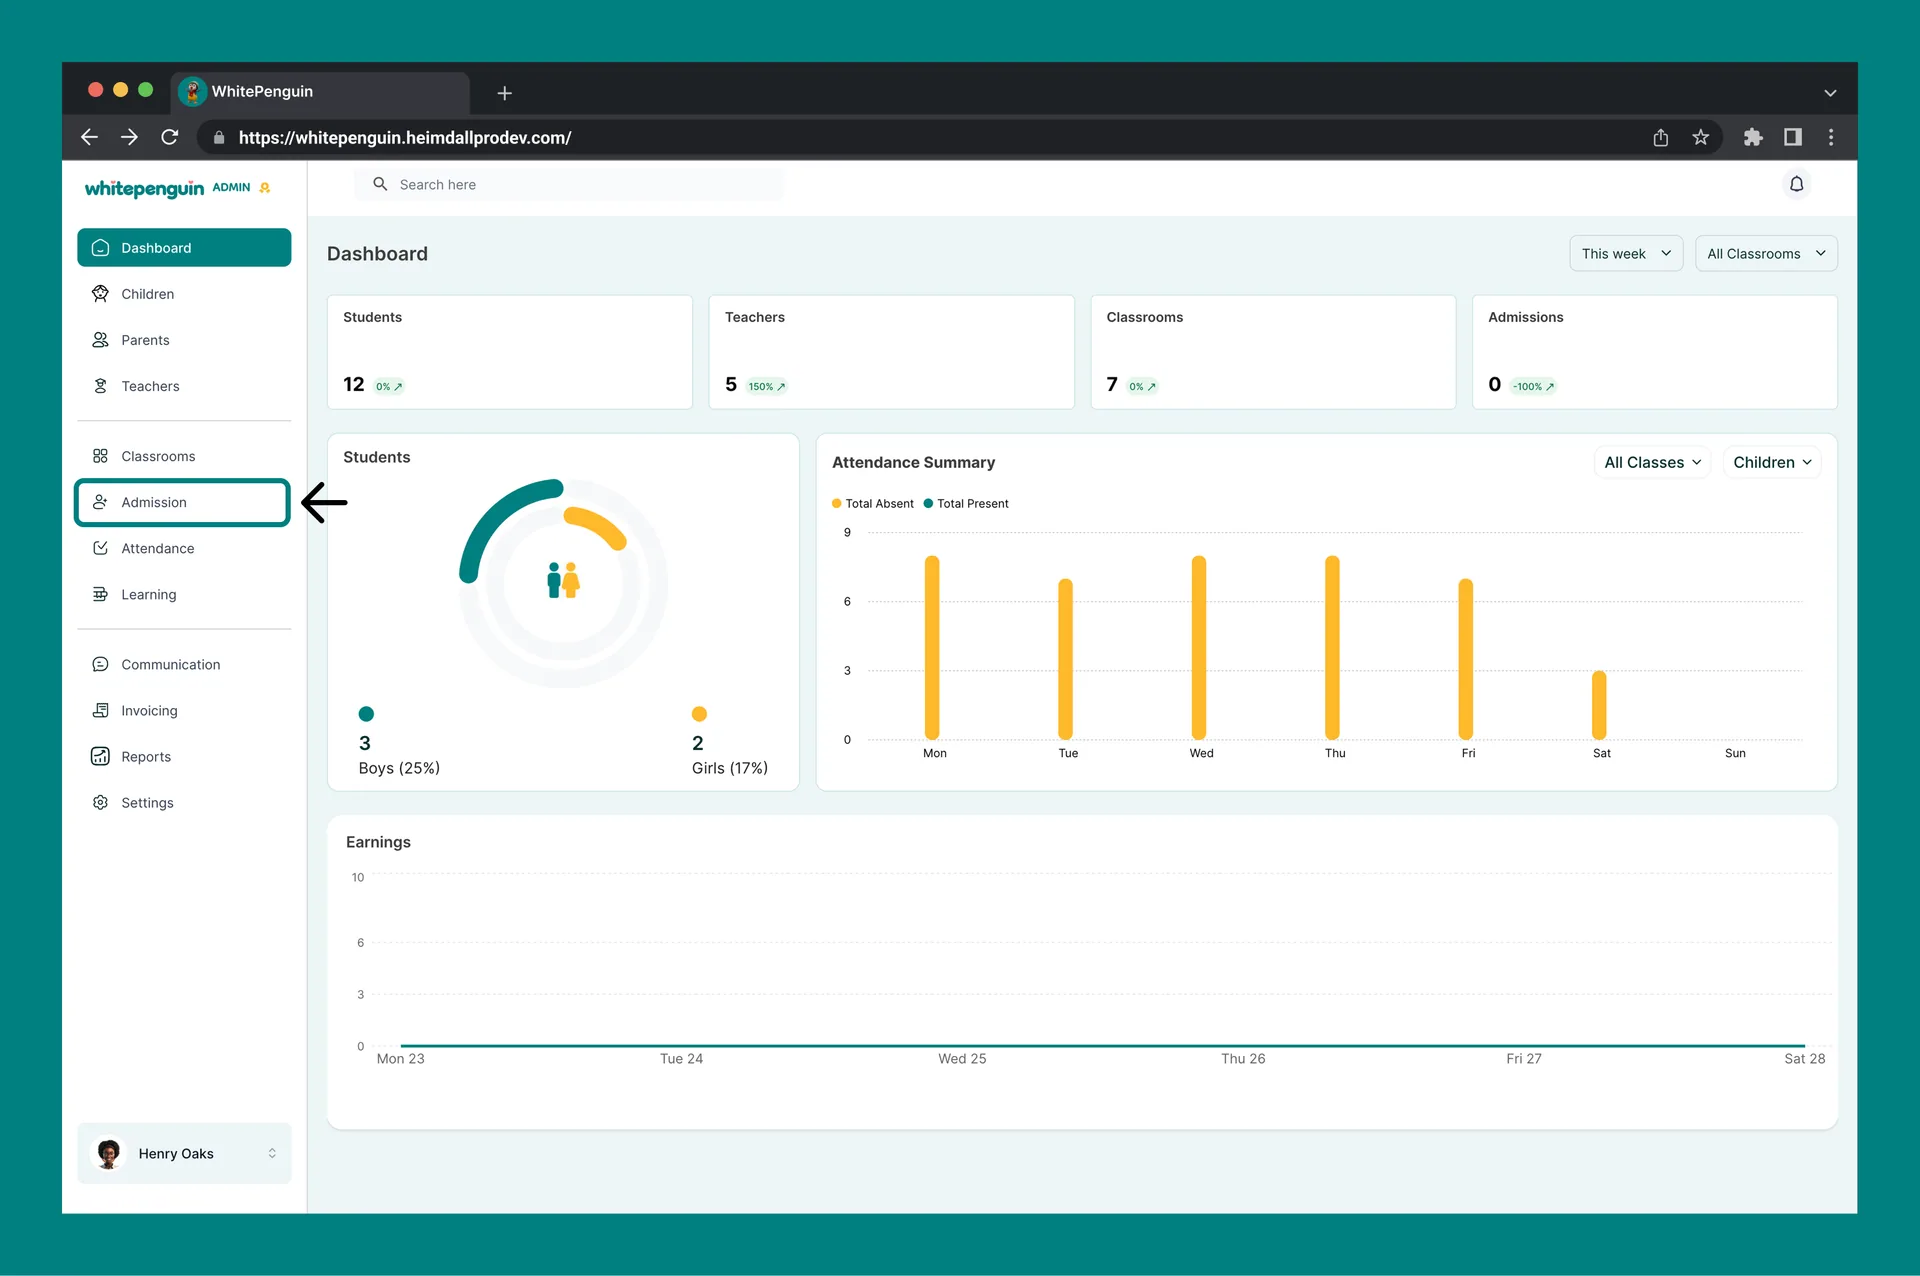
- Click Admission in the left sidebar.
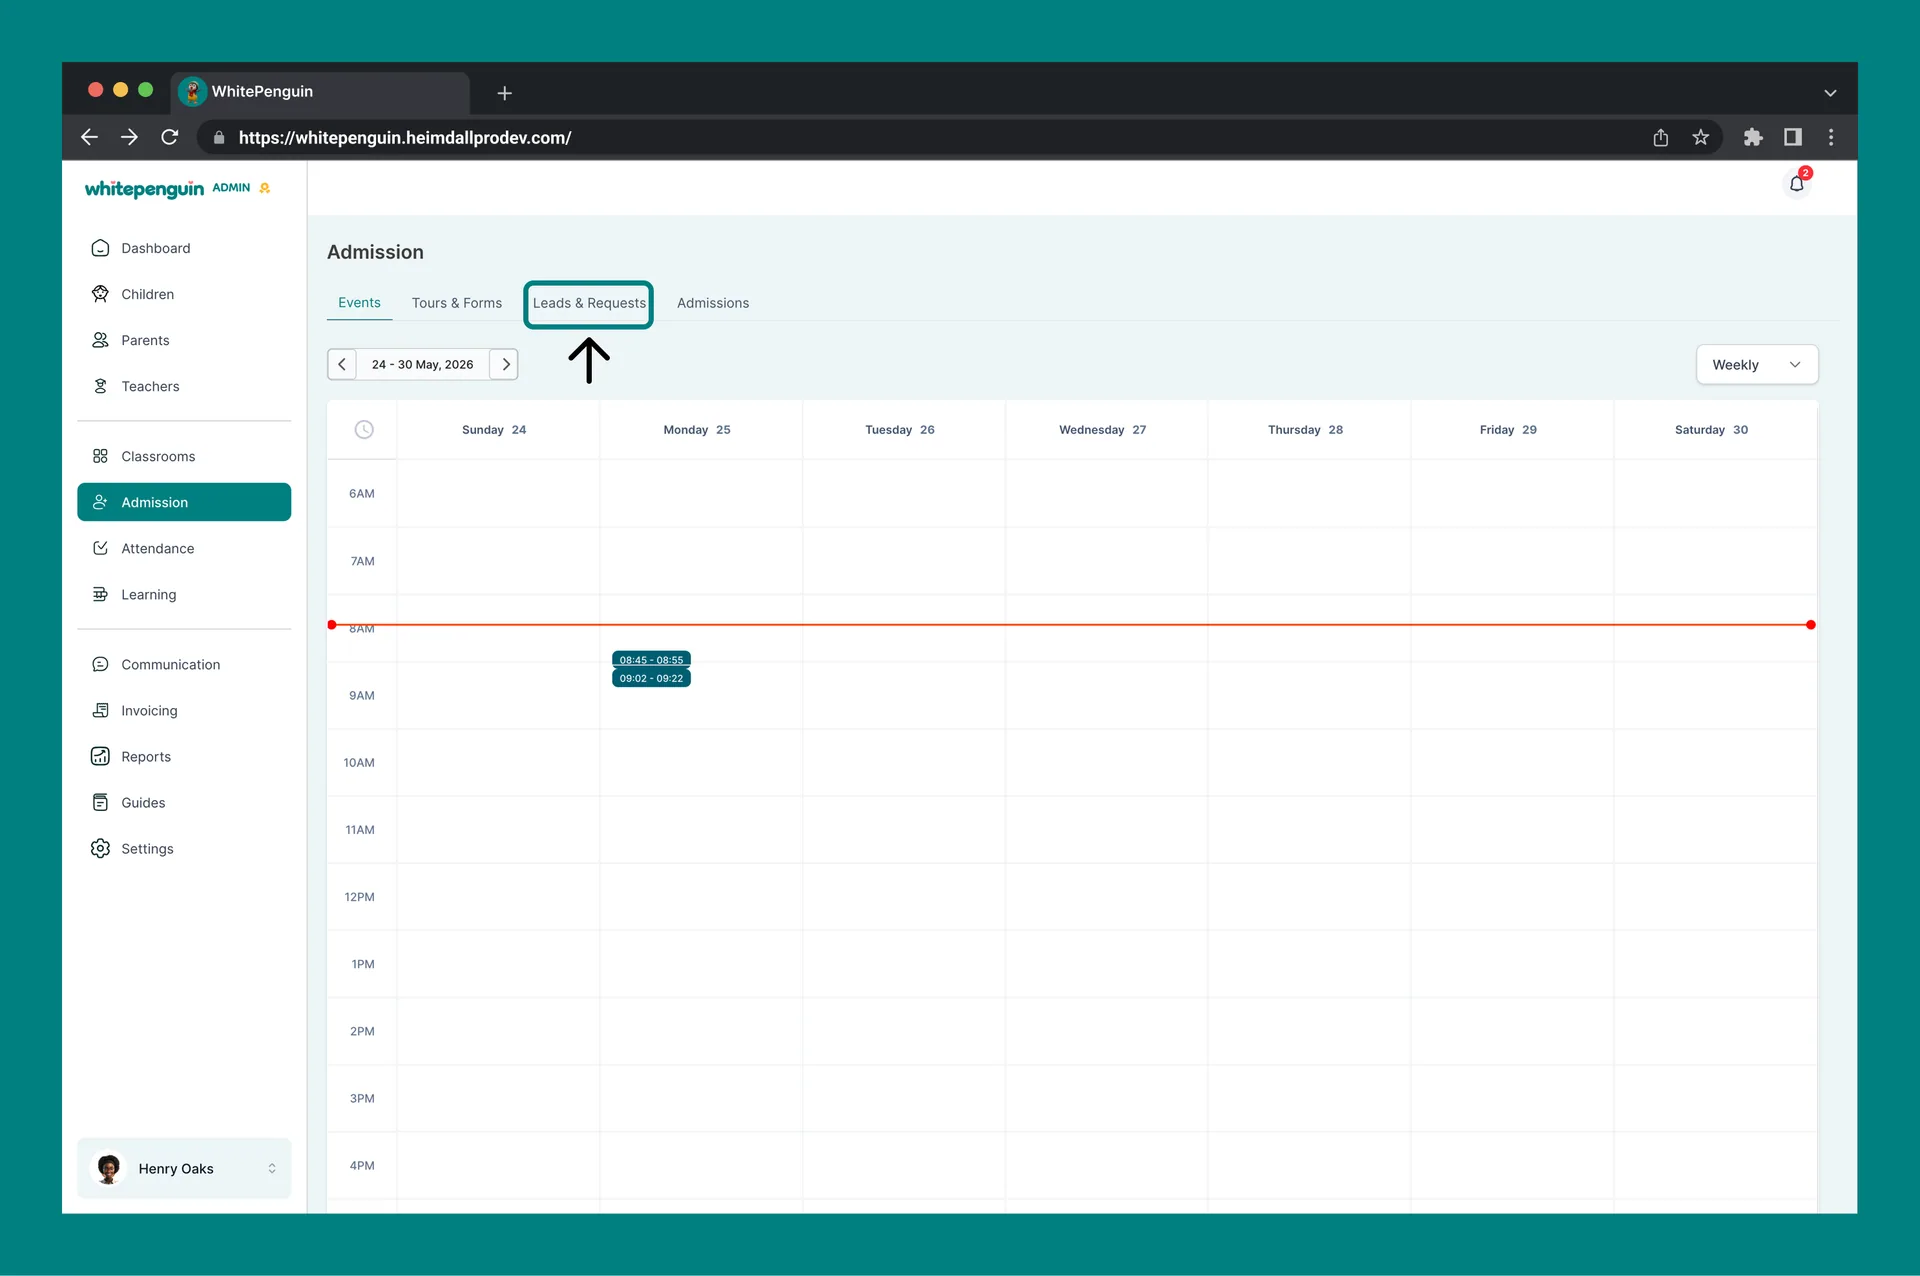
- Select the Leads & Requests tab at the top of the Admission page.
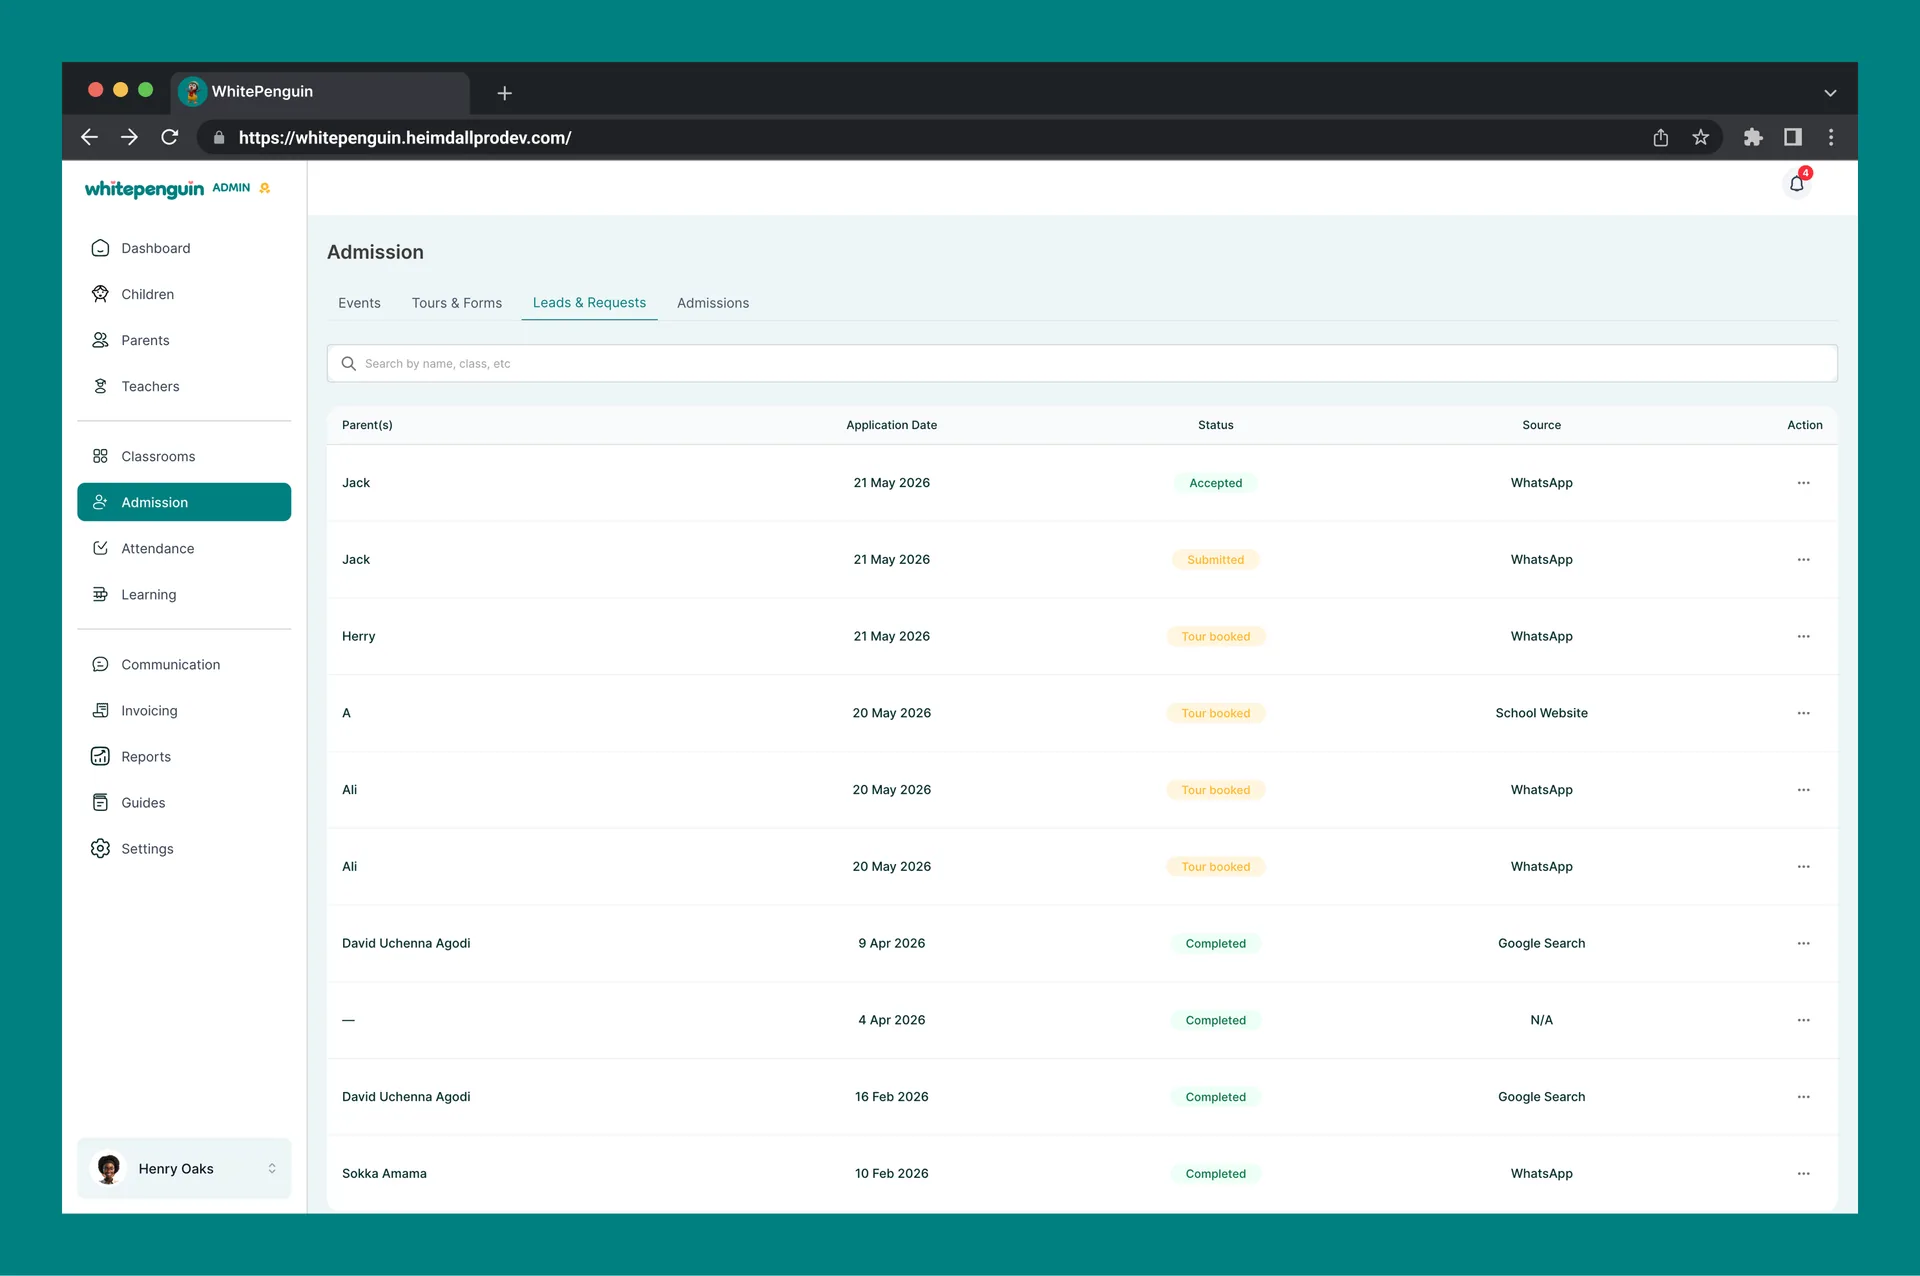
- You will see a table with every lead and its current status.
- Use the search bar at the top to filter by name, class, or other keywords.
Leads & Requests Table — What You See
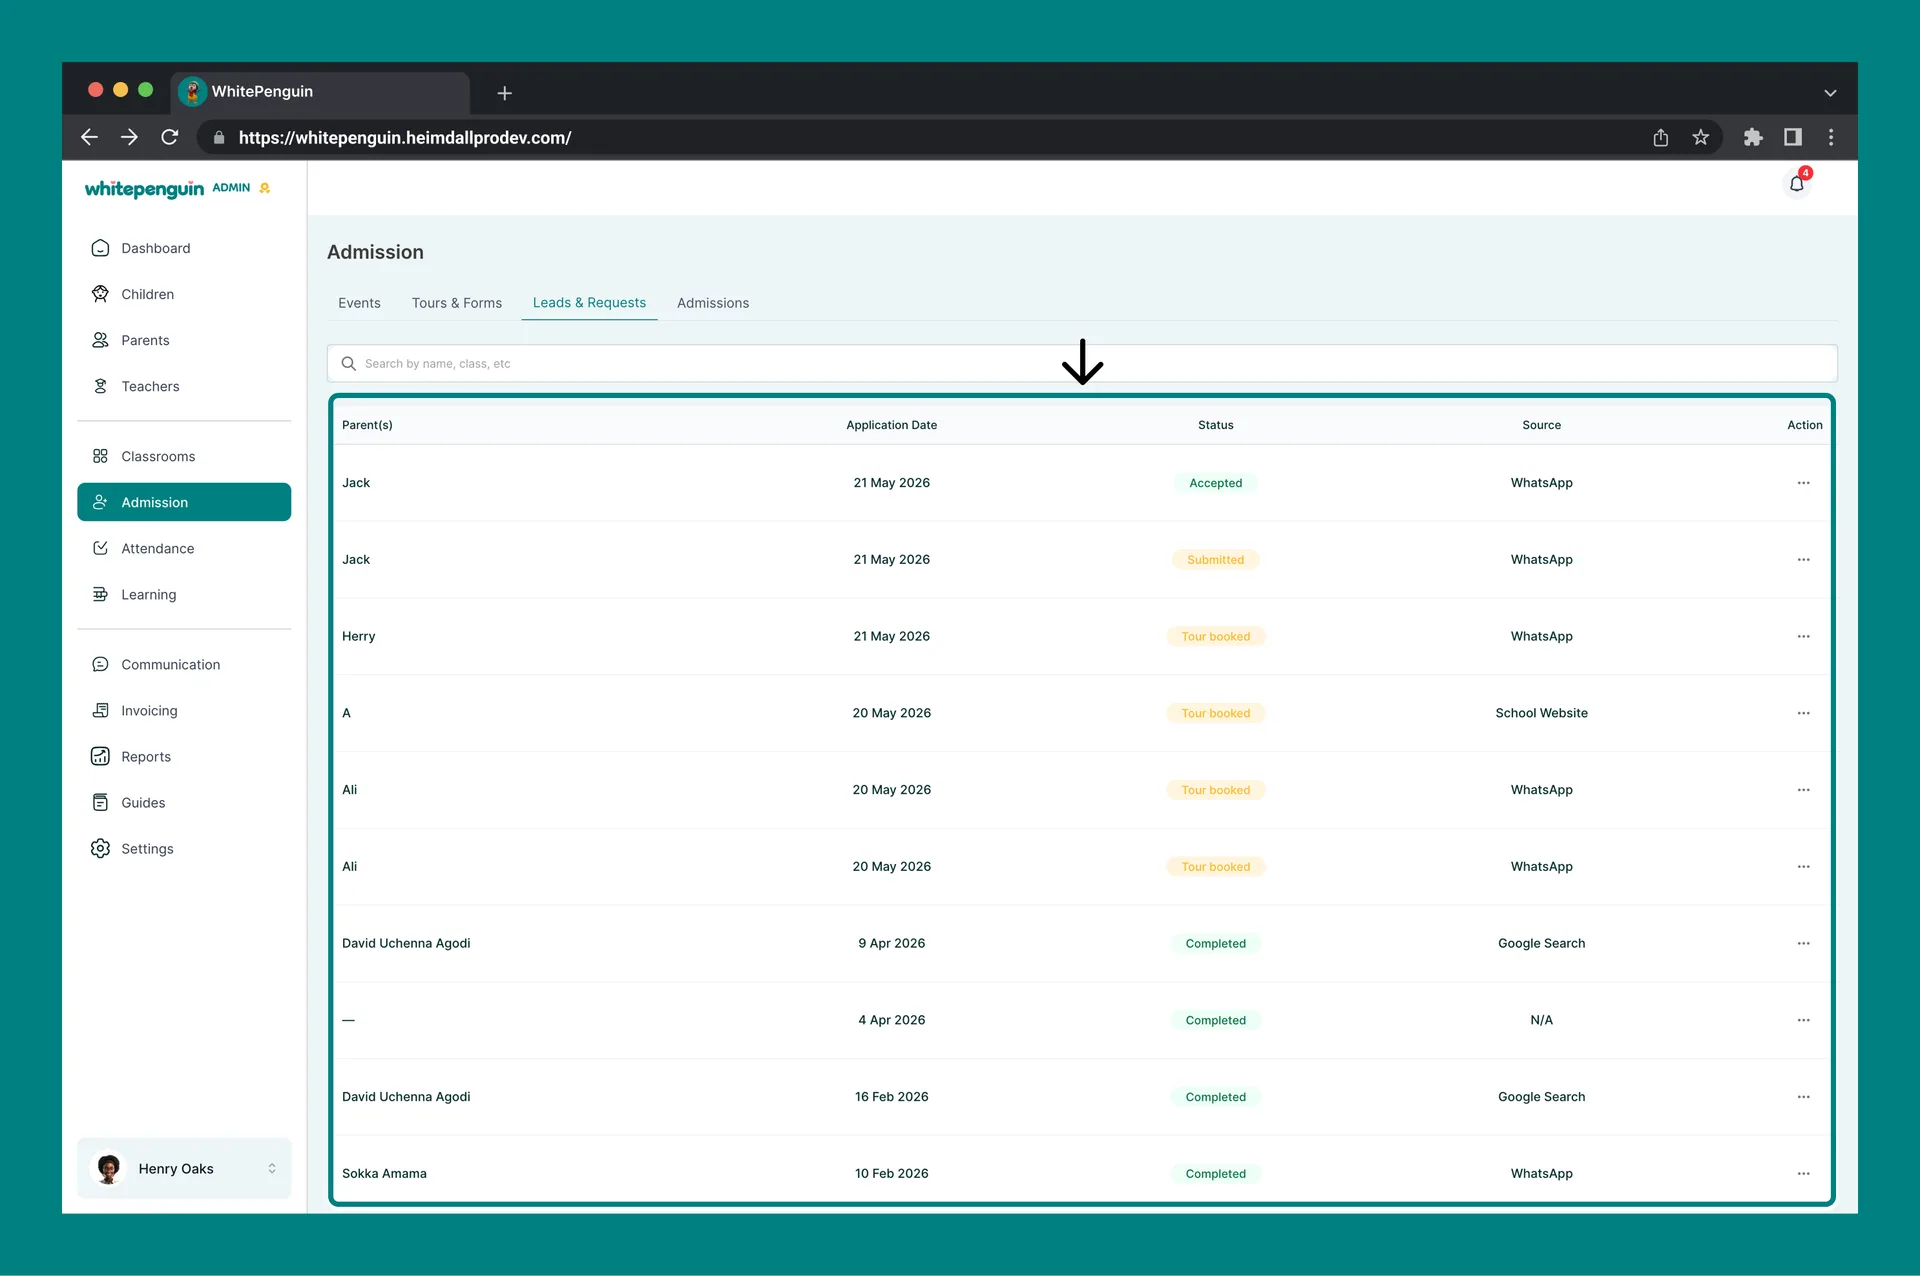
Each row represents one lead and includes the following columns:
| Column | What It Shows |
|---|---|
| Parent(s) | The parent's name as submitted in the tour booking or form. |
| Application Date | The date the lead was created (booking date or form submission date). |
| Status | The current stage of the lead (e.g. Tour booked, Completed). |
| Source | Where the lead came from (e.g. School Website). |
| Action | A three-dot menu with status-specific actions. |
Use Rows per page (bottom left) and the pagination control (bottom right) to navigate when you have many leads.
Lead Statuses
A lead's status reflects where the family is in your admissions journey:
| Status | What It Means |
|---|---|
| Tour booked | Parent reserved a tour slot. Awaiting the tour day. |
| Form Submitted | Parent filled in a public admission form. Awaiting review. |
| Completed | Tour was held or form was reviewed. Ready to send an offer. |
| Cancelled | The tour was cancelled by the admin or parent. |
| Offer Sent | Offer + invoice sent. The lead moves to the Admissions tab. |
Actions on a Lead
Click the three-dot Action menu on any row to open the actions available for that lead's status.
When status is Tour booked
- View — open the full booking details (description, date/time, school, parents, location).
- Mark as Complete — mark the tour as done; status updates to Completed and the lead becomes eligible to receive an offer.
- Reschedule — open the Reschedule modal to pick a new date and time. The parent is notified automatically.
- Cancel — cancel the booking. The slot is released and the parent receives a cancellation notification.
Cancel is destructive. Prefer Reschedule when you simply need to move the tour to another time.
When status is Completed
- View — open the lead details to review the parent's information and tour/form notes.
- Send Offer — open the Send Offer modal to issue an admission offer and invoice (see the next section).
Sending an Offer
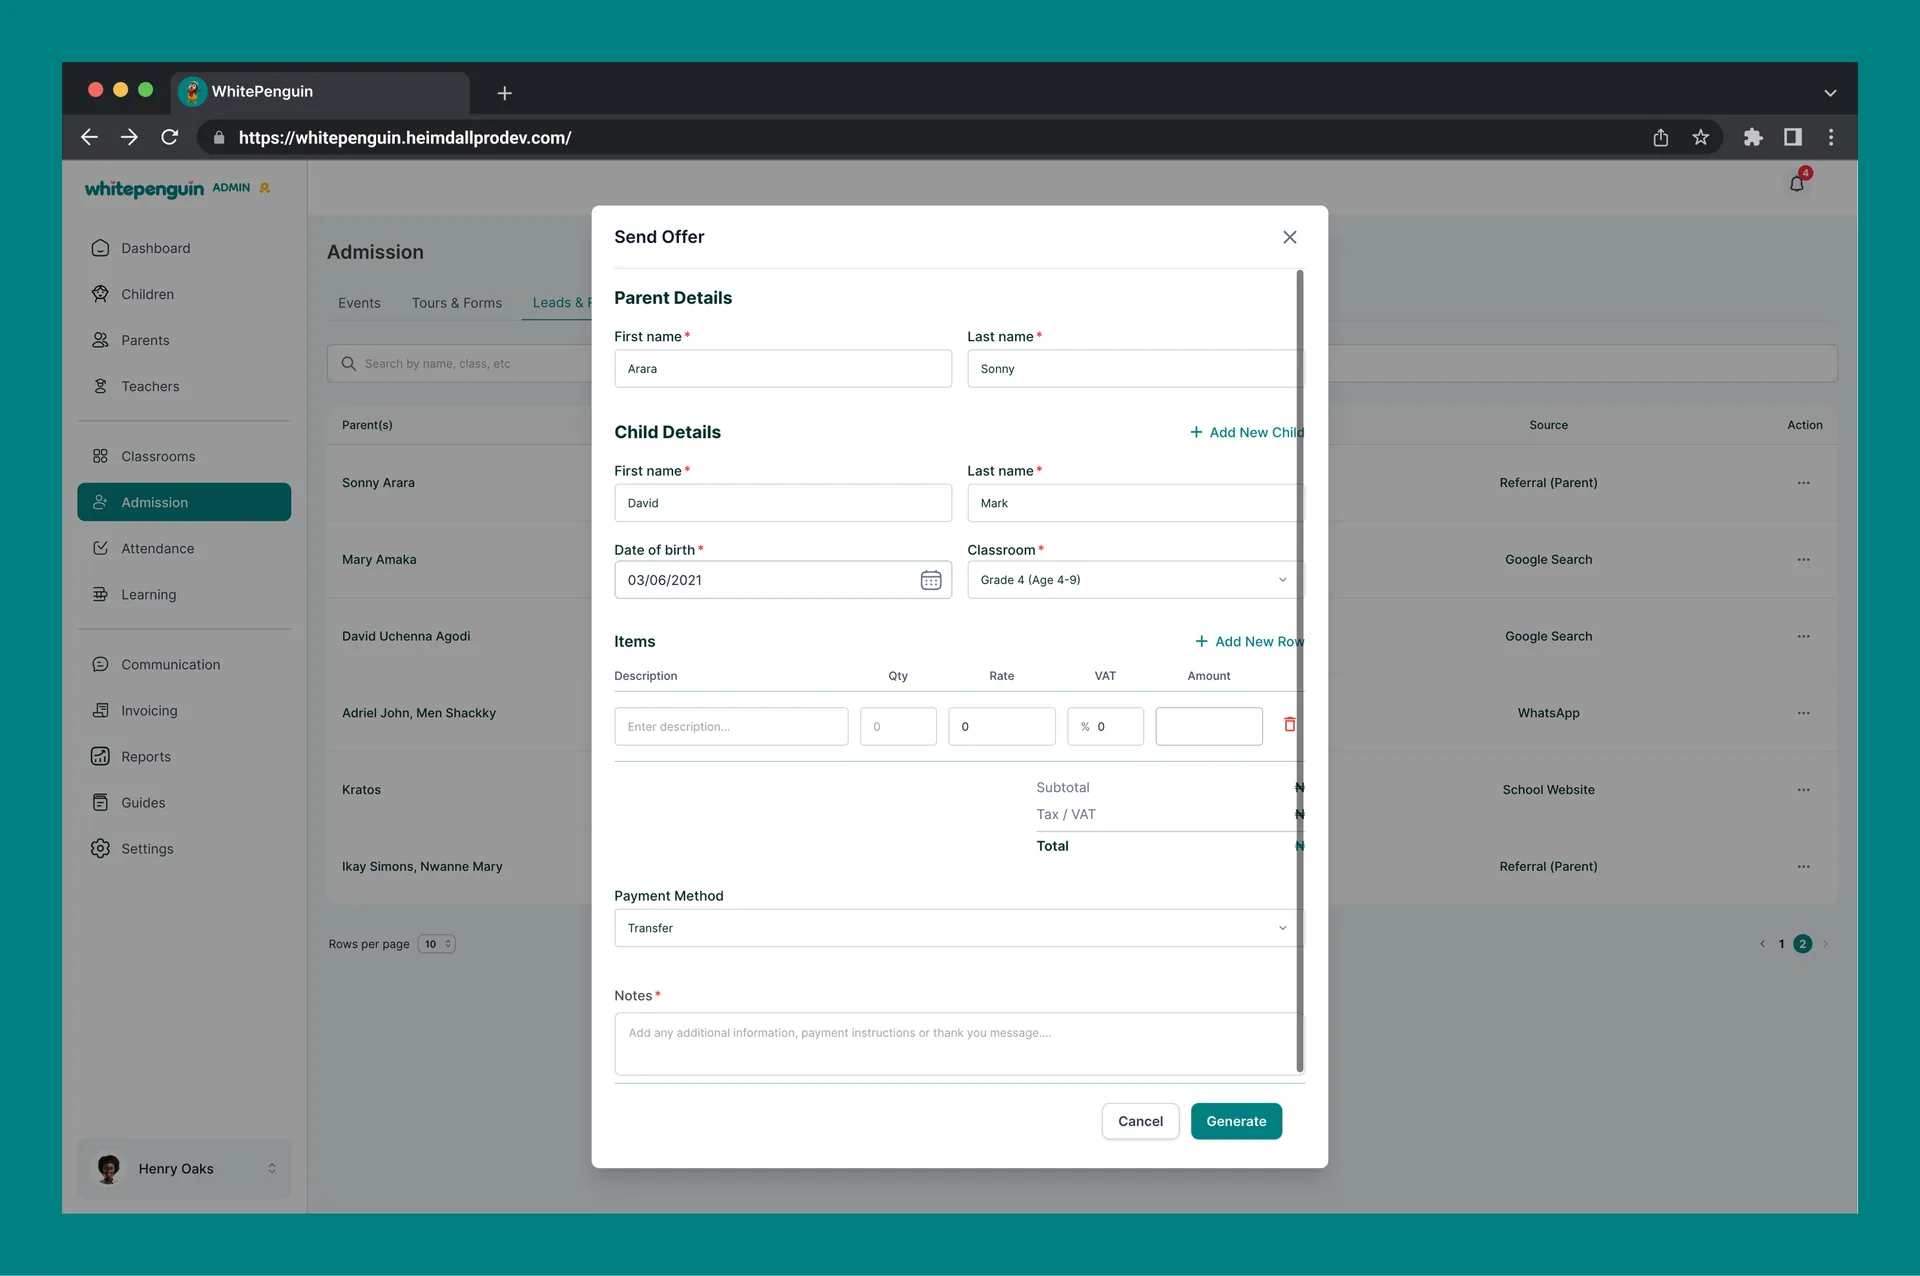
When a lead is ready to enrol, click Send Offer from the Action menu to open the Send Offer modal. This single modal creates the offer, the parent profile, the child profile, and the admission invoice in one go.
1. Parent Details (required)
Pre-filled from the lead. Edit if needed.
- First name* — parent's first name.
- Last name* — parent's last name.
2. Child Details (required)
For the child being admitted. Click + Add New Child to add additional children to the same offer.
- First name* — child's first name.
- Last name* — child's last name.
- Date of birth* — child's date of birth (format: DD/MM/YYYY).
- Classroom* — select the classroom the child will join from the dropdown.
The child's age must fall within the classroom's configured Minimum Age and Maximum Age range. If no classrooms appear, create one first via Classrooms → + Add Classroom.
3. Items (required)
This is the admission invoice line items. Click + Add New Row to add more items, or click the red trash icon to remove a row.
- Description — what the line item is for (e.g. Admission Fee, Registration, Uniform).
- Qty — quantity.
- Rate — unit price.
- VAT — the percentage of VAT to apply.
- Amount — calculated automatically from Qty × Rate (+ VAT).
Below the items list you will see the running totals:
- Subtotal — sum of all line amounts before tax.
- Tax / VAT — total VAT amount.
- Total — final amount the parent will see on the invoice.
4. Payment Method (required)
Pick how the parent should pay:
- Transfer — bank transfer.
- Other options may appear based on your Settings → Setup Payment Methods configuration (e.g. Paystack online payments).
5. Notes (required)
A free-text field for additional information, payment instructions, or a thank-you message. This appears on the invoice the parent receives.
Generating the Offer
-
Click Generate at the bottom of the modal.
-
The system immediately:
- Sends the parent an admission offer letter.
- Sends an invoice for the admission fee.
- Sends a platform invite so the parent can create their account.
- Creates a Parent profile with status Inactive.
- Creates a Child profile with status Inactive.
- Moves the lead from Leads & Requests to the Admissions section.
- Updates the lead status to Offer Sent.
-
Once the parent pays the invoice (online via Paystack, or manually marked paid by the admin), the Child profile automatically becomes Active — admission is complete.
Click Cancel instead to close the modal without sending anything.
Tips & Related Info
- Search instead of scroll — use the search bar at the top to find a lead by parent name, class, or any keyword.
- Reschedule preserves the lead — if a parent needs to change their visit, reschedule rather than cancel so the lead stays alive.
- Mark complete promptly — after a tour or form review, change the status to Completed so it becomes eligible for an offer.
- One offer can include multiple children — use + Add New Child in the Send Offer modal for families enrolling more than one child.
- The lead disappears from this tab when an offer is sent — it moves to the Admissions tab where you can continue tracking payment and activation.
- Source helps you measure channels — the Source column shows where the lead came from (e.g. School Website), useful for understanding which channel brings the most families.
- Sync with Events Calendar — every tour-related status here is mirrored on the Events tab and vice versa.
FAQs
Leads are created automatically when a parent books a tour through your Tours & Forms tour link, or submits one of your public admission forms. You don't create leads here manually.
Use the Search by name, class, etc. bar at the top of the table. It filters the list in real time as you type.
It updates the lead's status from Tour booked to Completed, indicating the tour was held (or the form was reviewed). Once a lead is Completed, the Send Offer action becomes available in the three-dot menu.
Yes. Open the three-dot menu on a Tour booked lead and click Reschedule. Pick a new date and time and click Save. The parent is notified automatically and the booking on the Events calendar moves to the new slot.
Cancelling sets the lead's status to Cancelled, releases the tour slot, and notifies the parent. The lead remains visible in the list so you have a record of it.
Three things at once: an admission offer letter, an invoice for the admission fee, and a platform invite to create an account. A Parent profile and Child profile are also created automatically with Inactive status until payment is made.
Yes. In the Send Offer modal, click + Add New Child to add another child's details. All children added to the same offer will be created under the same parent profile.
Yes — the Items section drives the invoice the parent receives. Add at least one line (e.g. Admission Fee) with Qty, Rate, and optional VAT. The Subtotal, Tax/VAT, and Total update automatically.
It moves out of Leads & Requests and into the Admissions tab with status Offer Sent. You manage the rest of the admission (payment, activation) from there.
Not from this tab. Once an offer is sent, the lead lives in the Admissions section. From there you can cancel or void the related invoice if needed. Contact the parent before voiding so they aren't confused by the cancellation.
Every tour booking shown here also appears on the Events tab at its scheduled date and time. Status changes (rescheduled, cancelled, completed) are synced between the two views, so you can manage from whichever feels more natural.
Last updated on